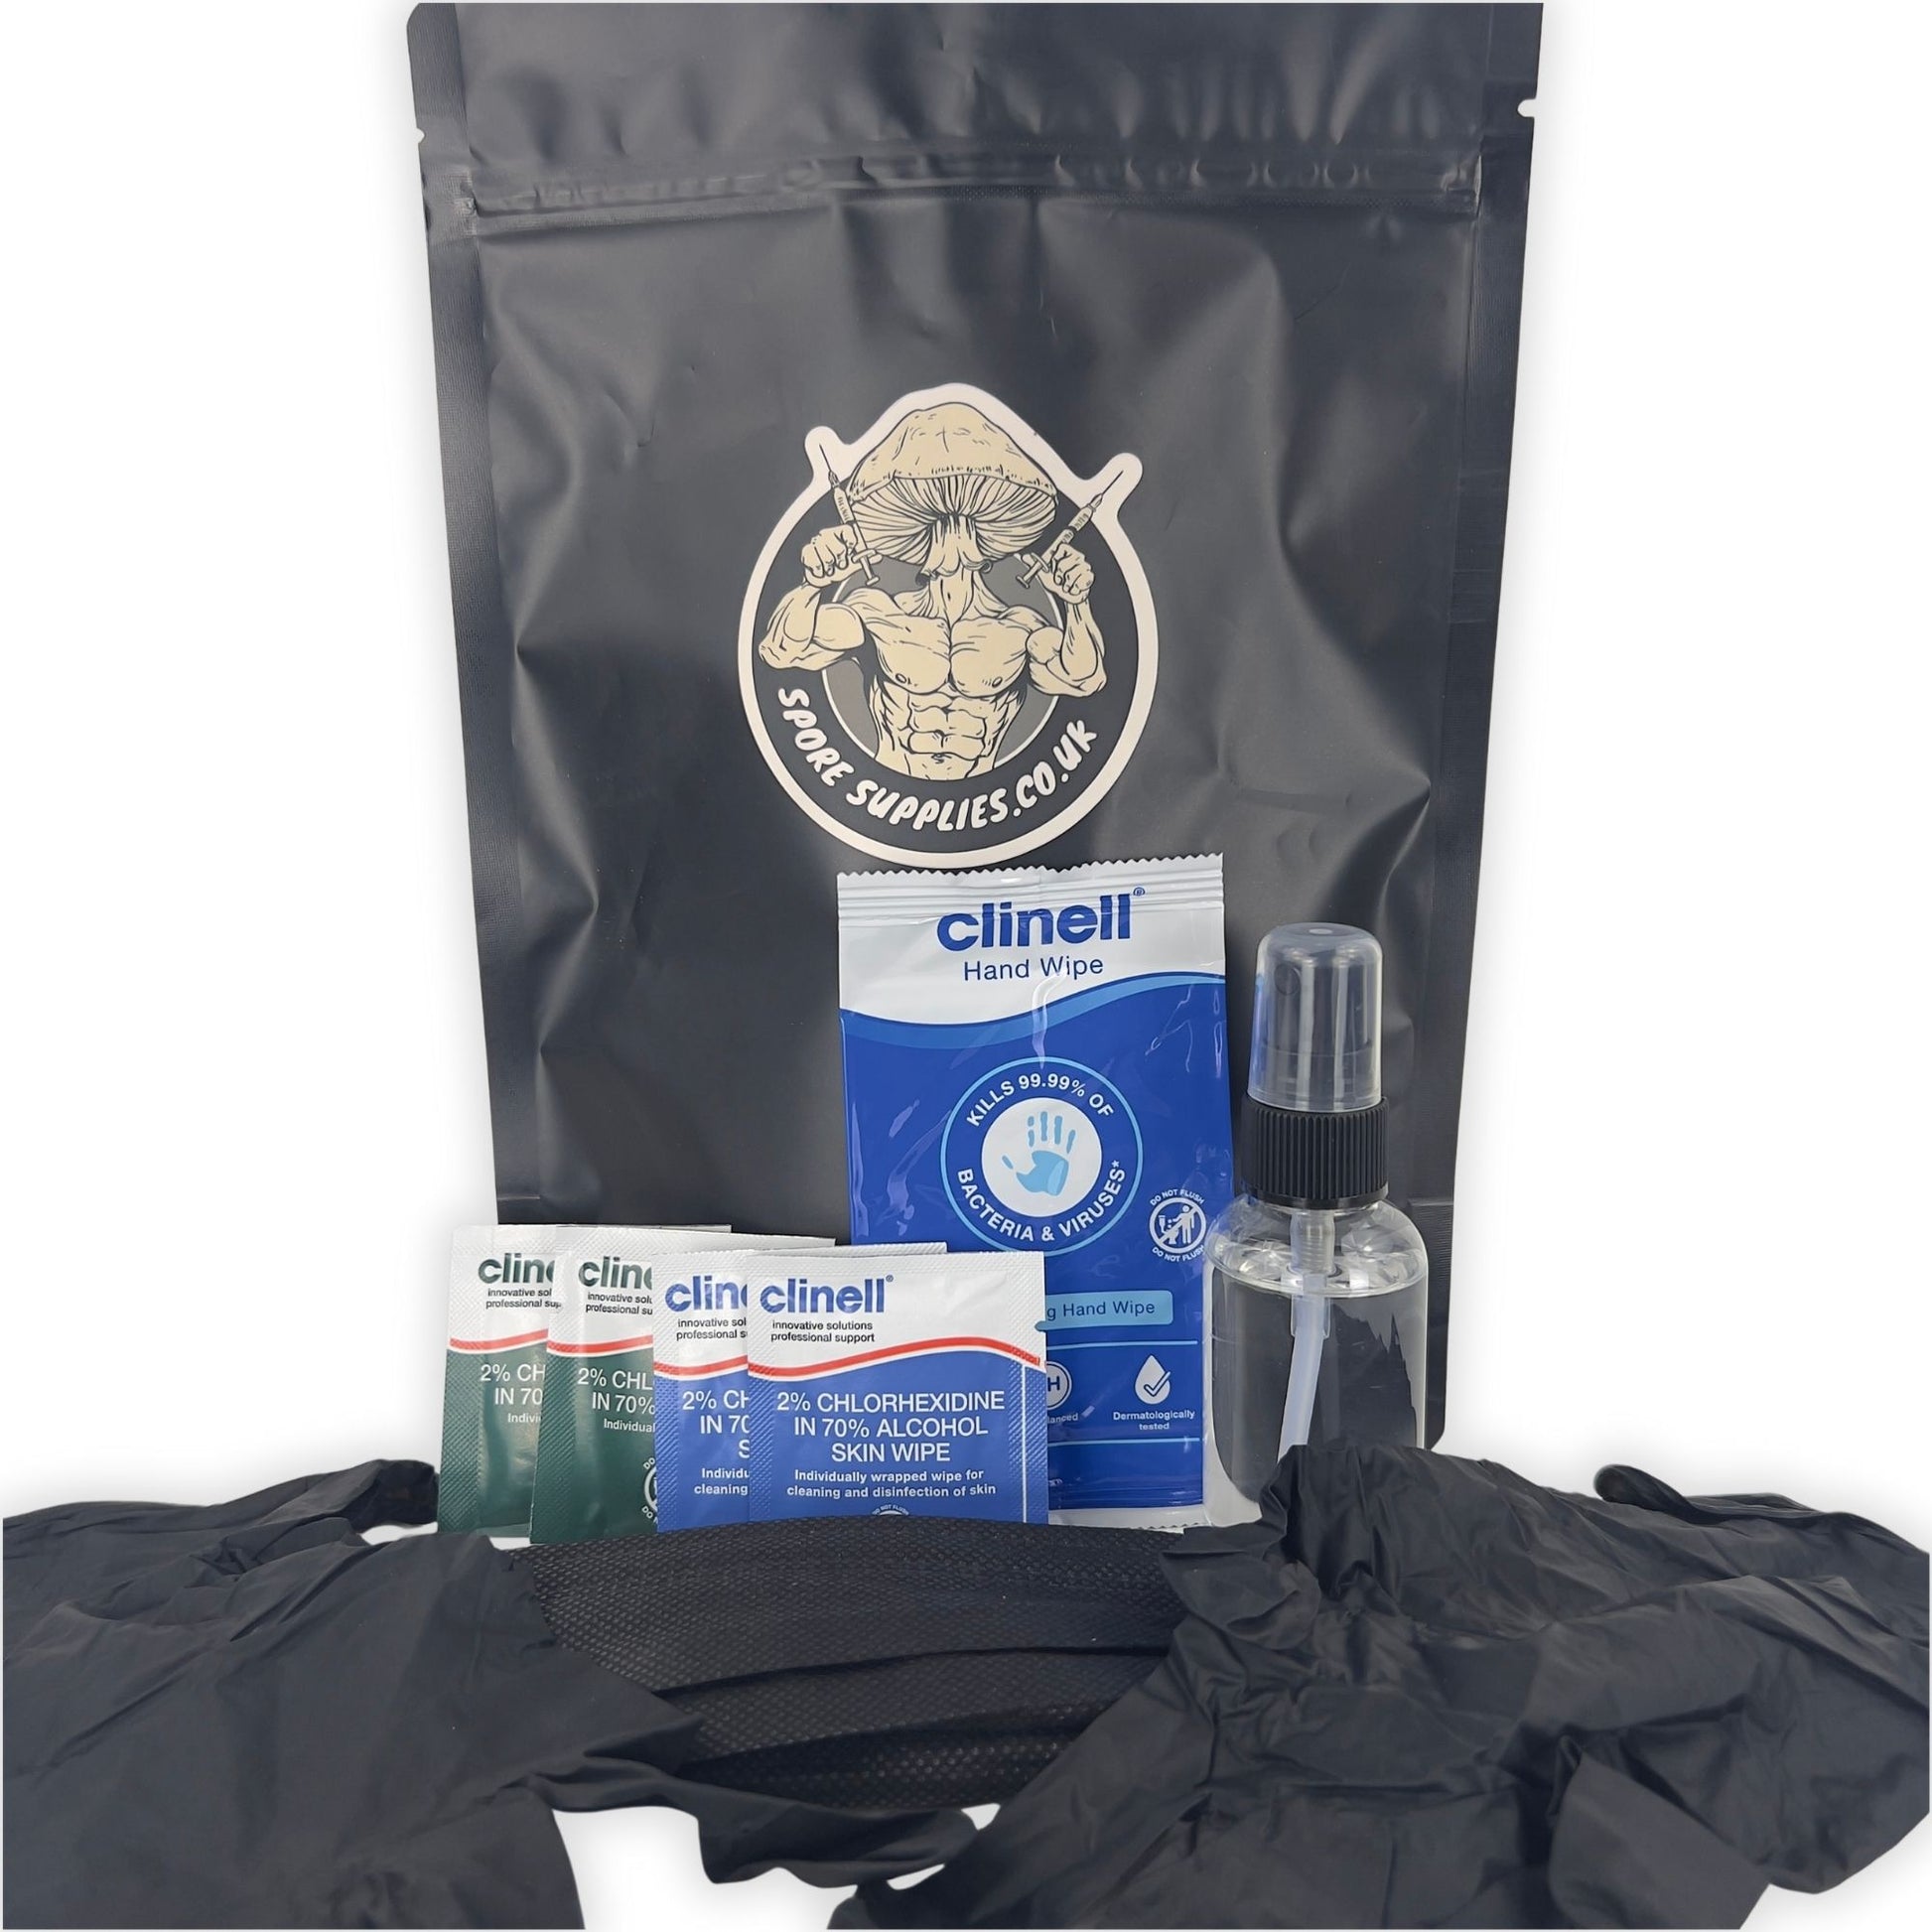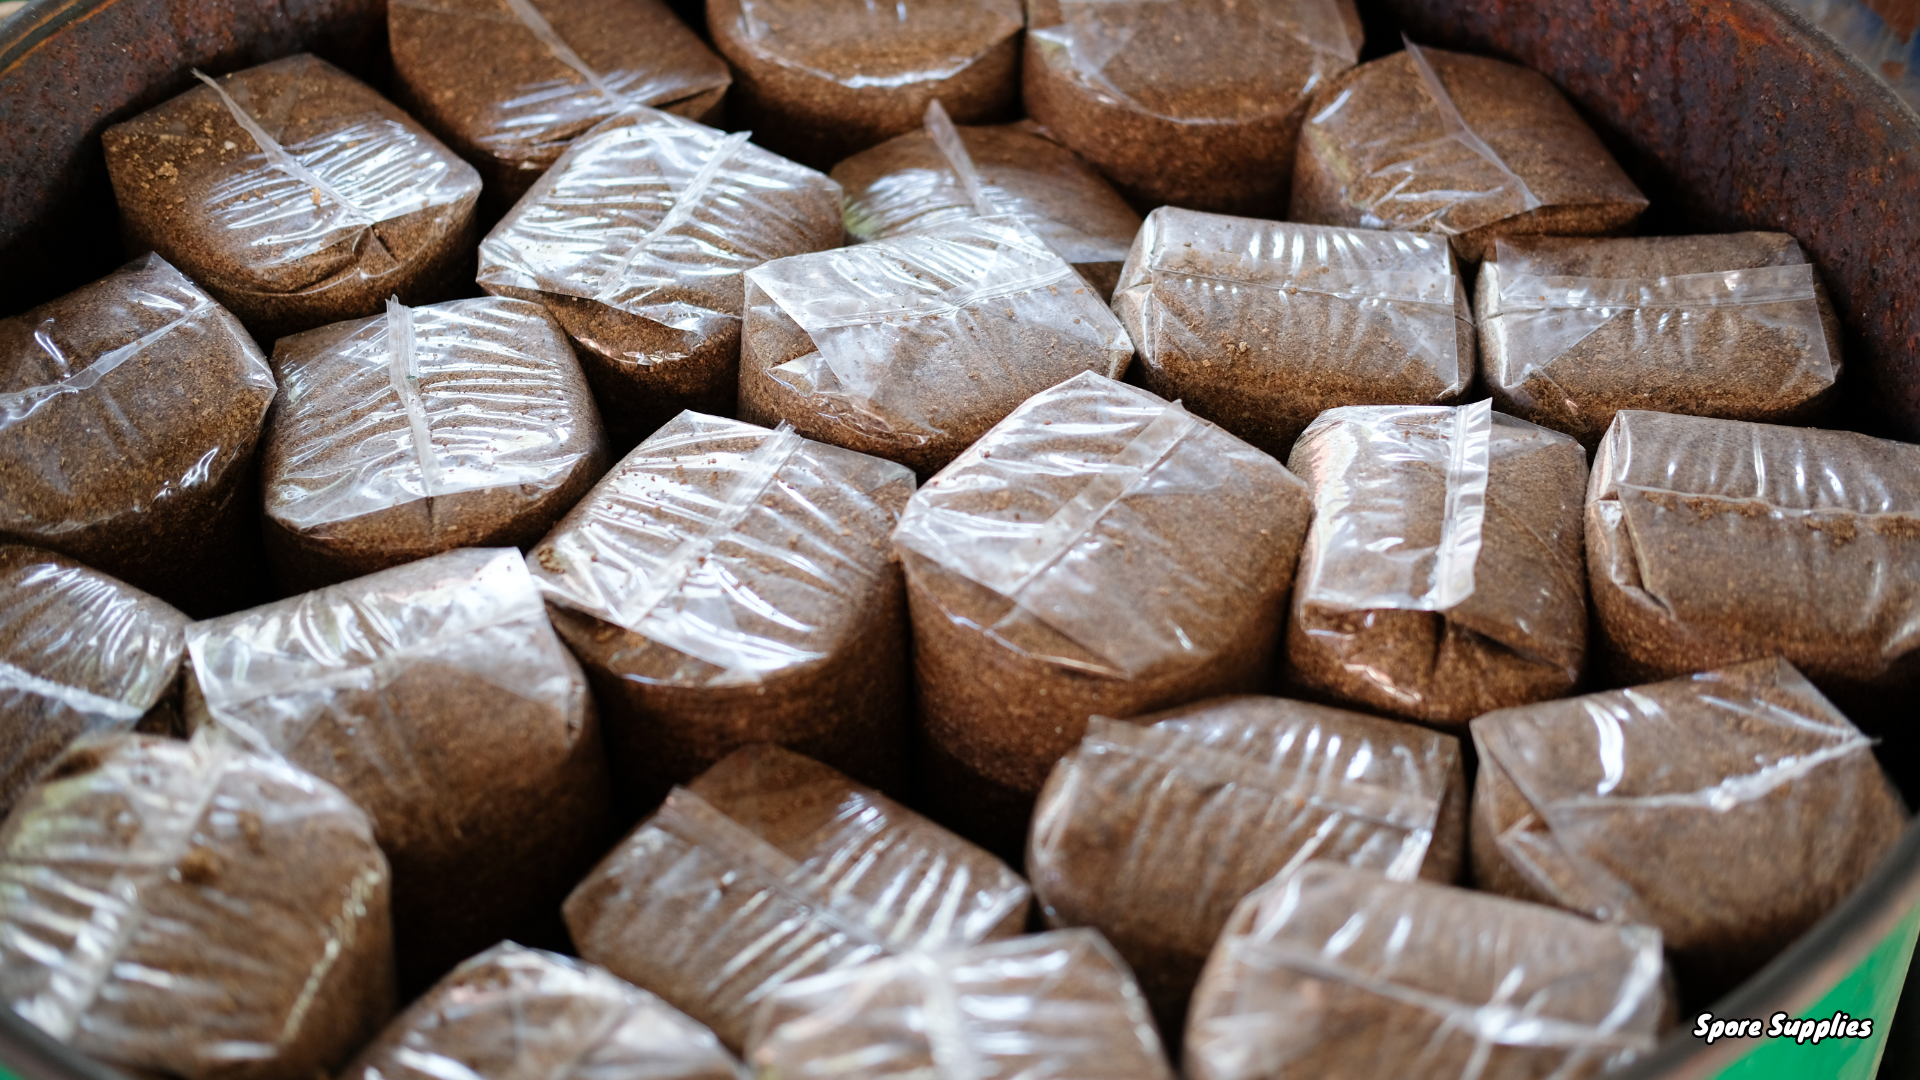
How To Use Substrate - The Grain To Substrate Transfer Guide:
If you’re reading this guide, you’ve probably already colonised a bag of our sterilised grain. But, if this is the first you’ve heard of using it, you can read more about grain here.
Before we get stuck into using your substrate, we'll share a few tips and tricks to make sure everything goes smoothly.
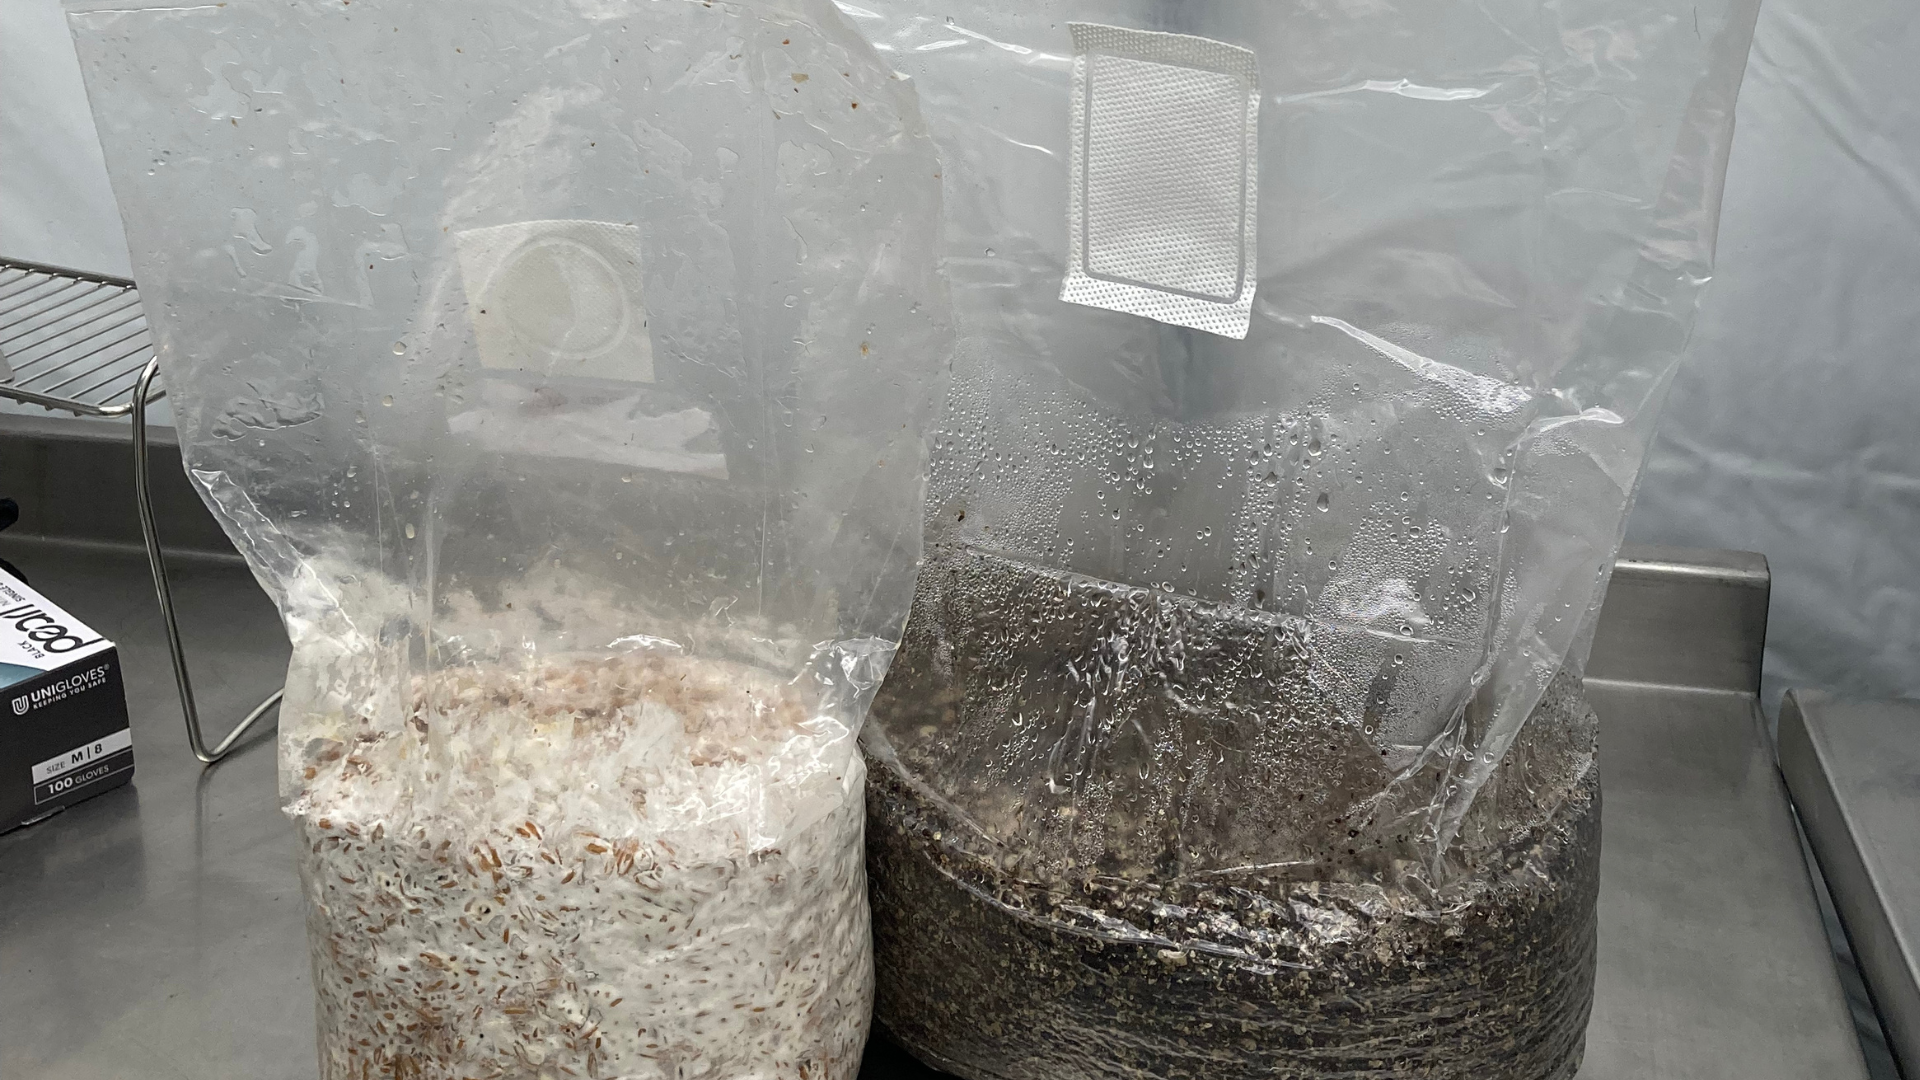
How Much Spawn Does My Substrate Need?
Required spawn amounts will vary from strain to strain, but as a benchmark, follow these ratios:
If you’re looking to grow most exotic and functional mushrooms, you’ll be best off adding 1.5kg of grain spawn into a 3kg CVG substrate bag - around 33% grain/ 66% sub.
For faster-growing gourmet and functional strains, you can get away with much less. Try roughly 10% spawn/ 90% substrate.
Or, to keep things simple - split your 1.5kg spawn bag into three of our 4kg masters mix blocks. It’s a smidge more than you need, but it’ll only help.
Using Aseptic Technique:
Before you start using your substrate, let's quickly refresh on a few principles of aseptic technique.
What is aseptic technique? Without getting into specifics, aseptic technique is the practice of minimising contamination in your workflow.
How can you do this? Whilst we'll do a deep breakdown of the subject in a separate guide. For now, here are a few tips and tricks that'll provide you with all you need to use your substrate.
Aseptic Technique Starter Kit
Share
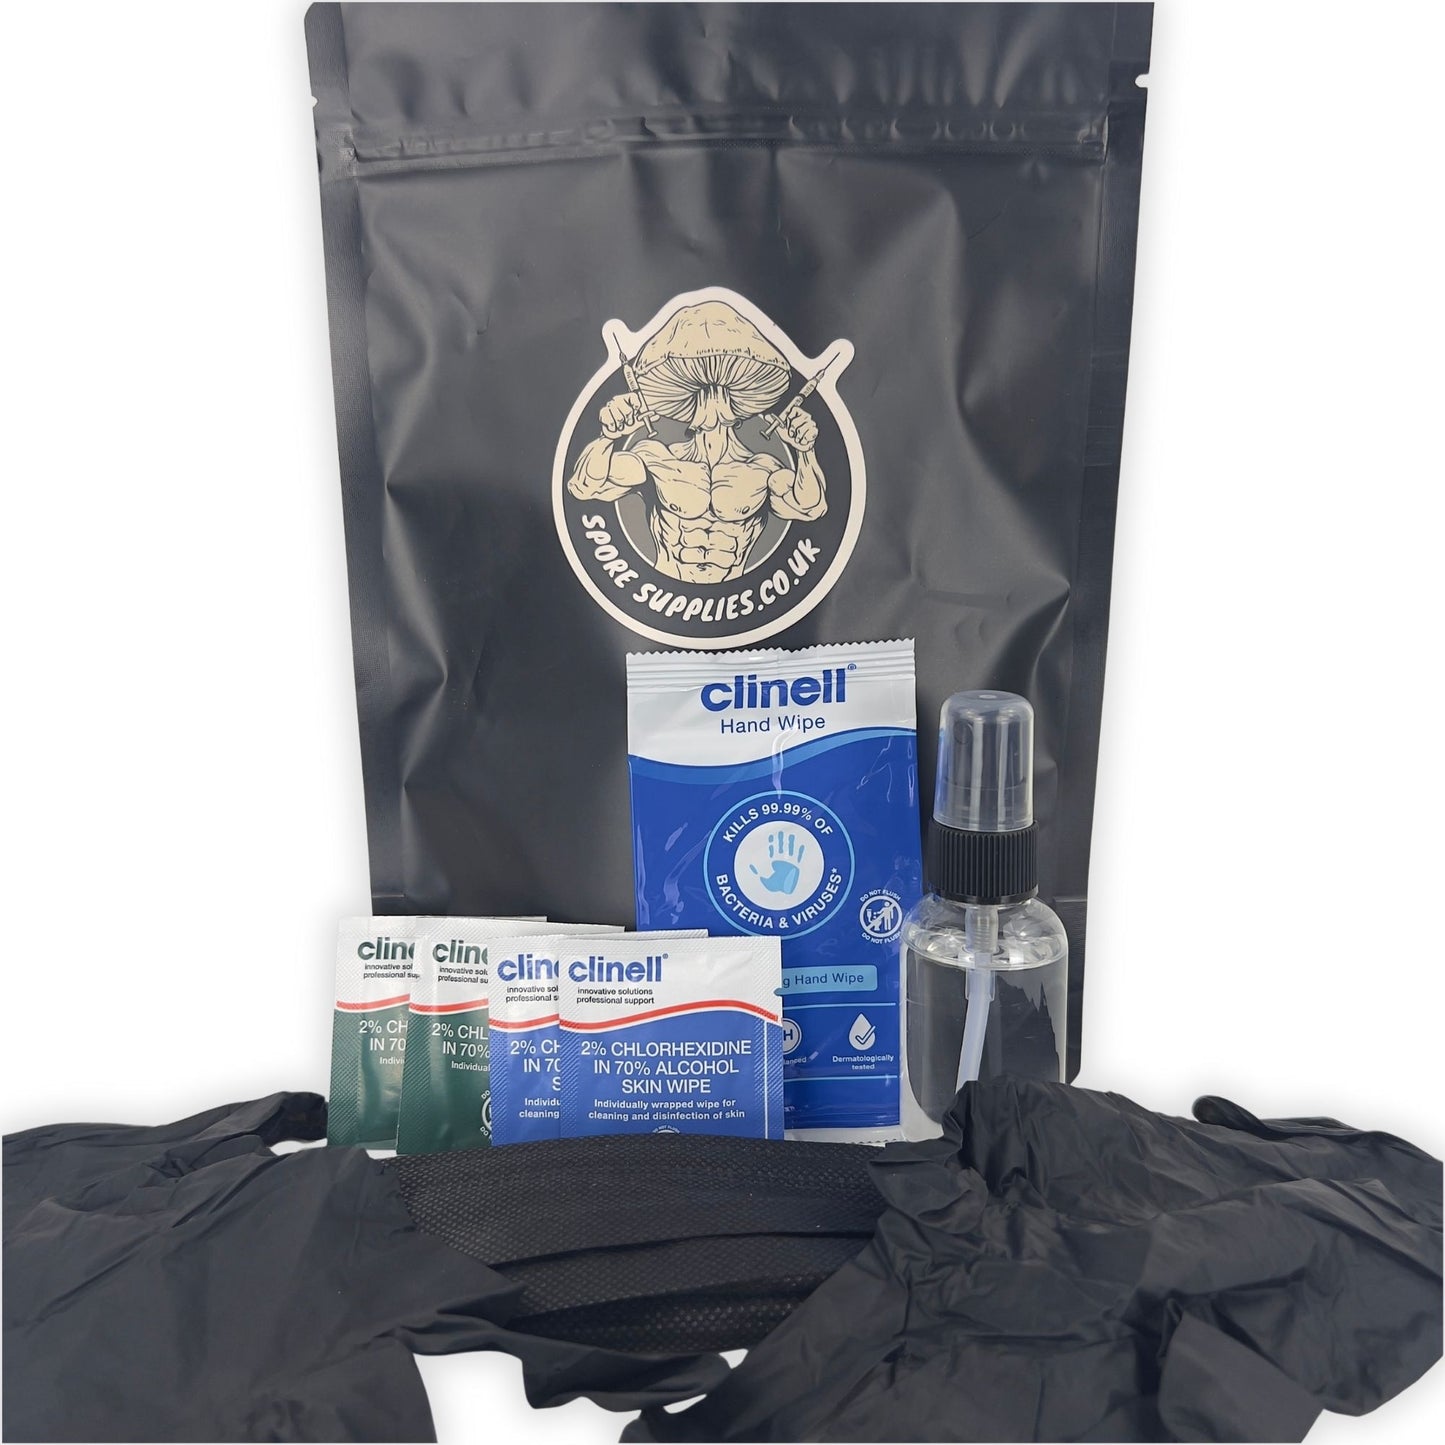
The Key Things To Follow Are:
-
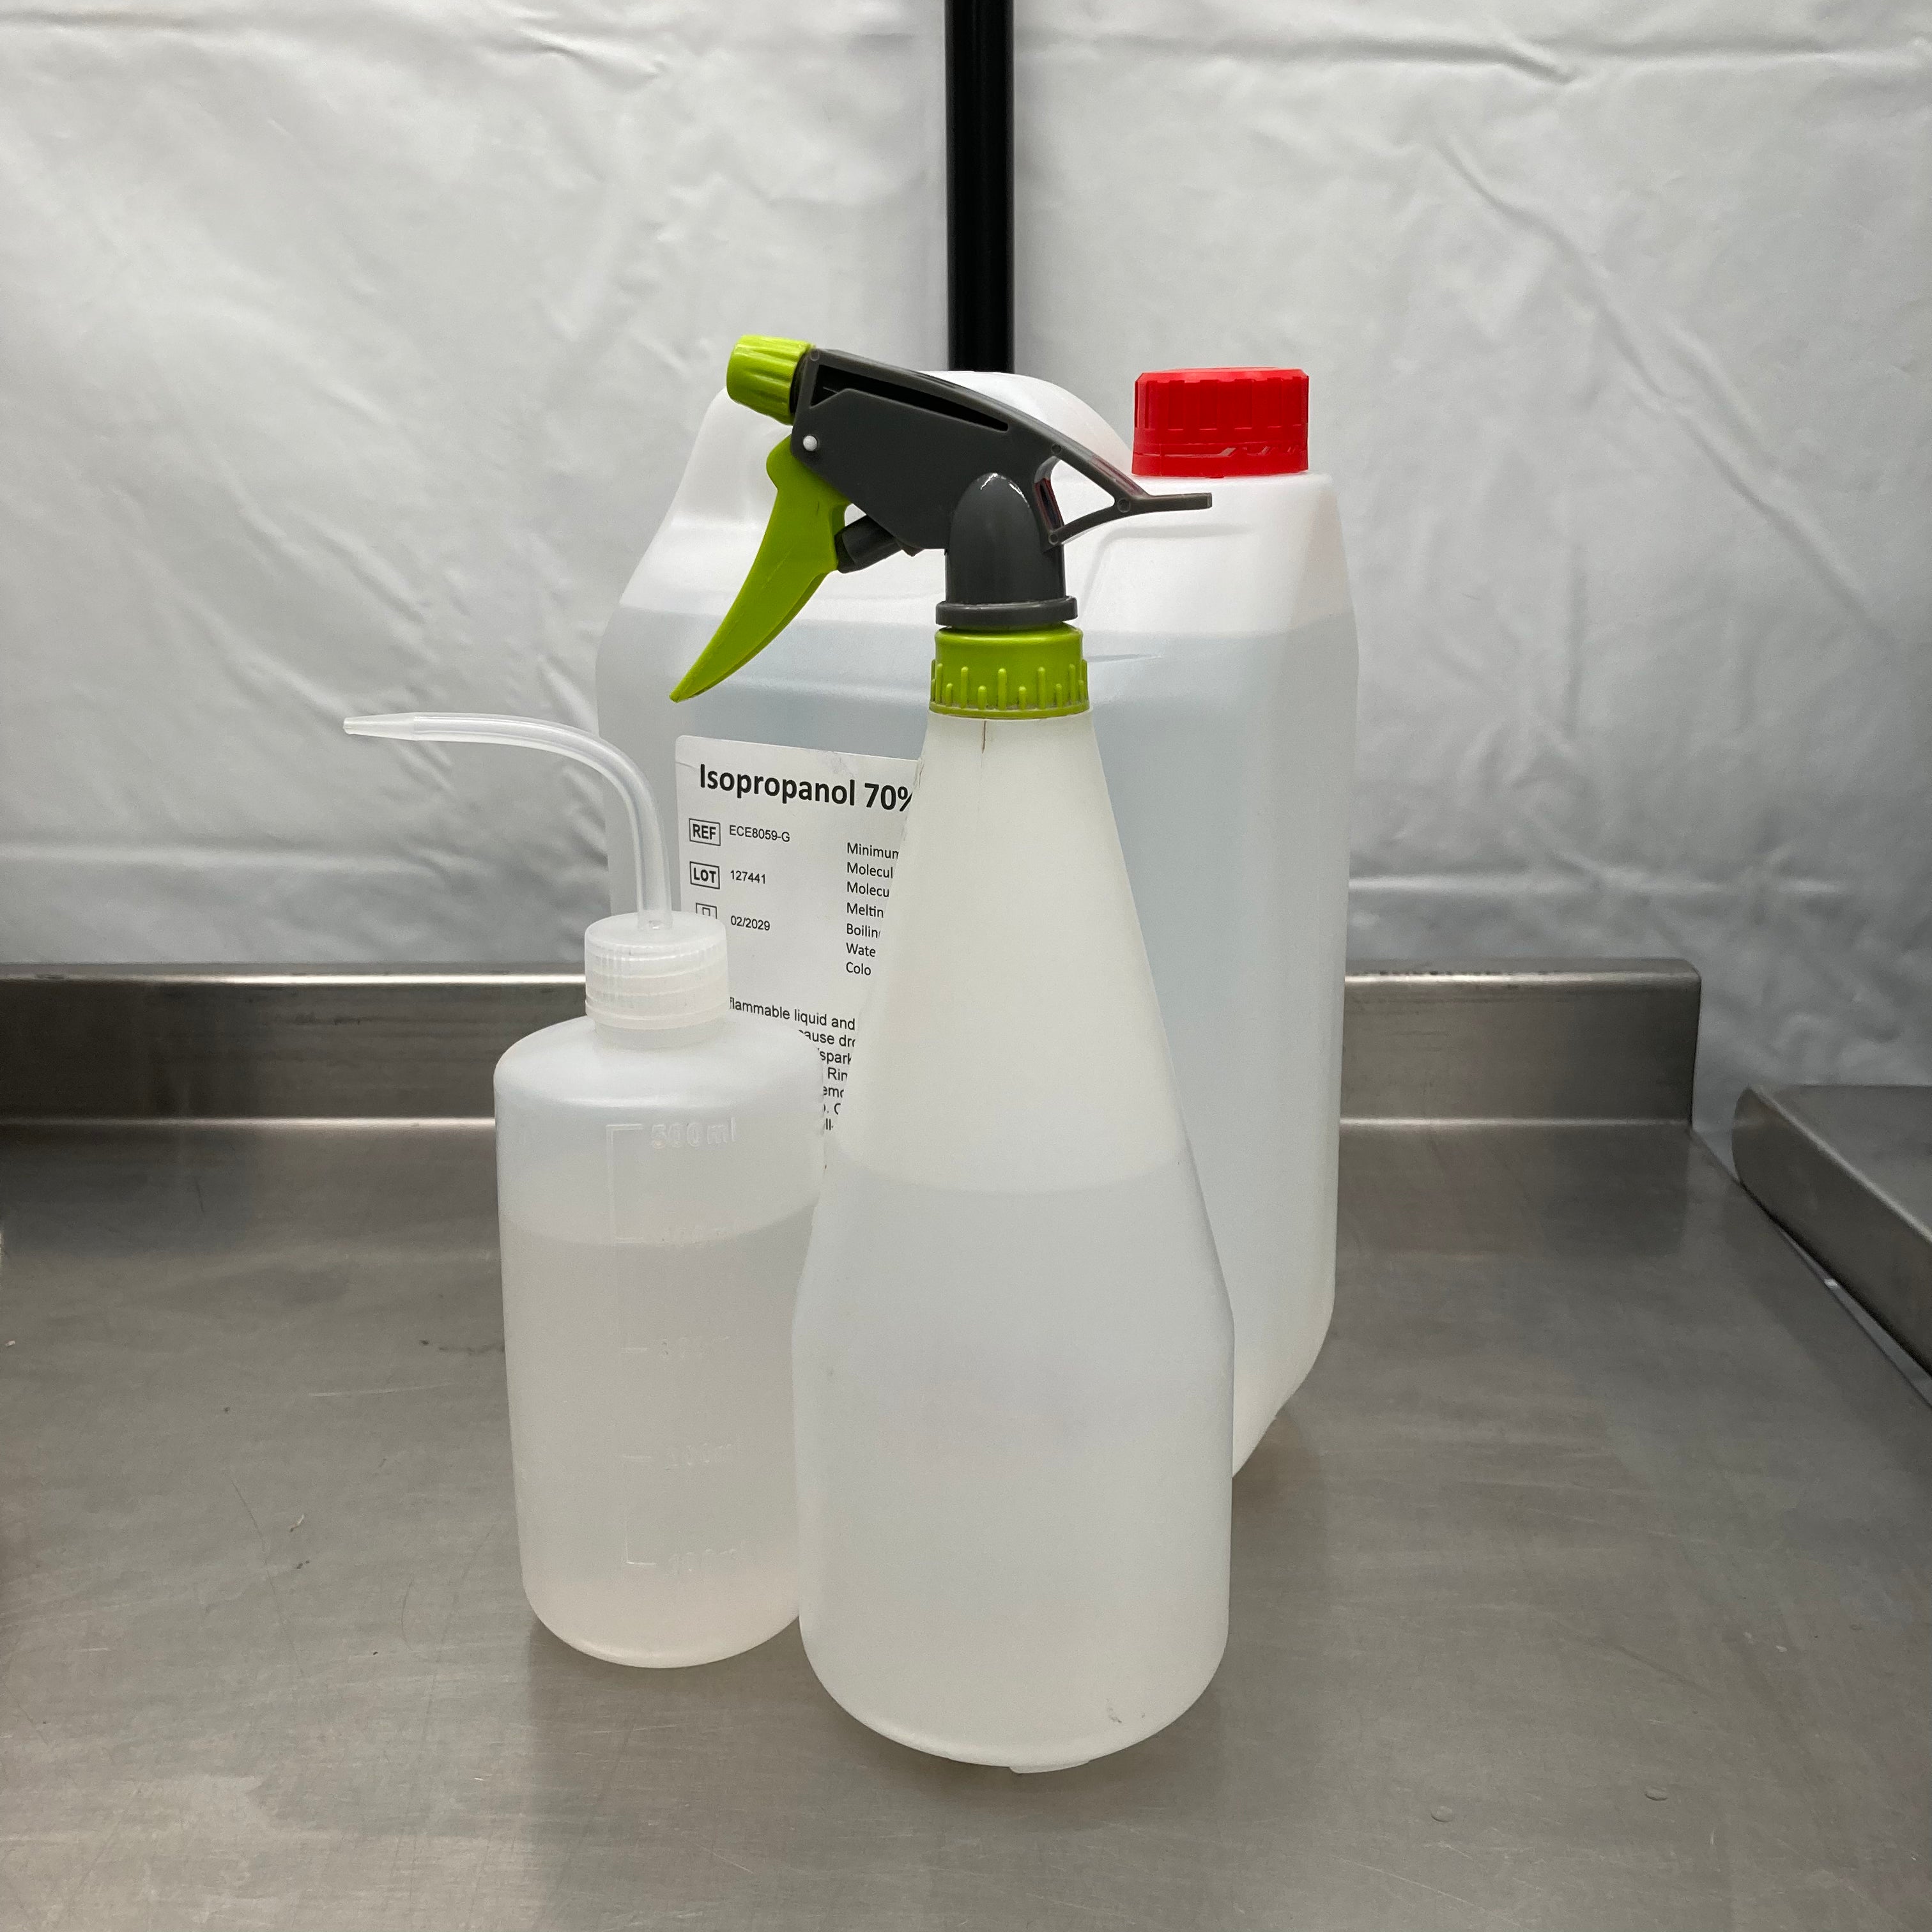
Use Isopropyl
Isopropyl is a mycologist's right-hand guy when it comes to killing contamination. Grab a 70% Isopropyl spray bottle for best results.
-
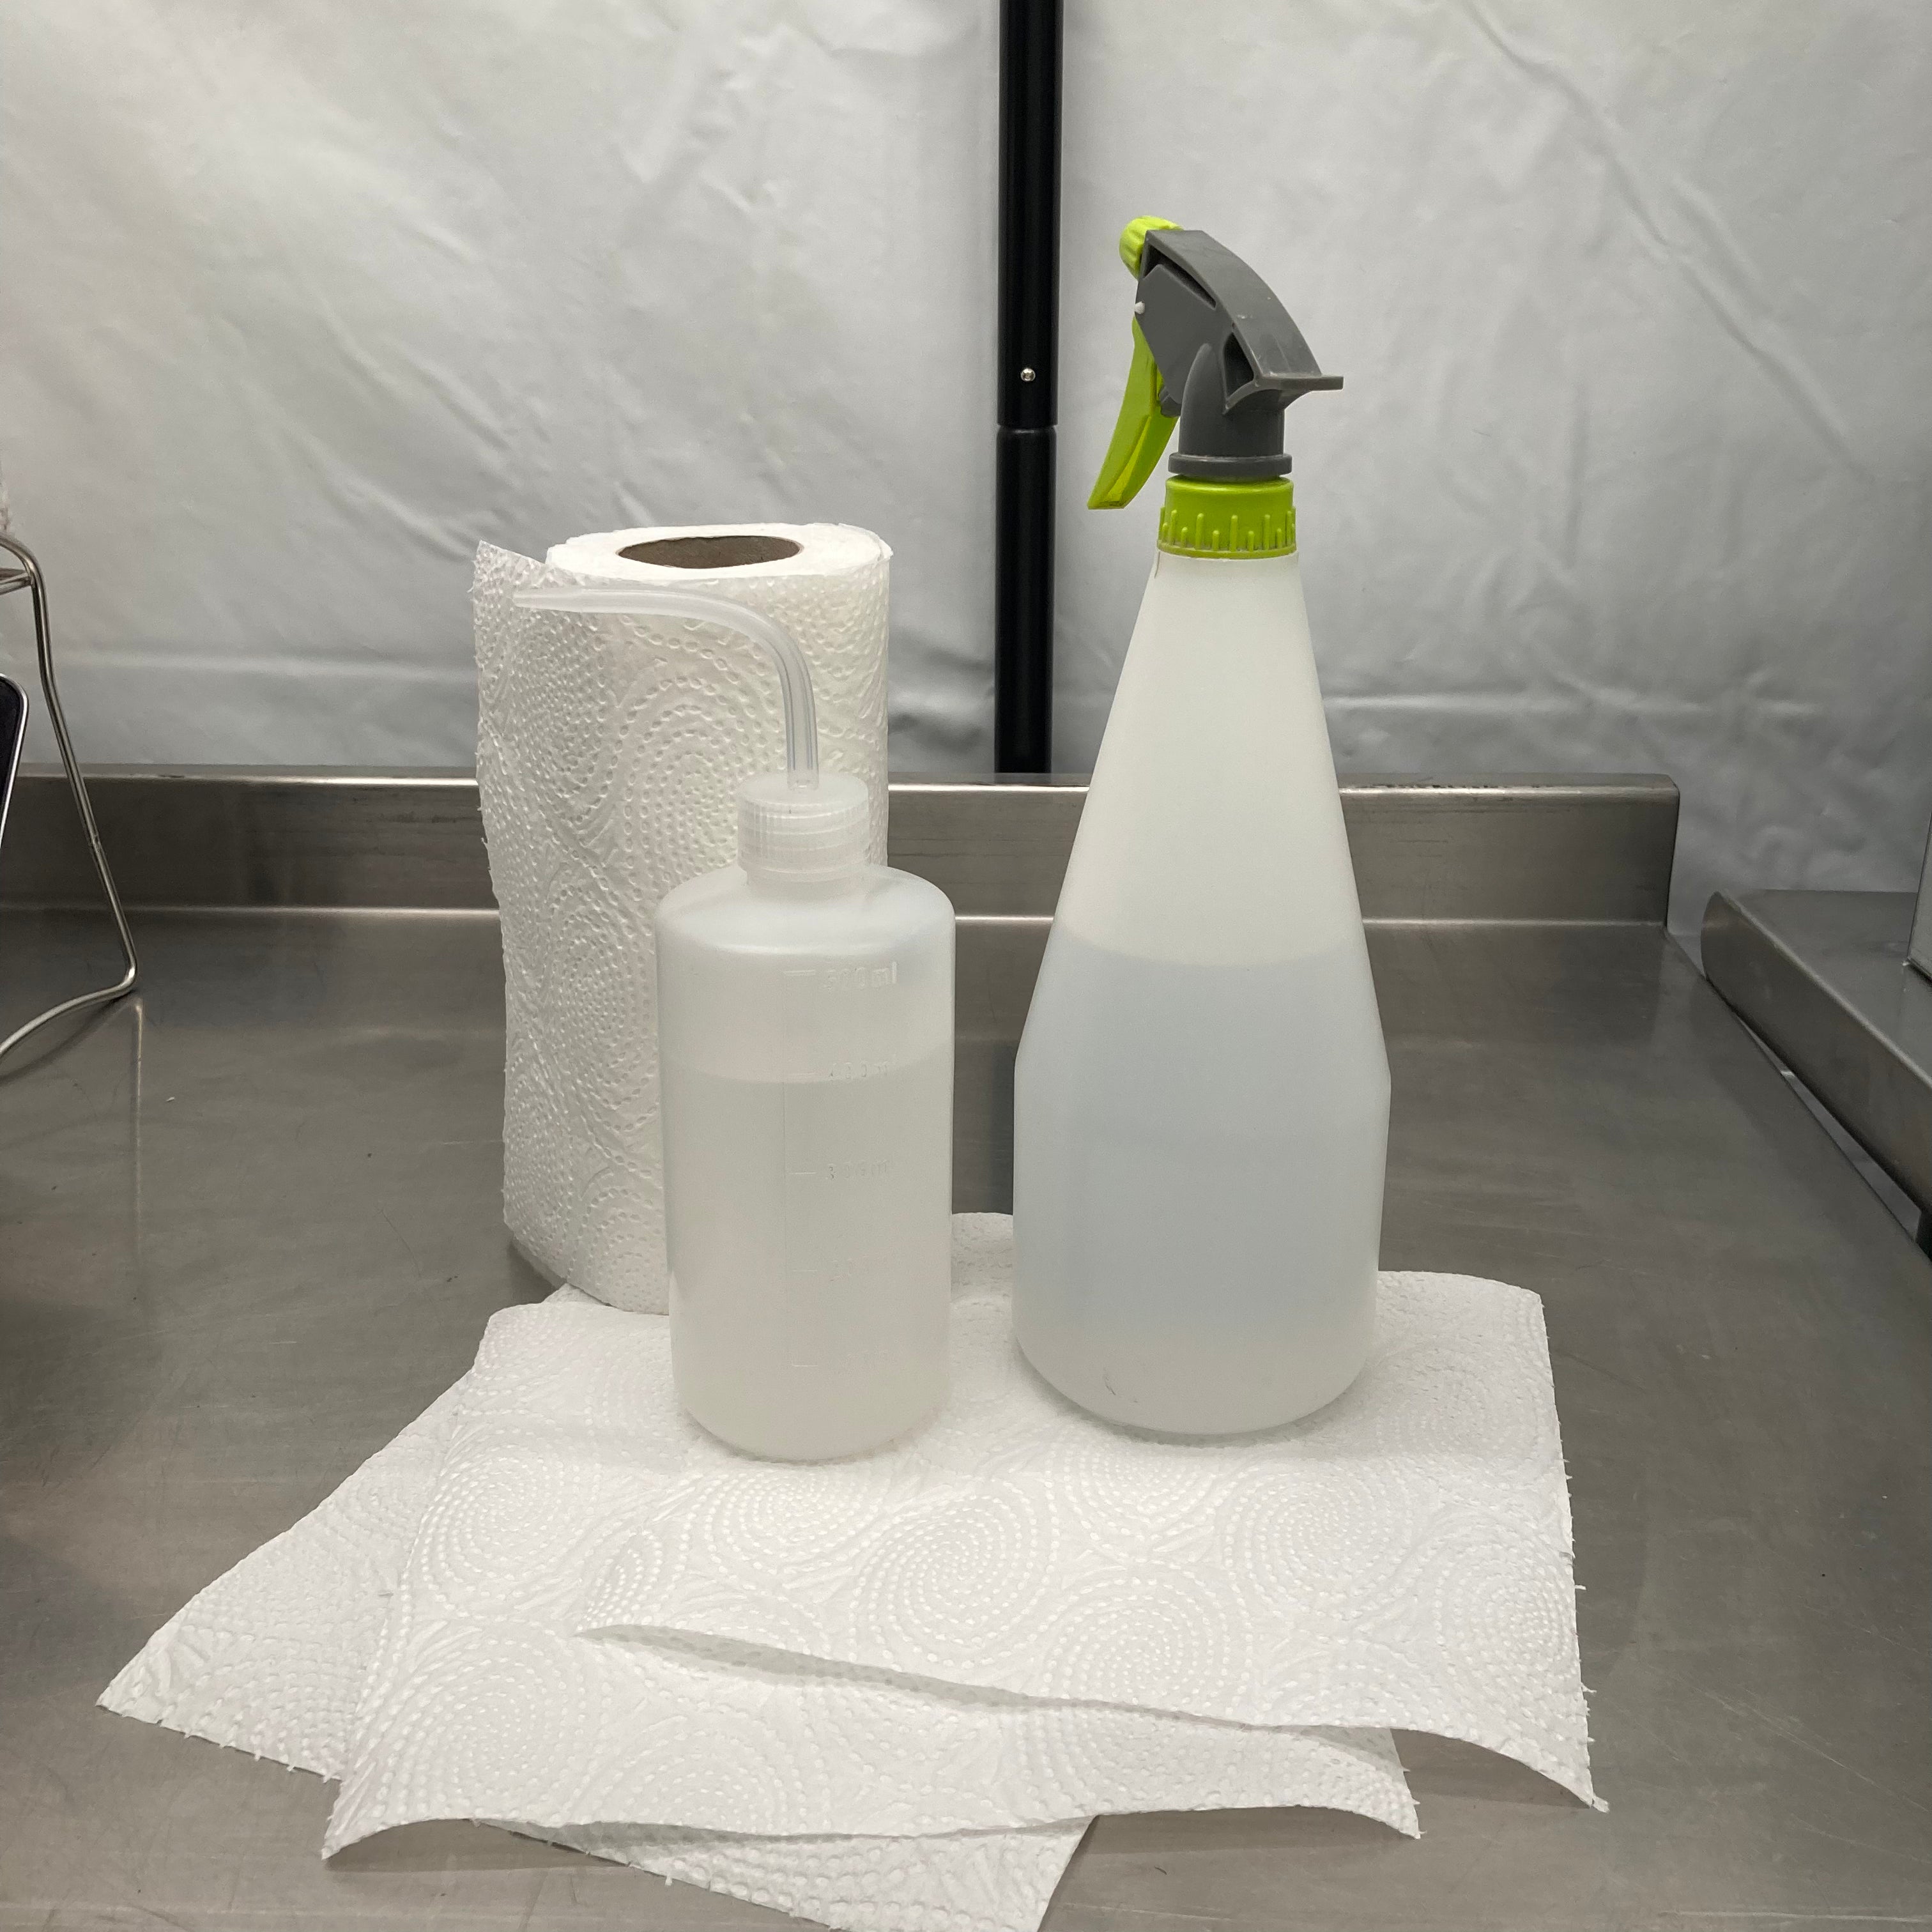
Clean Everything
Using your new Isopropyl, spray down a couple of kitchen roll sheets and use them to wipe down surfaces, equipment and beyond. Wash yourself beforehand whilst you're at it.. smelly (just kidding).
-
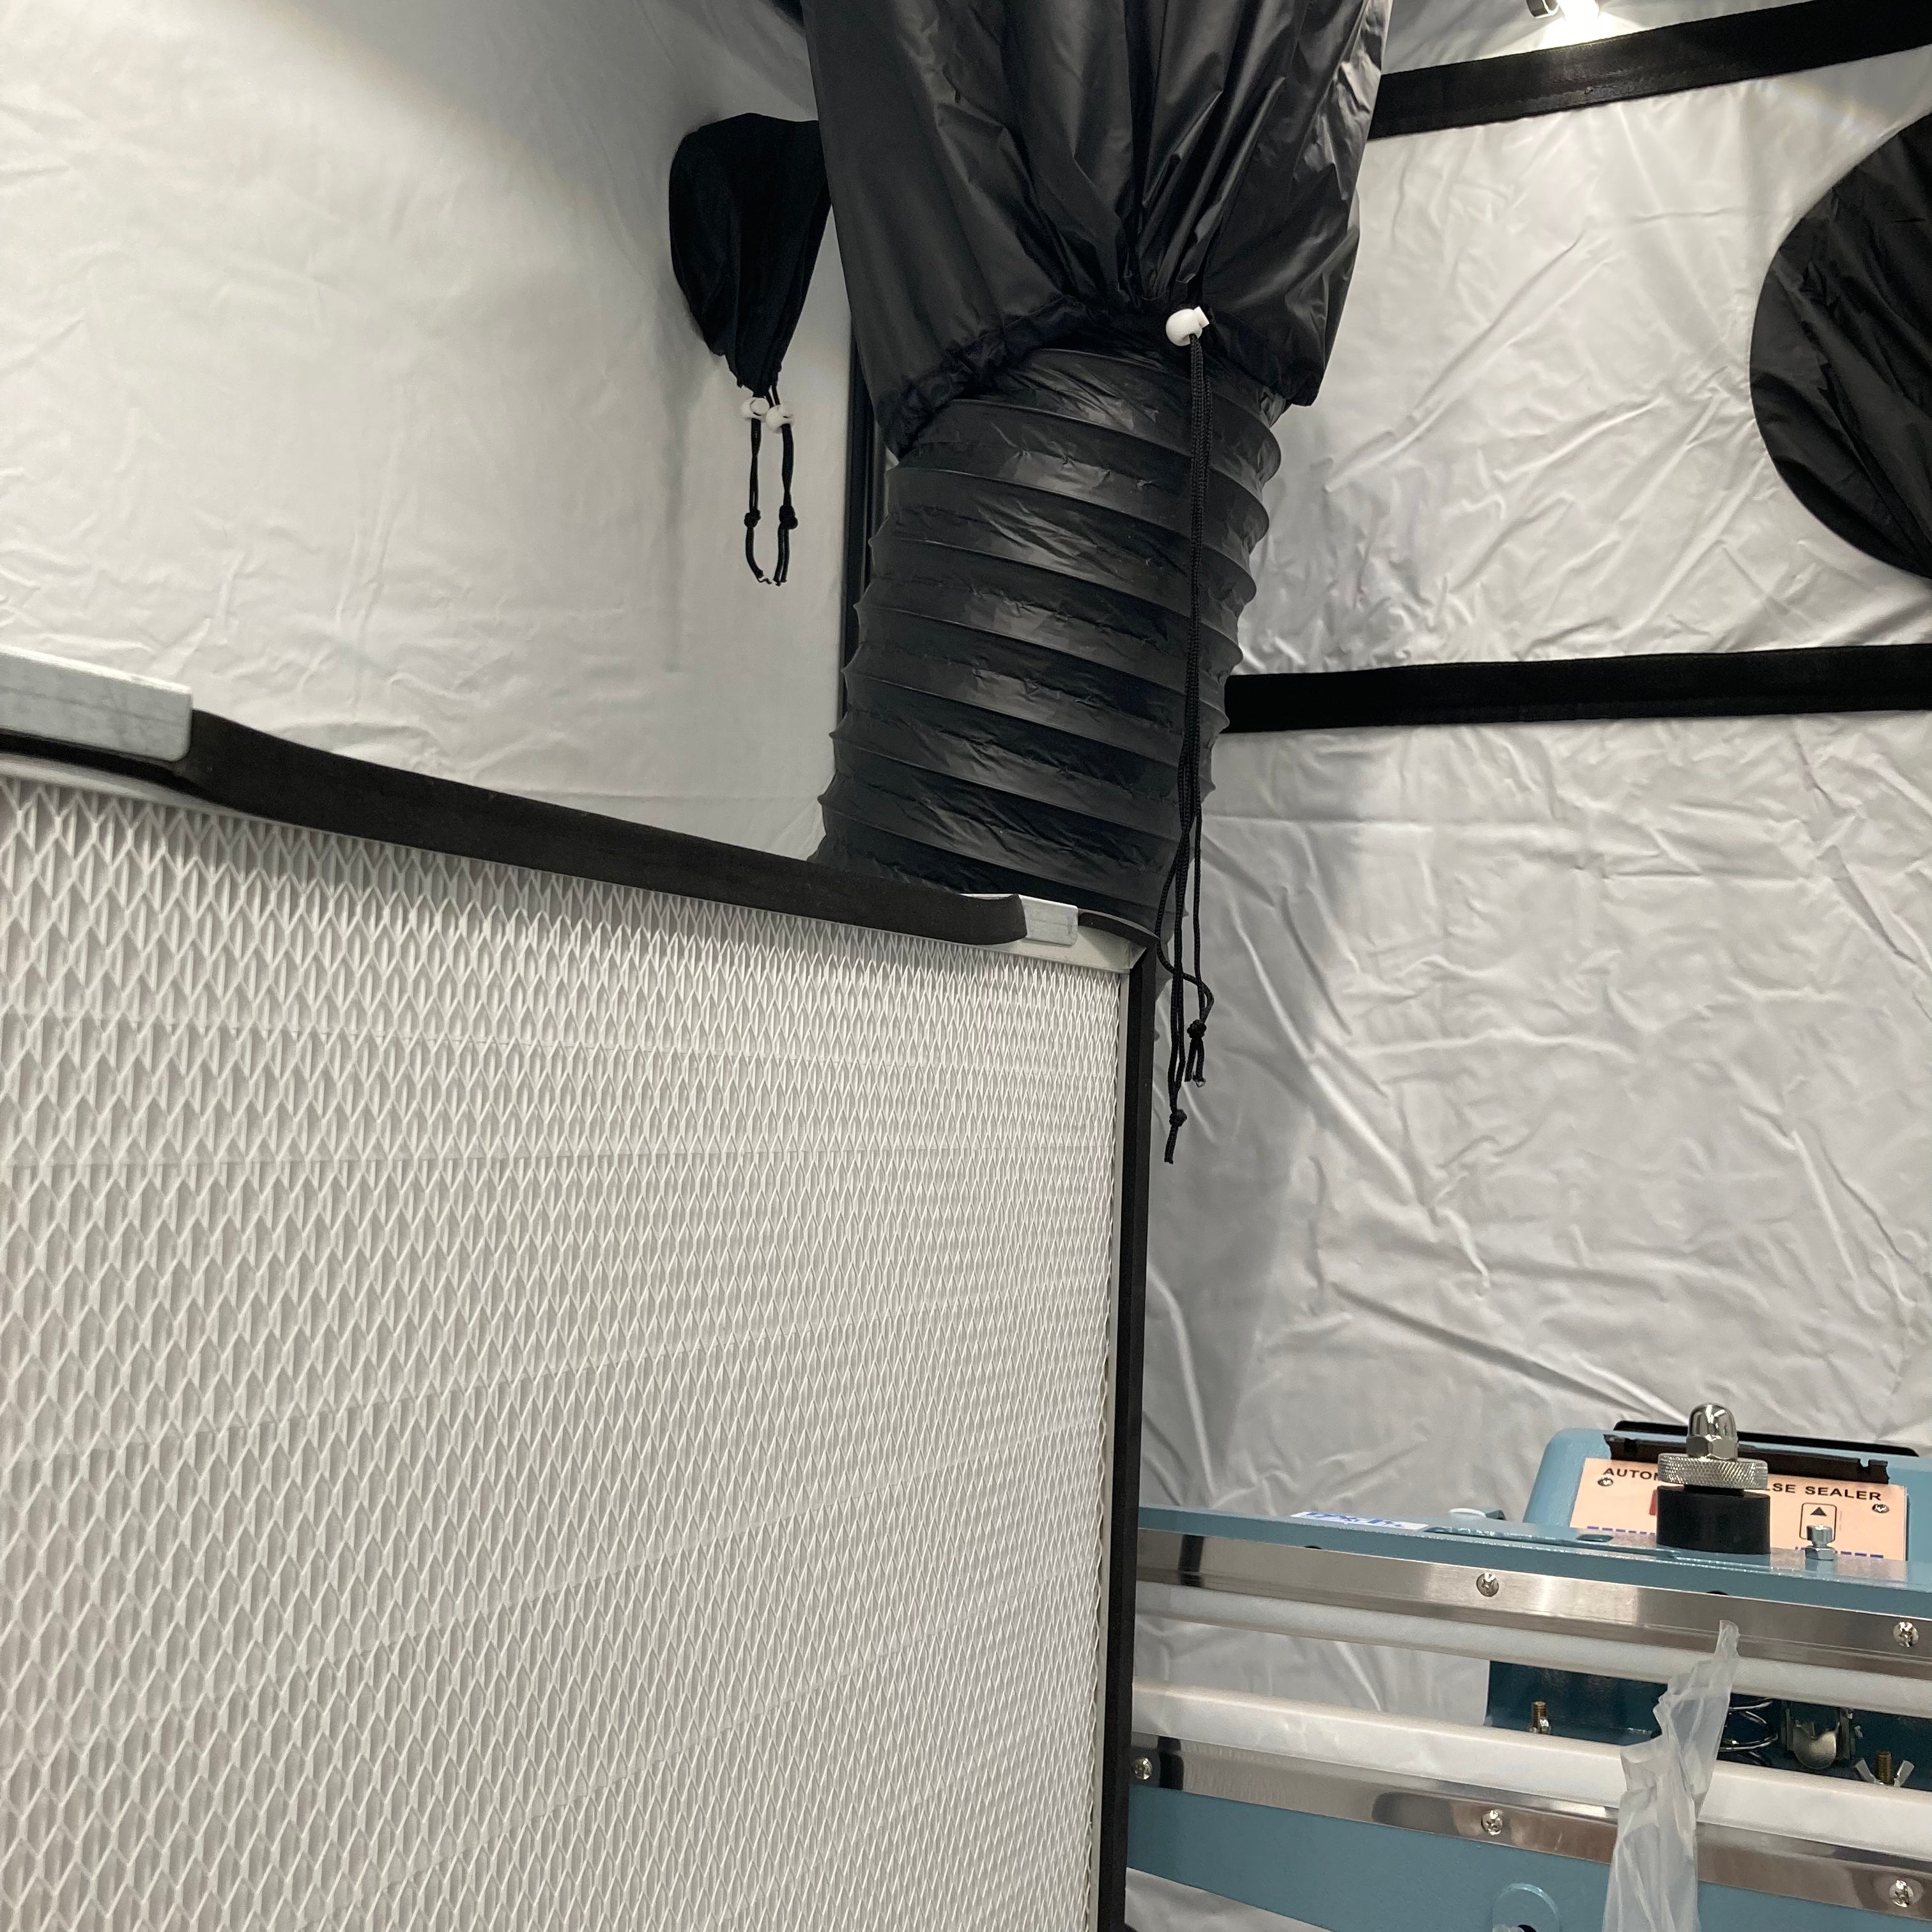
Minimise Airflow
To make all the previous steps worthwhile, find a small space to work in, close windows, doors etc and check for drafts that could introduce airborne contamination to your genetics.
The spawn to substrate checklist
What You'll Need:
70% Isopropyl Spray
A trusty spray bottle of isopropyl to kill off contamination.
Disposable Nitrile Gloves
Sure, you can get away with washing your hands well and wiping them with isopropyl. But nitrile gloves are by far the best way to make sure your hands don't add contamination to your spawn during the transfer.
Colonised Grain Bag
the most important part! Your colonised bag of sterile grain will be needed for the spawn to substrate transfer. Just make sure you have enough and you're all good to go. If not, you can grab some more sterile grain here.
Sterilised Substrate Bag
The main star of the show, sterilised substrate is the key ingredient for this process. If you need a little extra before you get started, you can grab more substrate here.
Fresh Kitchen Roll/Wipes
A freshly opened pack of kitchen rolls always come in handy when you need to wipe surfaces and equipment down! Just spray a few sheets of kitchen roll with isopropyl spray and wipe whatever you need to kill off contamination.
Scissors/Scalpel
A pair of scissors will be needed to cut open the top of your substrate bag and grain spawn bag, (just make sure you keep them clean!).
Cable Tie/Heat Sealer
To seal your bag back up after you're done, you'll either need an impulse heat sealer for a clean seal, or, you can always stick with a handy cable tie which also gets the job done quickly.
The Grain Spawn To Bulk Substrate Process:
Now that you know the fundamentals and have everything you need on hand, you're ready to start! Pop your gloves on, give everything a clean whilst implementing the aseptic technique principles outlined above and start breaking your grain spawn up.
How? Just bash your hand on the outside of the grain spawn bag then gently squeeze the grains (without tearing the plastic). Why break it up? Each grain will serve as a point of inoculation once it's in your substrate, so the more grains that are separated, the quicker your mycelium can do its job - eating substrate!
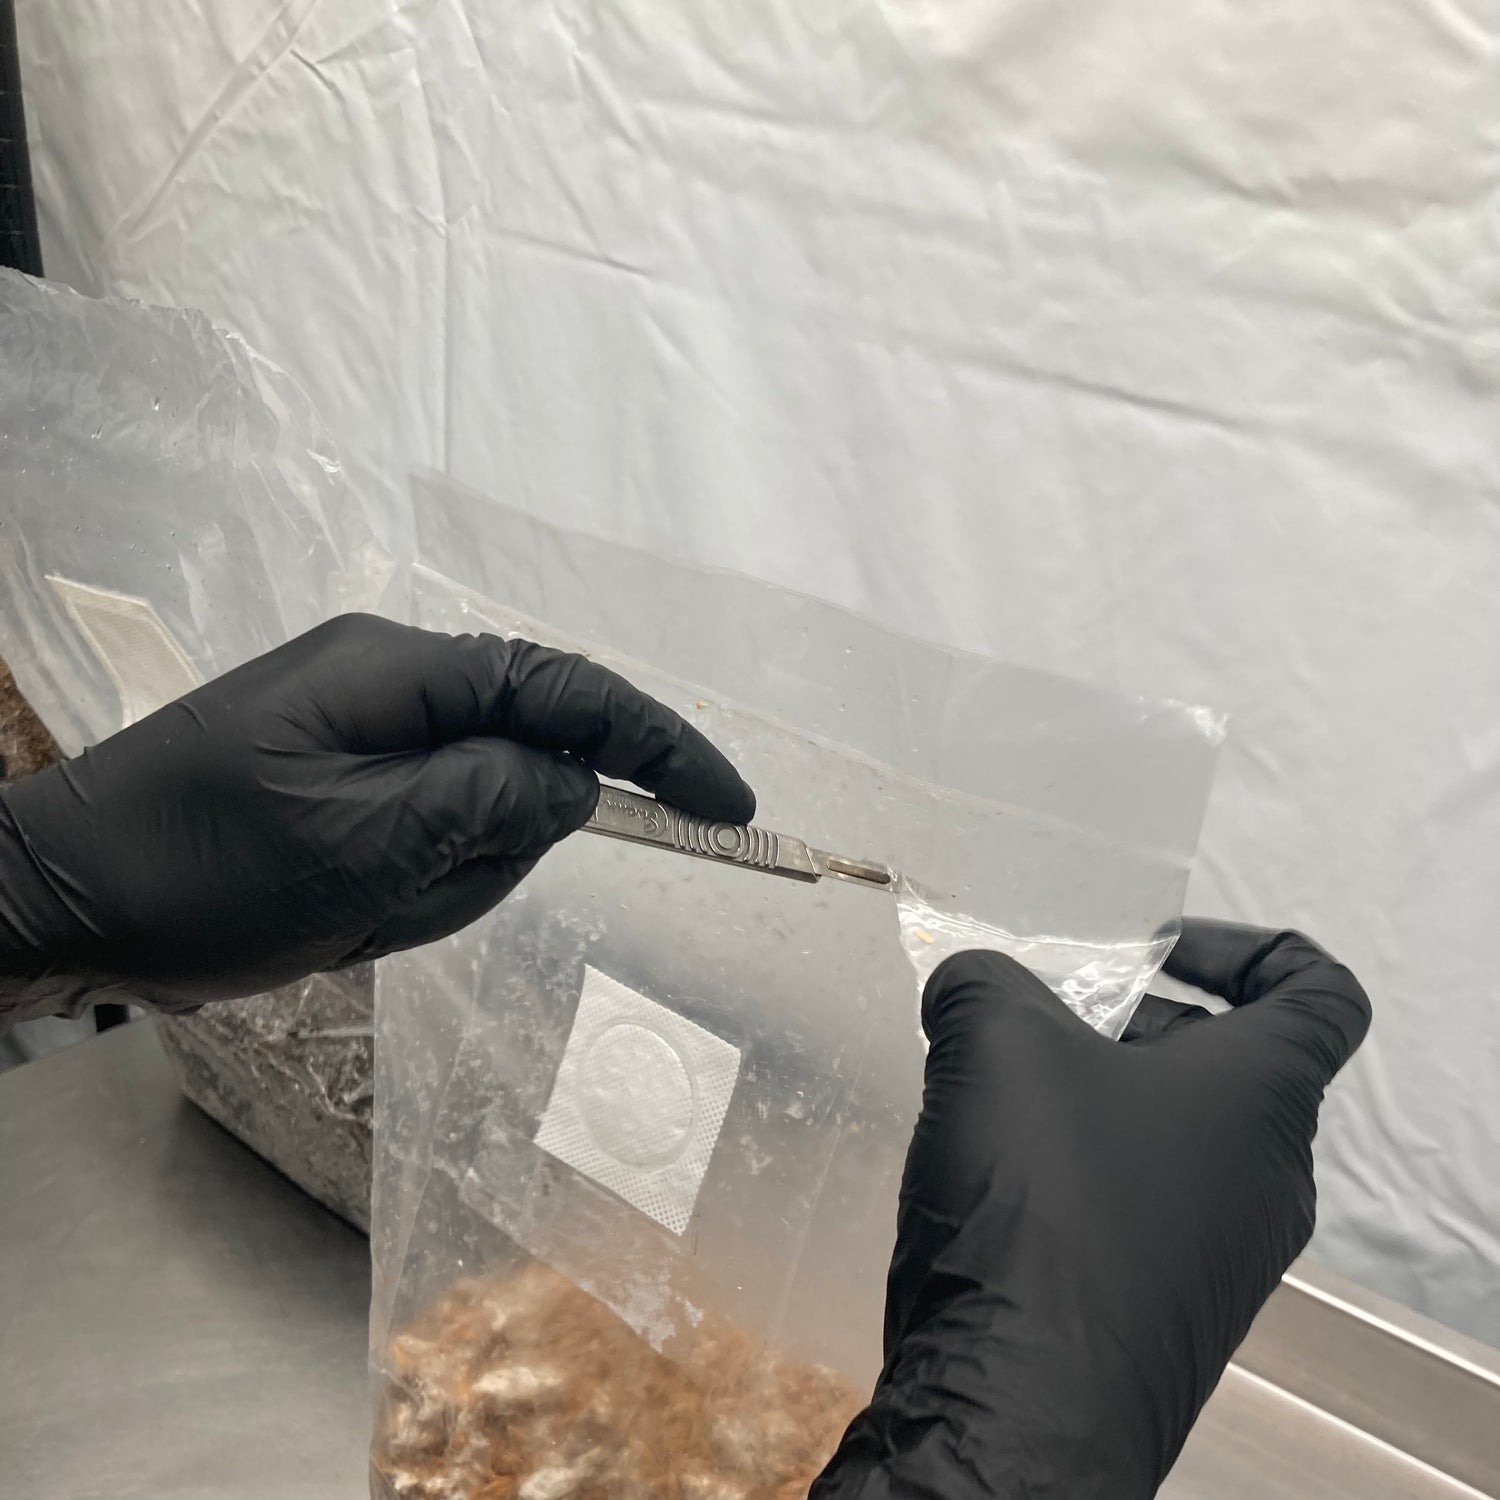
Cut Bags Open:
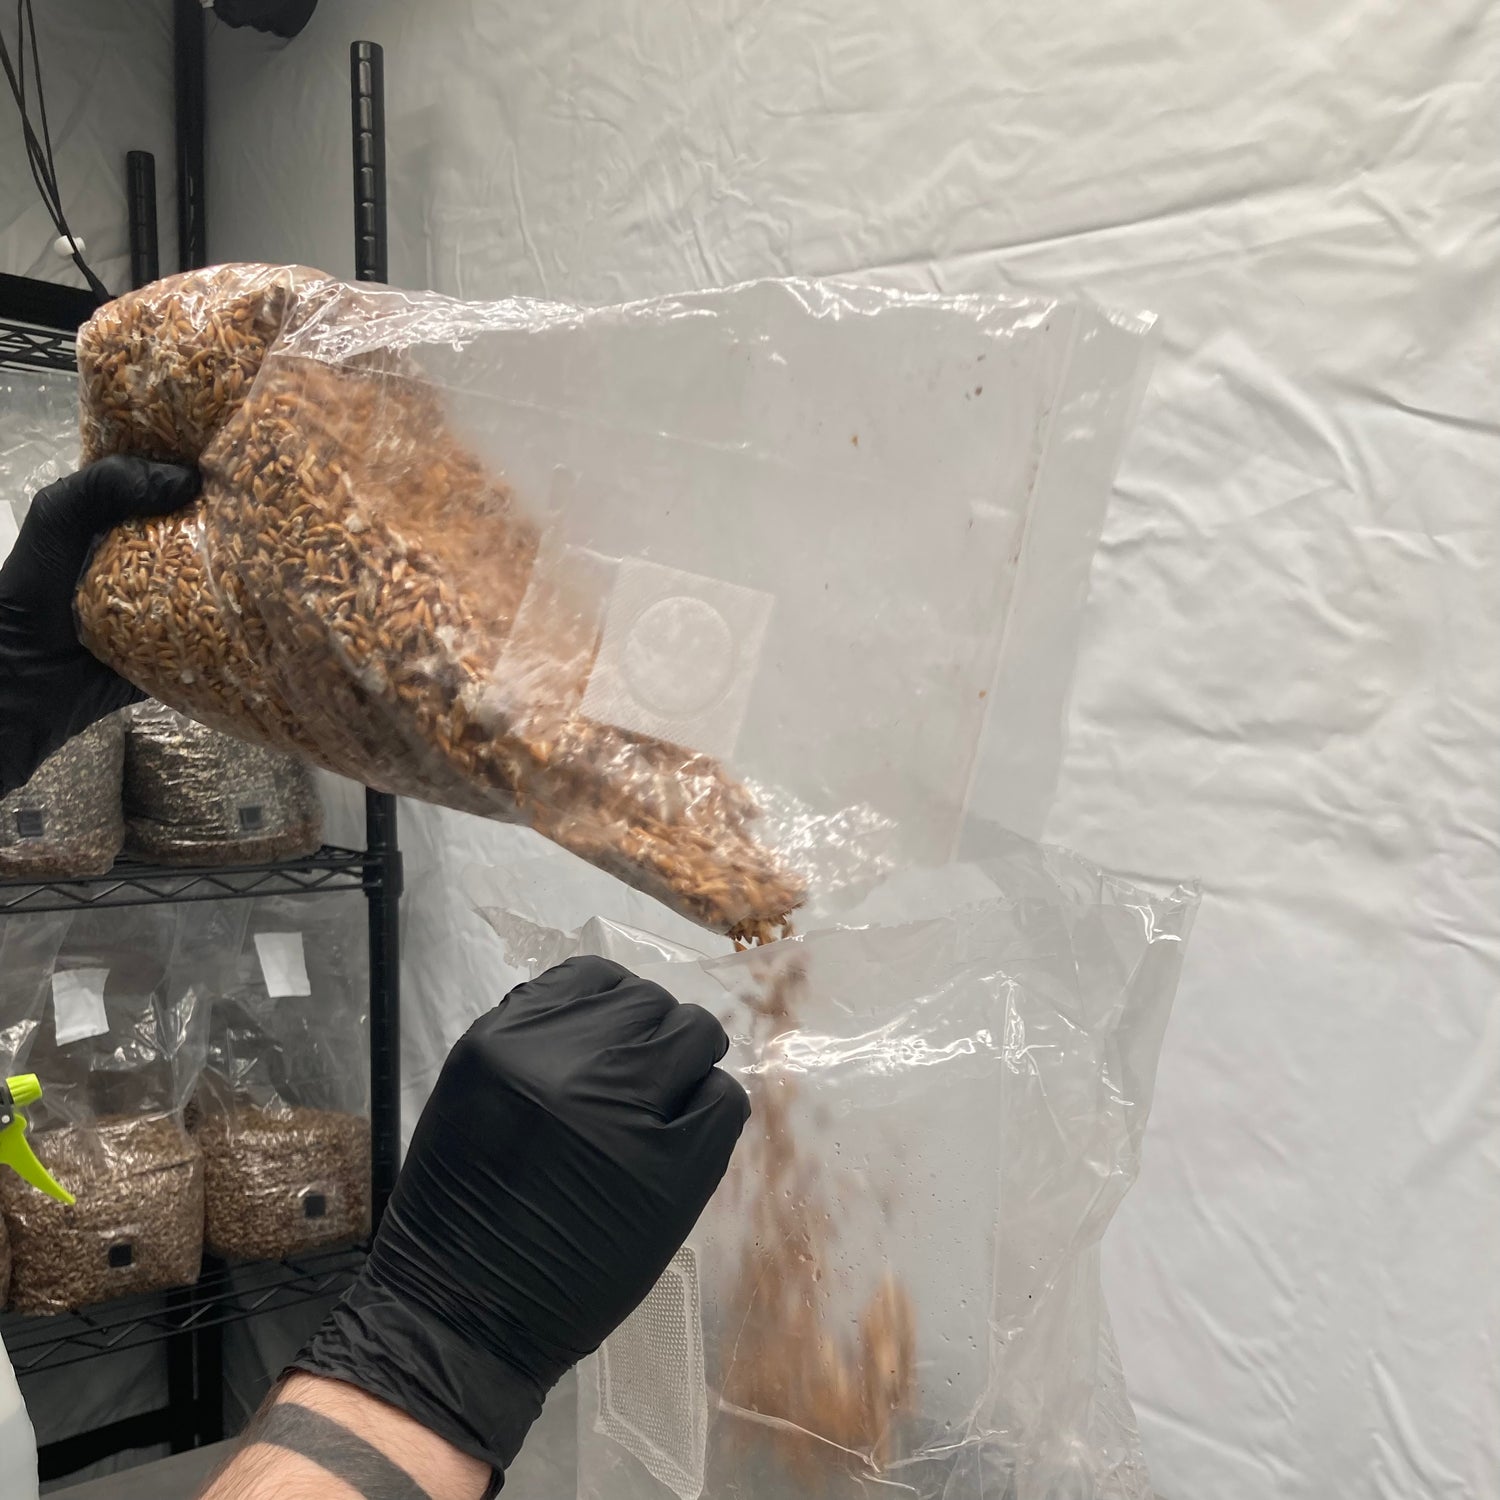
Clean your scissors with Isopropyl and cut a spout out of the prepped grain spawn bag (like the image). From there, cut along the top-seal of your substrate bag.
- Wipe Down Scissors With Isopropyl
- Cut A Spout Into Spawn Bag Corner
- Wipe Hands And Scissors Again
- Cut Along The Top Seal Of Substrate Bag
Open & Pour:
Open the substrate bag from the outside, and pick up your spawn with one hand whilst using your other to hold the substrate open. Then, simply pour your spawn into your bulk sub (without touching the inside of the substrate bag).
- Open Bag From Outside
- Use One Hand To Pour Spawn Into Substrate
- Use Other Hand To Stop Substrate Tipping Over
Seal It Shut:
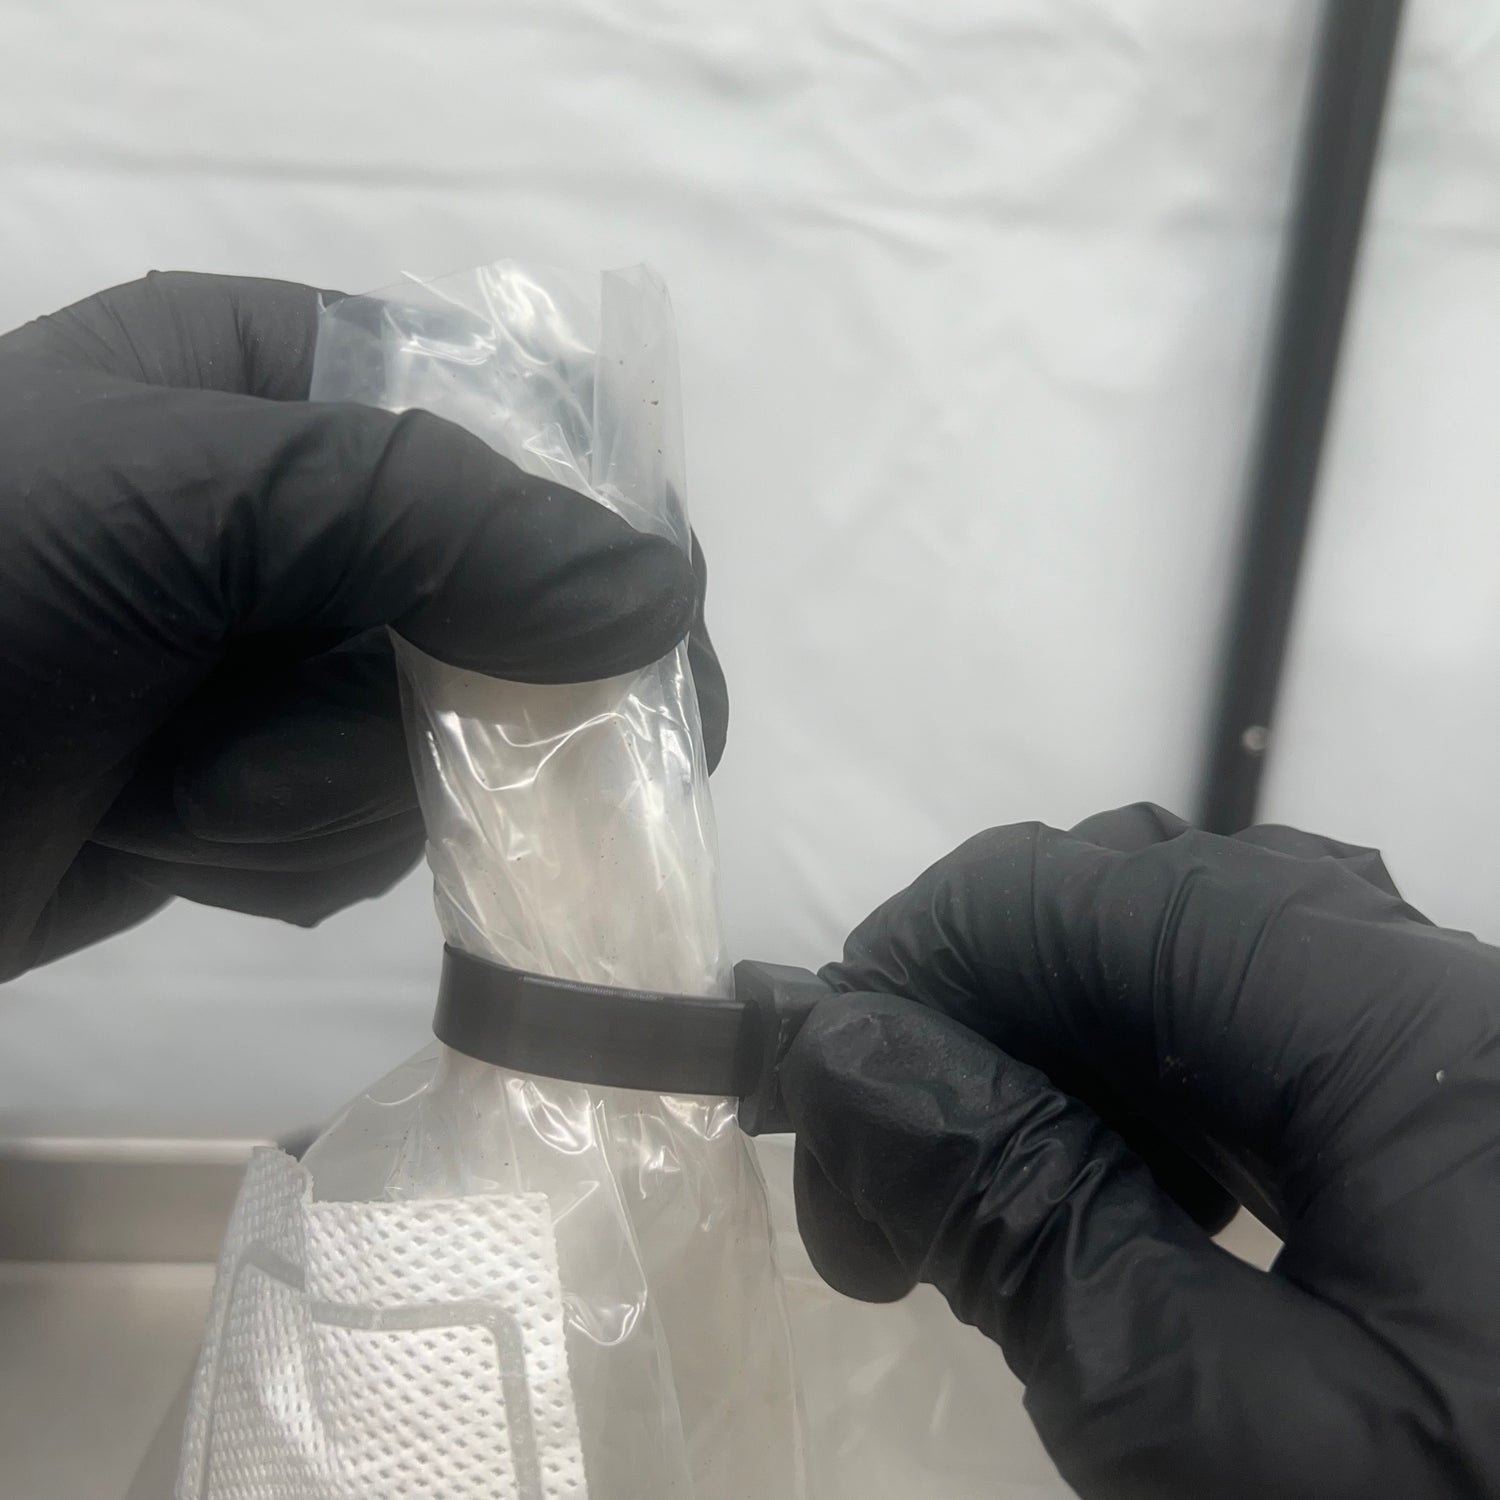
If you have leftover spawn, set it aside for the next bag and repeat the necessary steps above. Otherwise, pinch both ends of your substrate bag shut and seal the ends together with an impulse heat sealer. Or, if you're using a cable tie, give the bag a fold and tie the end.
- Discard Empty Spawn Bag/ Set Aside If Reusing
- Hold Substrate Seal Together
- Seal Substrate Back With Heat Sealer Or Cable Tie
Mix It Up:
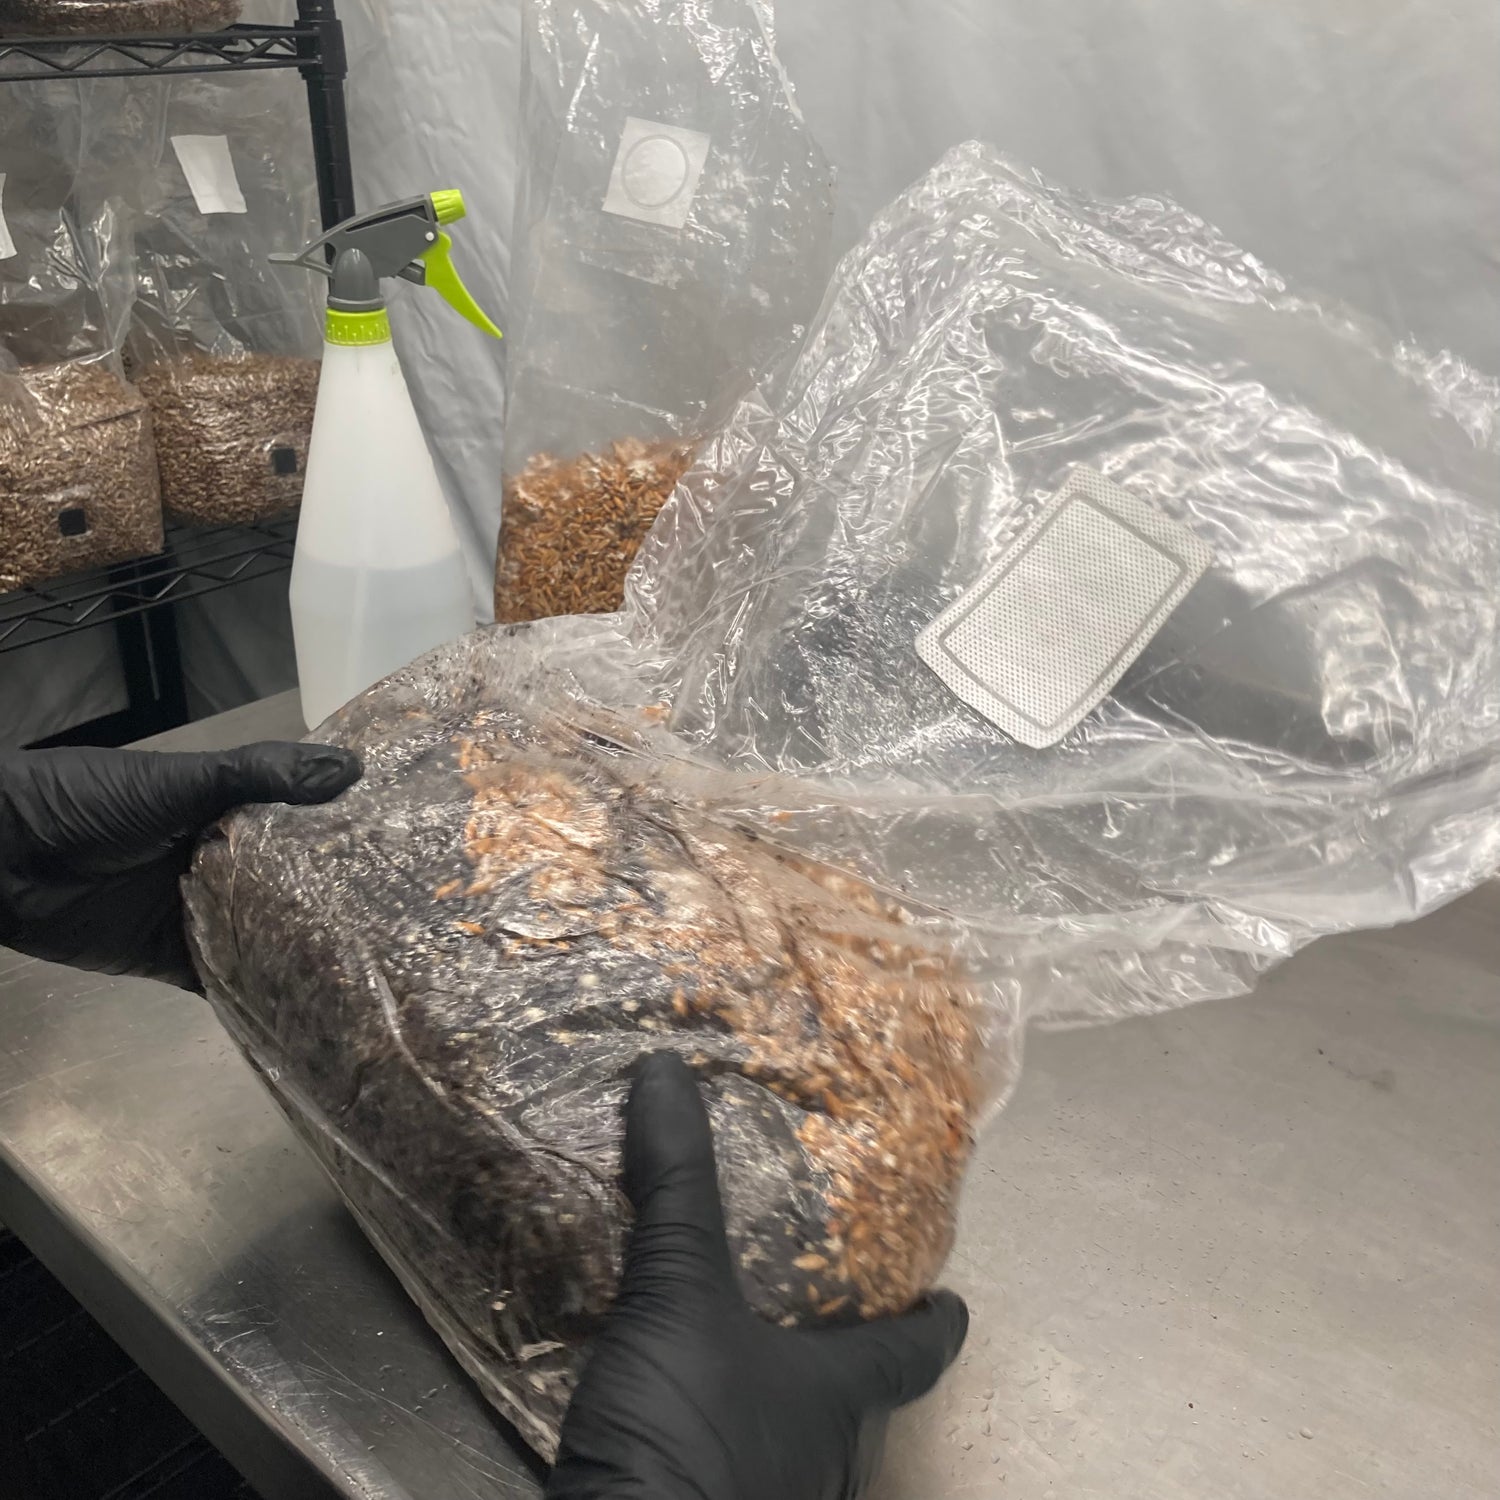
Now that the tricky parts are done, give everything a little mix by turning the bag around until the grain is evenly mixed into your substrate. Congratulations! Now you're ready to put your soon-to-be mushrooms into colonisation!
- Once Sealed, Mix Grains Into Substrate Evenly
- Take Bag To Colonisation Area
- Set Environment
- Let It Grow!
The Summary:
This 'How To' guide should give you all the info you need to make the transfer on your own, but as with most things, it may take a few tries to get the crack of it. We have every faith that you'll be growing mushrooms in no time! Until then, if you need any extra tips or want to know more about the world of mycology, check out our other guides where we share other tips and tricks. Or, if you have any questions, just contact us and we'll be in touch!
Other Guides:
View all-

Magic Mushroom Laws in the UK (2025): What’s Le...
Learn about UK magic mushroom laws, psilocyb*n classification, and the legal status of spores, grow kits, and mycology supplies in 2025.
Magic Mushroom Laws in the UK (2025): What’s Le...
Learn about UK magic mushroom laws, psilocyb*n classification, and the legal status of spores, grow kits, and mycology supplies in 2025.
-

How To Use Your Liquid Culture Jar: The LC Inoc...
Here's a full list of instructions for using your sterile jar kit! Follow these steps and you'll be growing liquid mycelium in no time.
How To Use Your Liquid Culture Jar: The LC Inoc...
Here's a full list of instructions for using your sterile jar kit! Follow these steps and you'll be growing liquid mycelium in no time.
-

Liquid Cultures VS Spore Solutions – Which Is B...
Should you use liquid cultures or spore syringes? In this guide, we'll take a look at the best uses for each to have you growing mushrooms like a pro!
Liquid Cultures VS Spore Solutions – Which Is B...
Should you use liquid cultures or spore syringes? In this guide, we'll take a look at the best uses for each to have you growing mushrooms like a pro!

