How To Use Sterilised Grain - The Spore To Grain Inoculation Guide
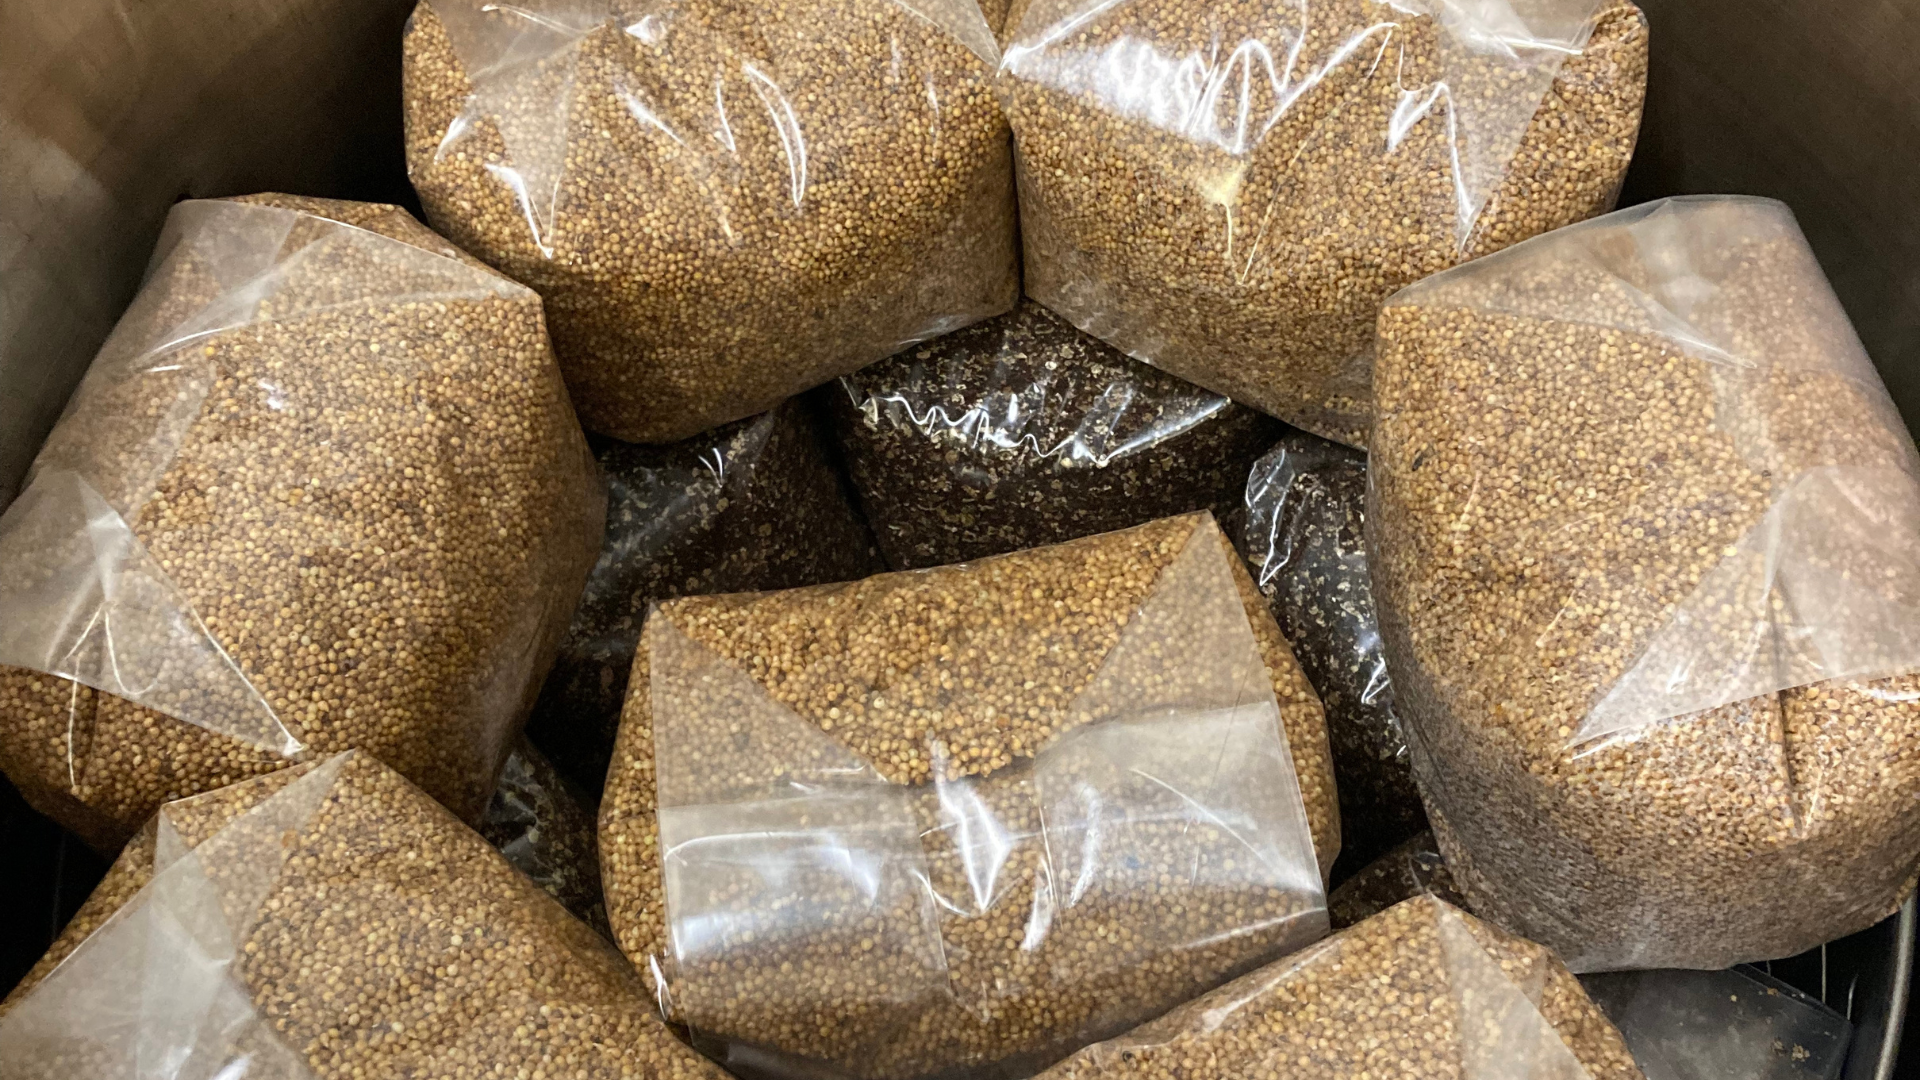
So, you have a bag of sterilised grain at the ready, and you want to learn how to grow mushrooms. But where do you start? Not to worry! This guide will give you the lowdown on how to ‘inoculate’ your grain.
As one of the first steps towards growing healthy mycelium, you'll need to take a little extra care with this stage, compared to some of the later processes.
Sterile Grain & Grain Spawn, What's The Difference?
What do you get when you inoculate sterile grain and leave it to colonise? Put simply, spawn!
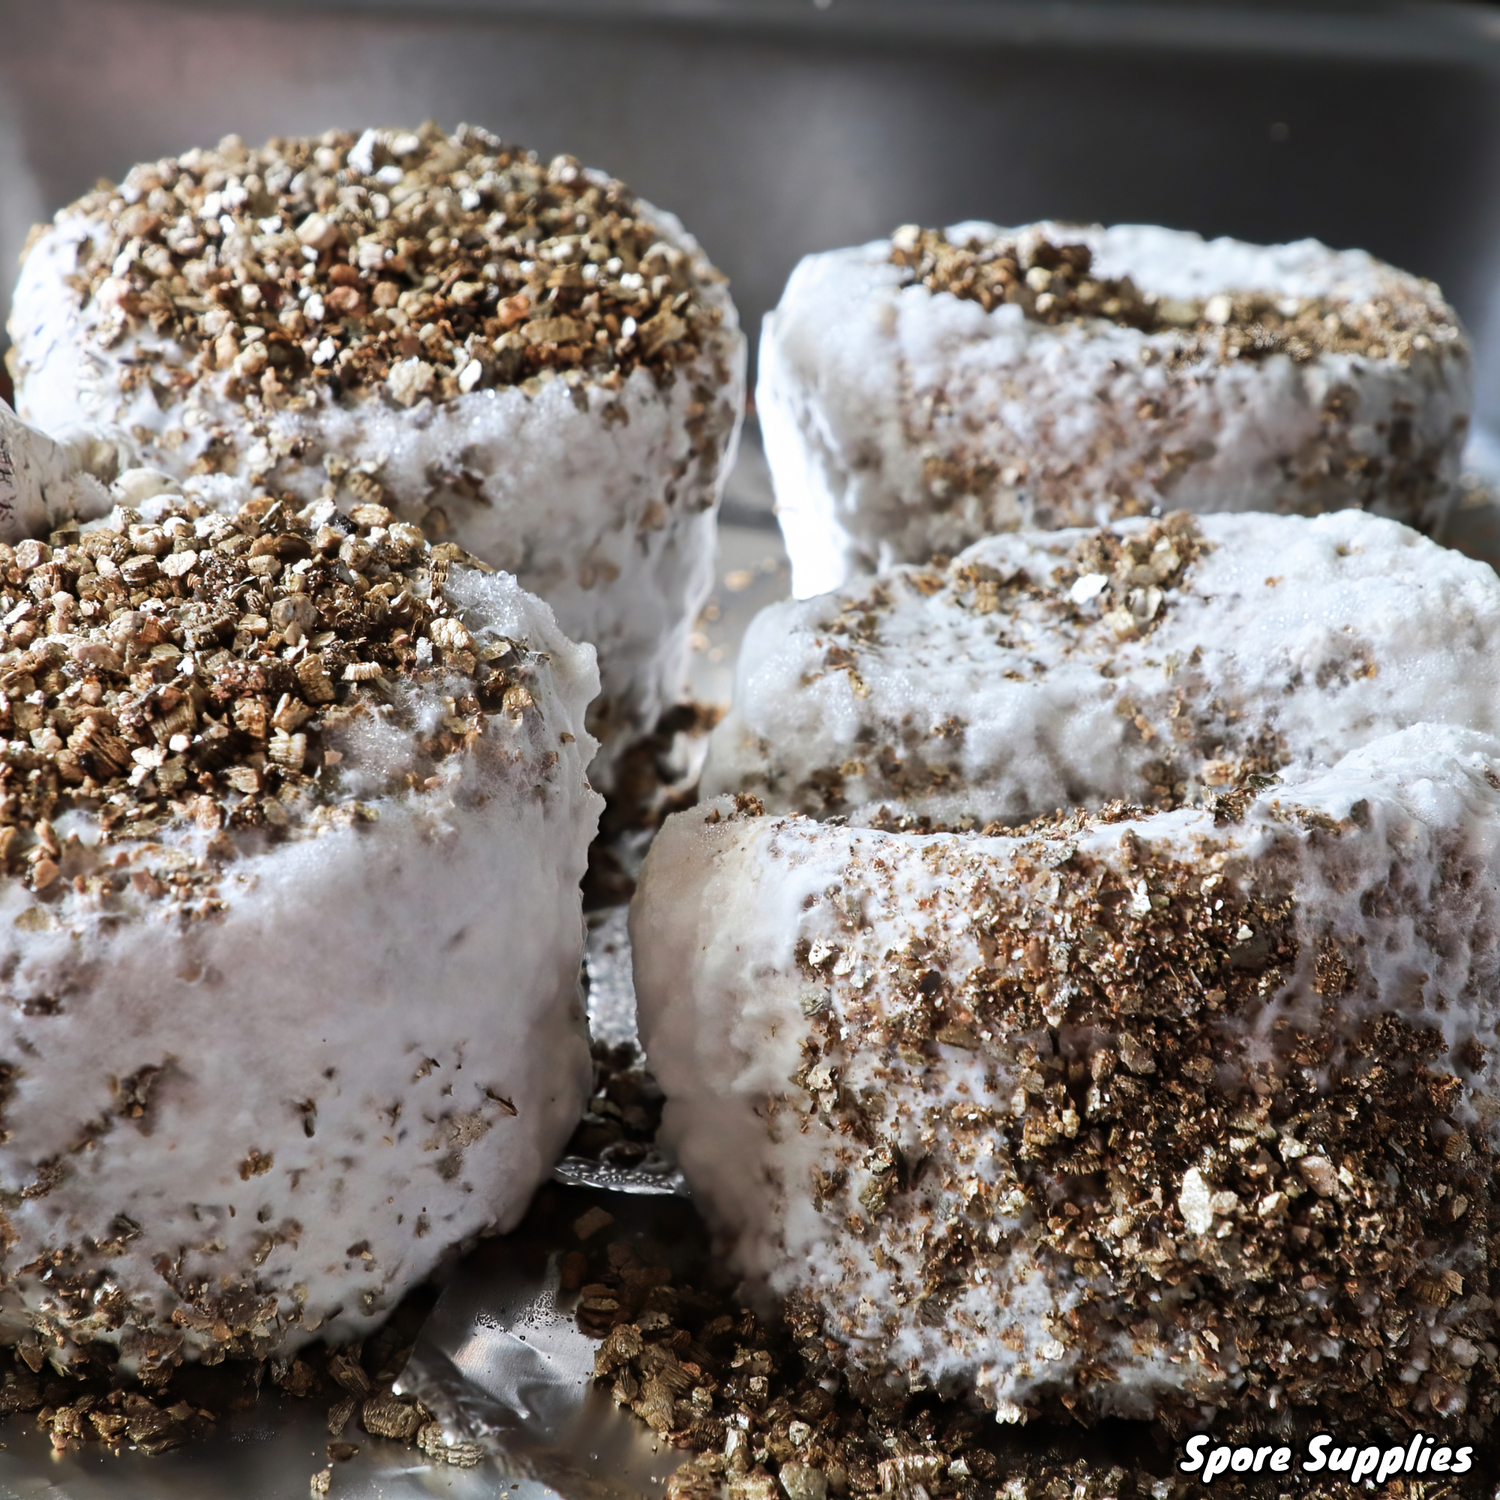
Grain spawn is the fully myceliated version of sterile grain, so once mycelium start to take a hold of the bag, you can stop calling it grain and start calling it spawn – neat.
Grain spawn is still a substrate and is used specifically for ‘spawning’ (the process of expanding your genetics) to bigger, bulk substrates that are more suitable for fruiting.
If you're asking yourself, 'If grain is a substrate, why not fruit from grain?' Well, whilst you CAN grow mushrooms directly from grain spawn, the yields are so low, that you’d be better off splitting the spawn into multiple grain bags.
From there, you'd pour it into bulk substrate blocks etc...but we'll get into that in a separate guide!
How Do You Know If Your Grain Spawn Is Good?
We like to think of sterile grain as baby food for mycelium . Grain, allows your mycelium to grow a strong and healthy network that's better equipped to properly digest larger meals, like bulk substrates, later on.
A good grain bag is not only 100% sterile, but it should also be designed to deliver high amounts of nutrition for the spawning stage, without compromising on moisture, surfacer area, or 'inoculation points'.
A higher surface area is good for spawn, as it means more grains can be inoculated per area/mass and since each grain is a 'point of inoculation', that means your mycelium has more chances to spread its genetics when added to your final substrate.
Proper Aseptic Technique:
Now that we’ve covered what grain spawn is, it’s a good idea to go over the broader points of 'aseptic technique'.
As always, the inside of our grain bags are sterile products but should be treated with caution to ensure contaminants aren’t introduced during the inoculation process.
To avoid this, we recommend following the best aseptic techniques possible in your workflow.
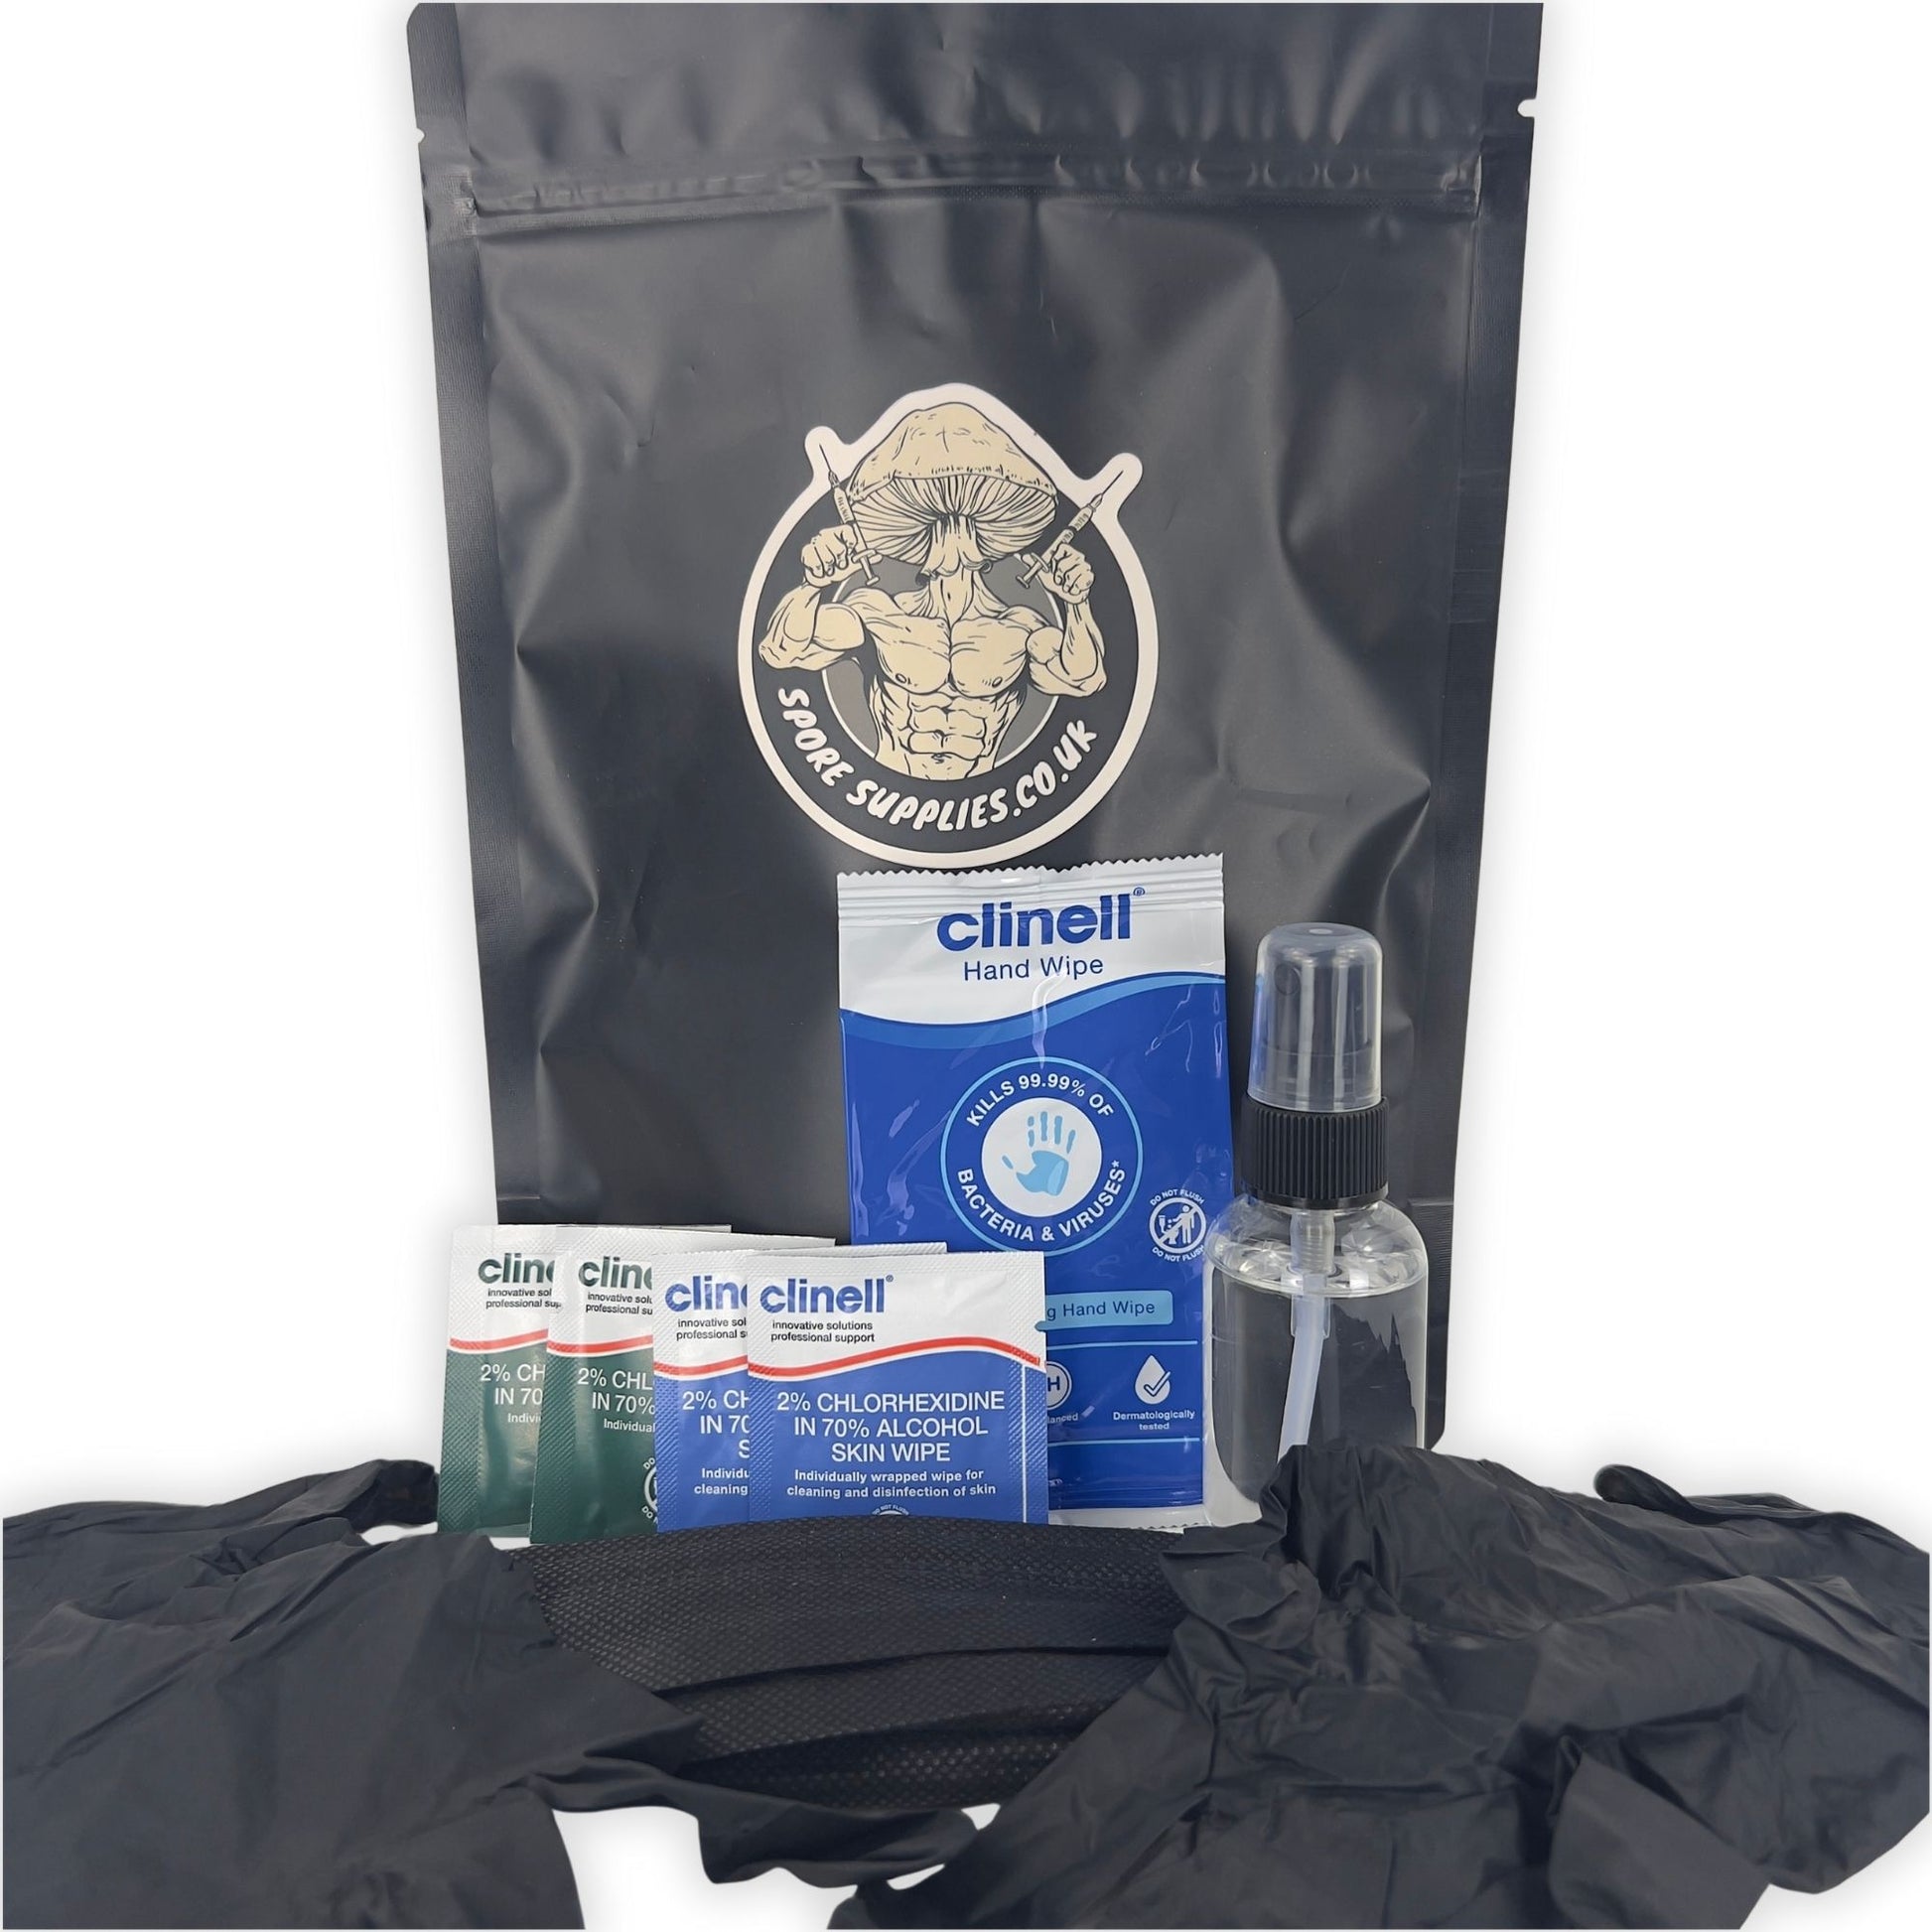
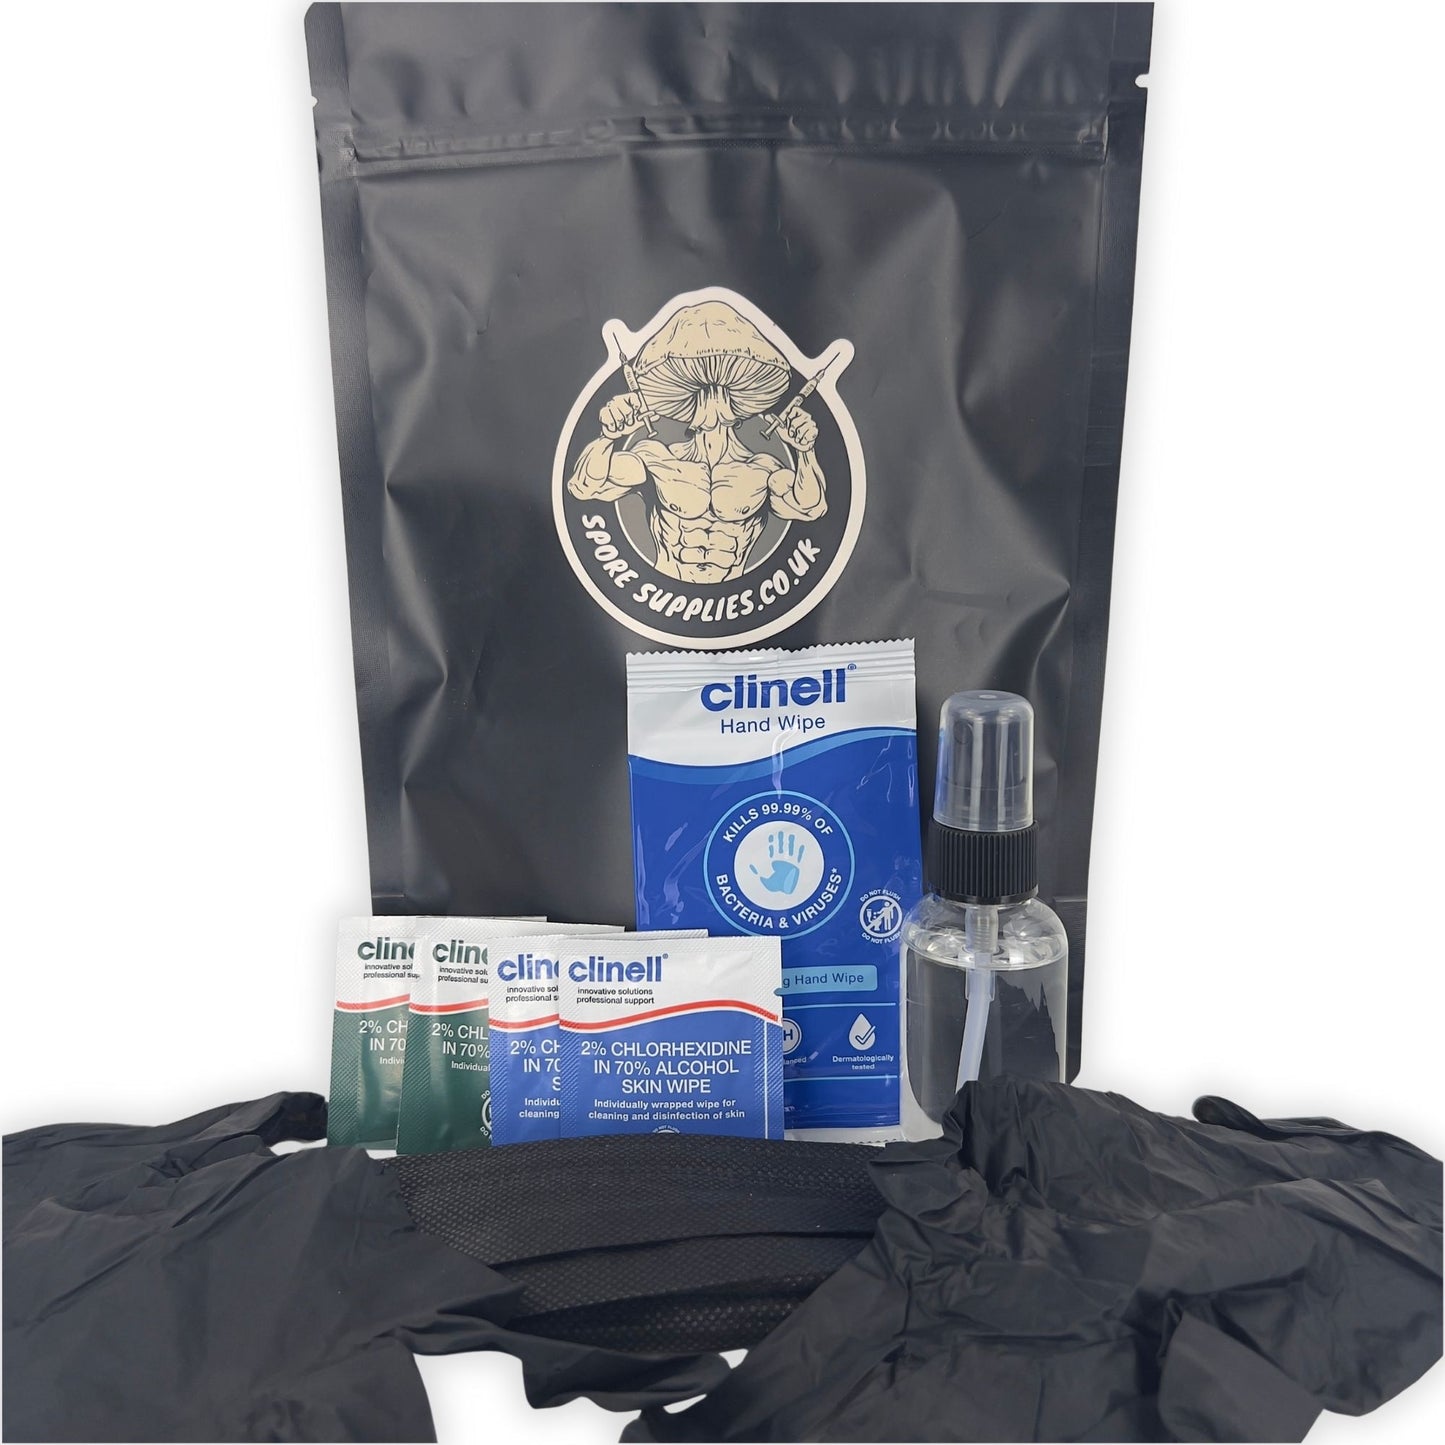
Aseptic Technique Starter Kit
Share
The Key Things To Follow Are:
-
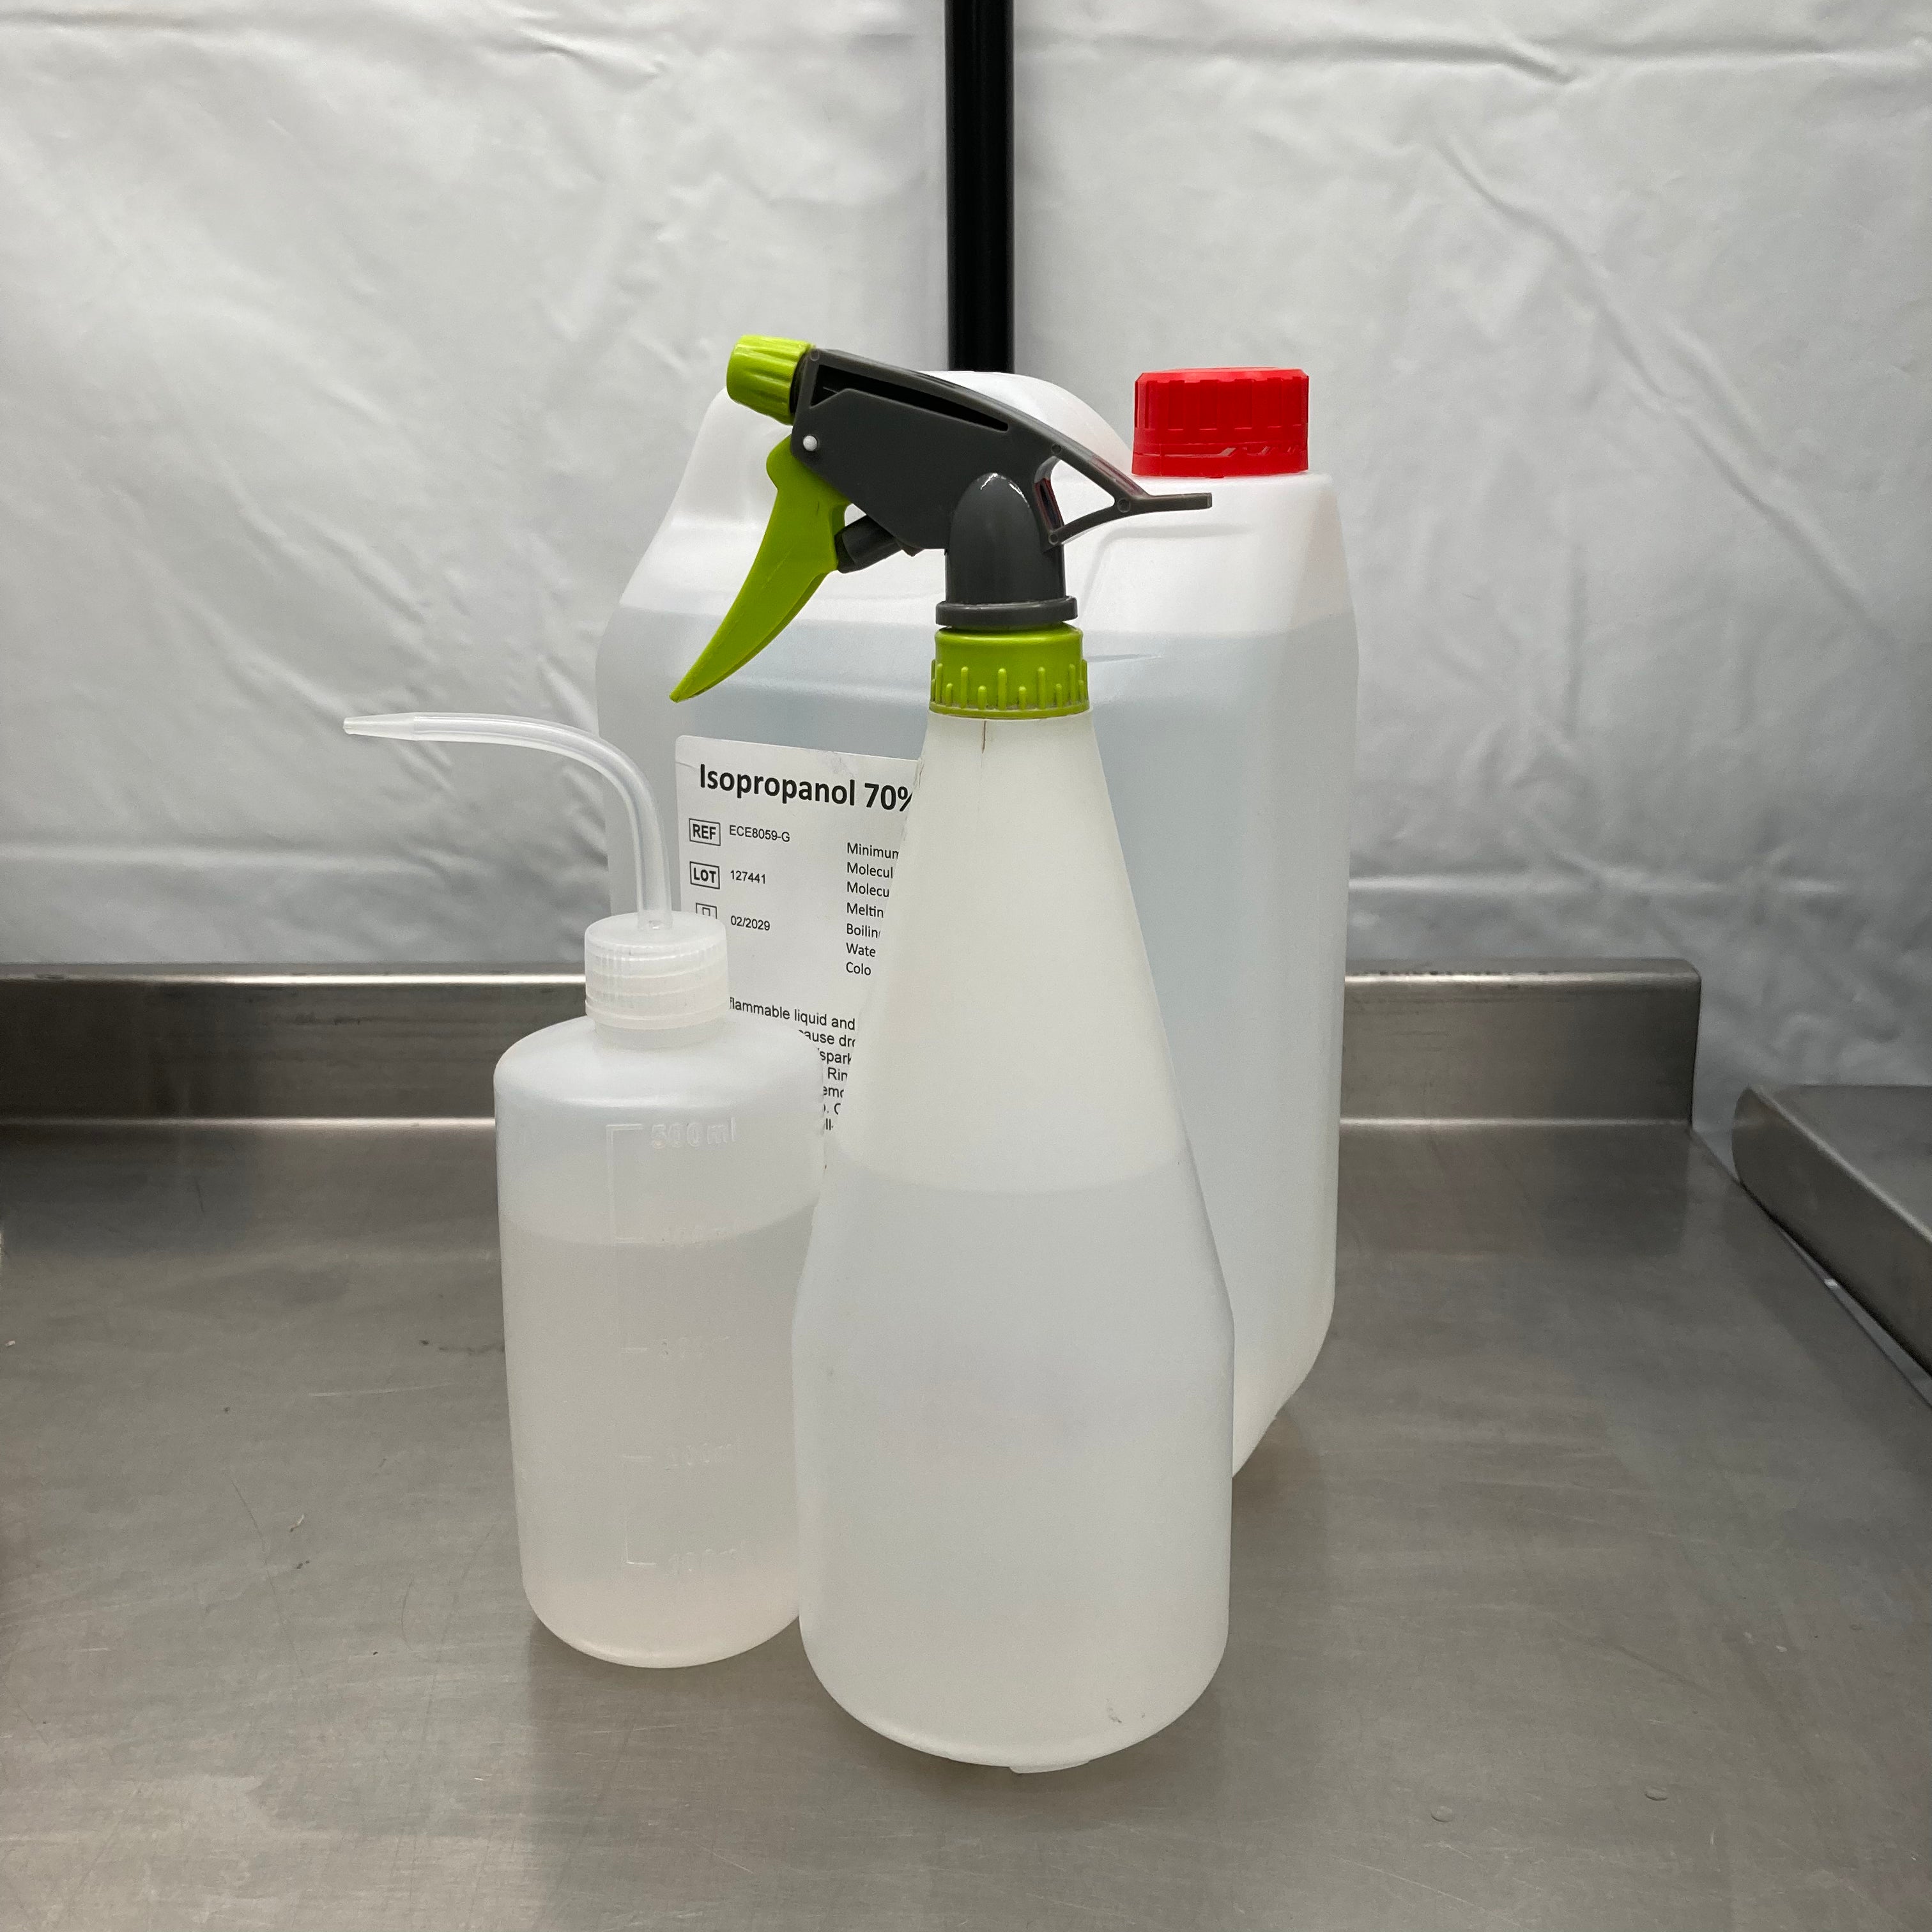
Use Isopropyl
Isopropyl is a mycologist's right-hand guy when it comes to killing contamination. Grab a 70% Isopropyl spray bottle for best results.
-
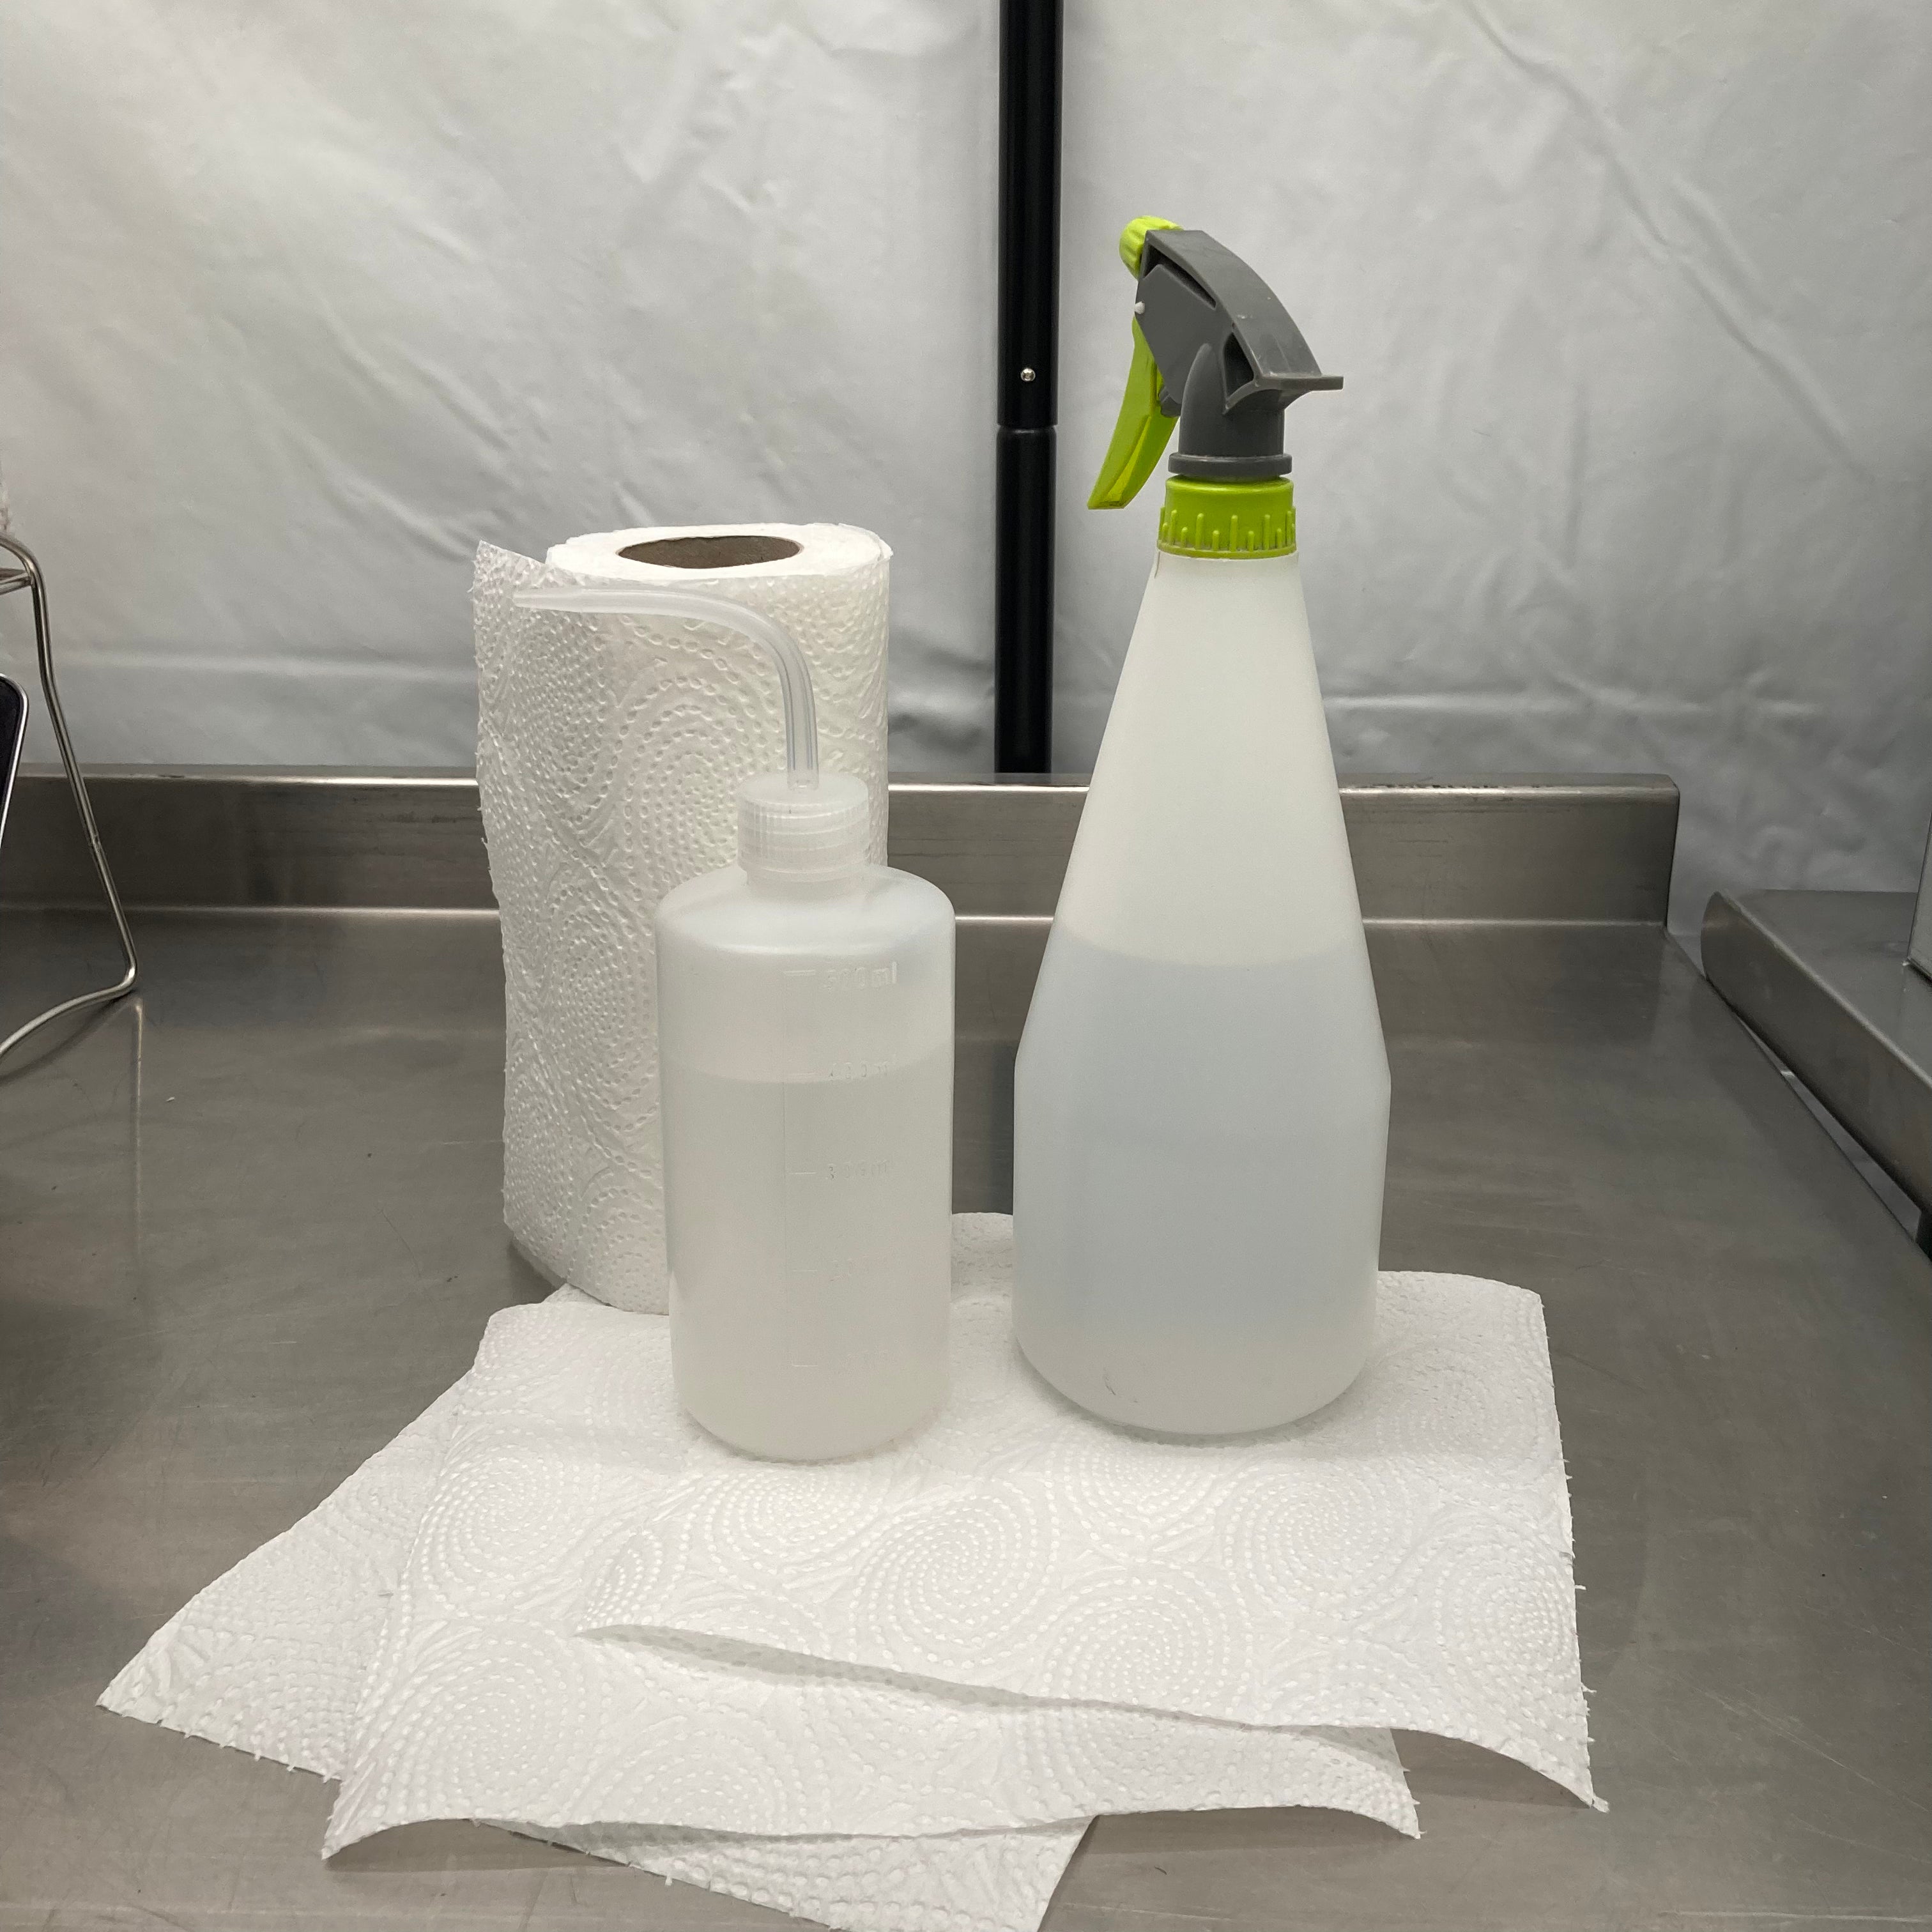
Clean Everything
Using your new Isopropyl, spray down a couple of kitchen roll sheets and use them to wipe down surfaces, equipment and beyond. Wash yourself beforehand whilst you're at it.. smelly (just kidding).
-
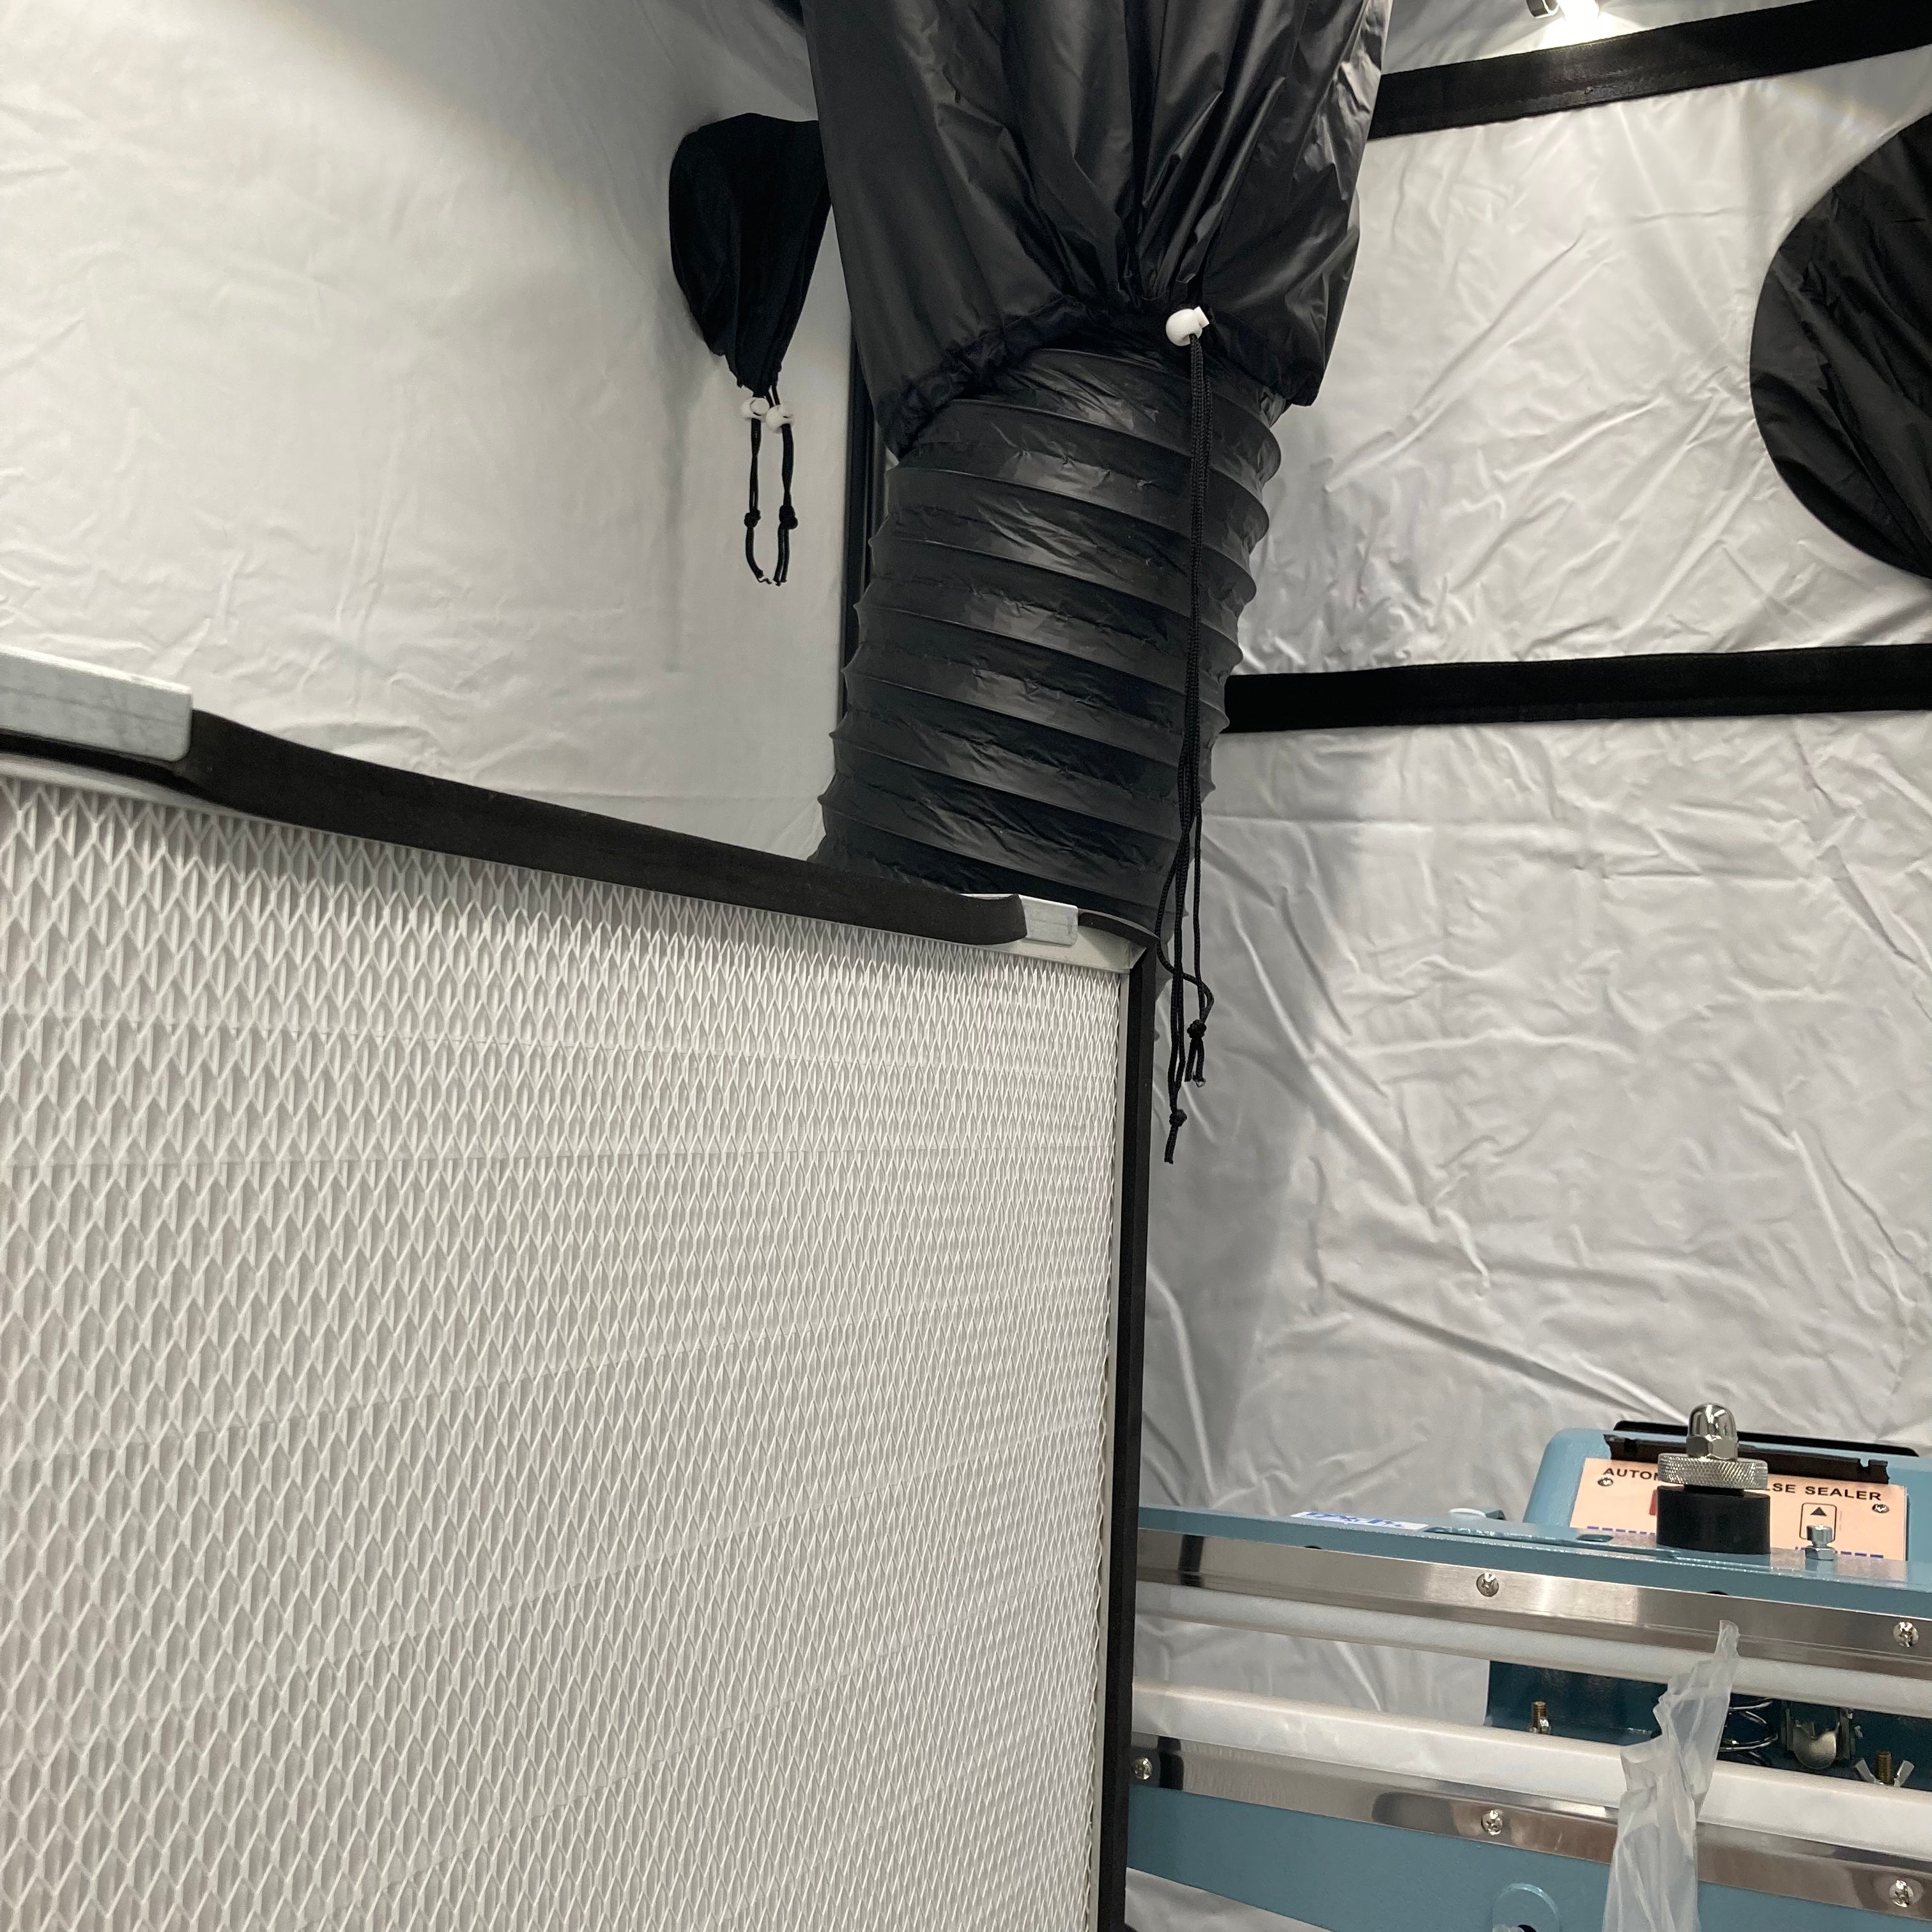
Minimise Airflow
To make all the previous steps worthwhile, find a small space to work in, close windows, doors etc and check for drafts that could introduce airborne contamination to your genetics.
What You'll Need:
Once you’ve worked your way through the list above, wipe your space down and get set up, you're nearly ready to start! For the best results, you’ll need a pair of disposable gloves- ideally nitrile (or very clean hands), a lighter (if you're in an open space and at your own risk!), some isopropyl spray and your spores or liquid culture.
If you find yourself needing genetics or supplies, just follow the links below and come back later on!
Now You're Ready, Here's The Process:
-

Spray Hands
Spray your gloves or hands down with your isopropyl and give them a good rub together, as if you were washing them with soap.
-

Spray Grain Bag
Avoid the white filter patch and spray the sterile grain bag down. Since the outside isn't sterile, it's a good idea to make sure you don't introduce any into the bag from the outside.
If you've got any isopropyl wipes or any sprayed kitchen towels, it's always a good idea to spread the alcohol around to kill off any leftover contamination
-

Spray & Wipe Genetics Syringe
Alongside both the outside of the syringe and the packaging of your sterile needle, spray it down for good measure.
Don't open your needle yet though, you'll need it shortly.
-

Open Needle Packaging
Without touching the inside of the needle or its packaging, peel it open, kind of like a banana peel.
hold the 'peels' back so you don't have to put your fingers near the lock of the needle.
-

Remove The Cap Of Your Syringe
Here's the tricky part! Using your spare hand, pick up your syringe and hold it firmly, then twist the cap off of the syringe using the leftover fingers from your needle-holding hand.
-

Pop Your Needle On
Pop the end of your needle onto the end of your syringe and twist it into place. The luer lock connection from each will do the rest from there.
Well done for getting this far! You're half way there to inoculating your first bag of grain!
Now That Your Syringe Is Ready
Before moving on, it's worth spraying and rubbing your hands down again. Then, just take the cover of the needle off and wipe it with the isopropyl wipe that came with your sterile grain. Be careful not to touch the end as it's sharp.
Using another wipe, give the self-healing injection port a quick clean and insert the needle inside the port of the sterile grain bag.
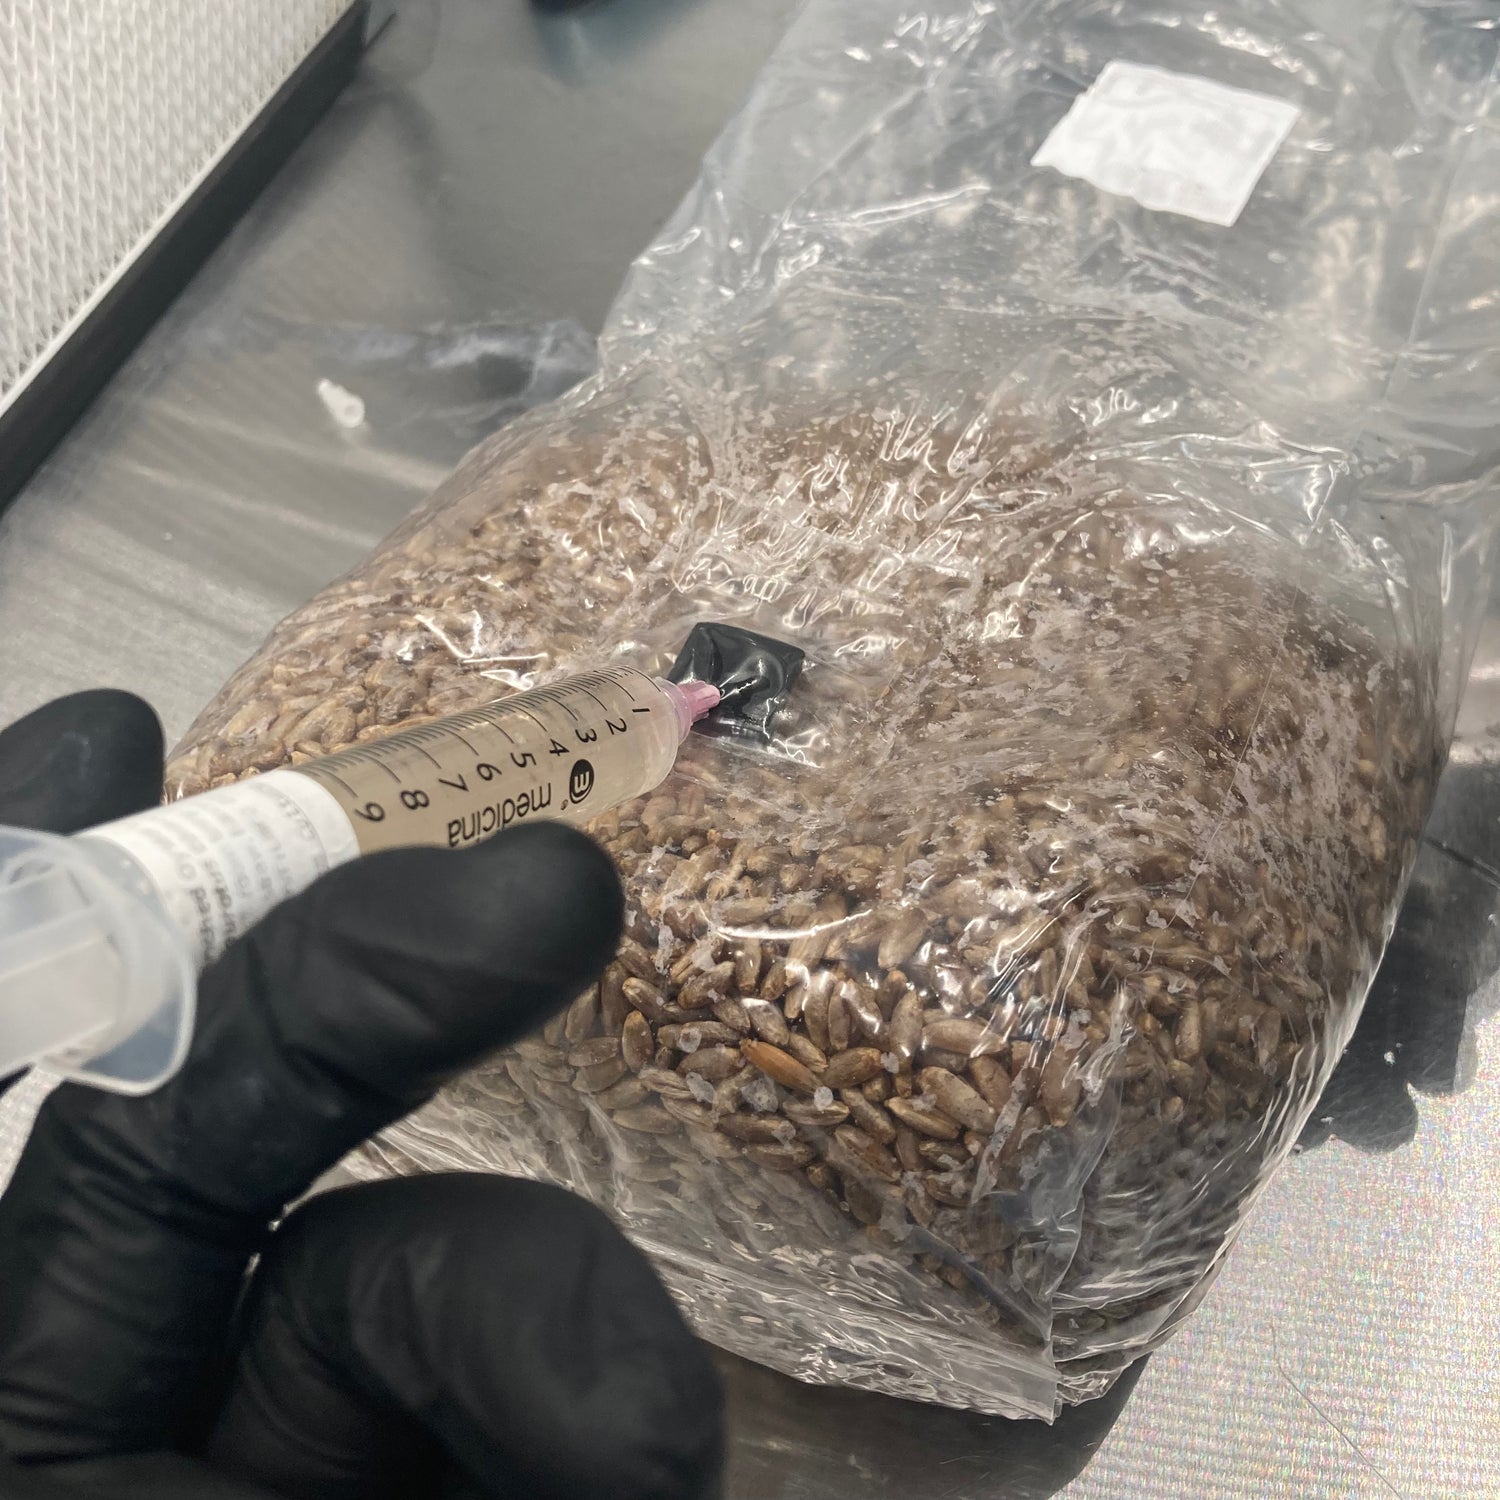
The Final Step!
Squeeze up to 5ml of liquid culture inside the grain bag whilst changing the angle of the syringe to evenly spread the liquid around. To inoculate more bags, just repeat the steps above and re-clean the needle with a fresh wipe and you're all good to go!
The Summary:
Congratulations! We hope you enjoyed the process. Just head back to these instructions any time you need a little refresher. Otherwise, it's worth reading on to find out what's next on your journey to growing fresh mushrooms..
Other Guides:
View all-

Magic Mushroom Laws in the UK (2025): What’s Le...
Learn about UK magic mushroom laws, psilocyb*n classification, and the legal status of spores, grow kits, and mycology supplies in 2025.
Magic Mushroom Laws in the UK (2025): What’s Le...
Learn about UK magic mushroom laws, psilocyb*n classification, and the legal status of spores, grow kits, and mycology supplies in 2025.
-

How To Use Your Liquid Culture Jar: The LC Inoc...
Here's a full list of instructions for using your sterile jar kit! Follow these steps and you'll be growing liquid mycelium in no time.
How To Use Your Liquid Culture Jar: The LC Inoc...
Here's a full list of instructions for using your sterile jar kit! Follow these steps and you'll be growing liquid mycelium in no time.
-

Liquid Cultures VS Spore Solutions – Which Is B...
Should you use liquid cultures or spore syringes? In this guide, we'll take a look at the best uses for each to have you growing mushrooms like a pro!
Liquid Cultures VS Spore Solutions – Which Is B...
Should you use liquid cultures or spore syringes? In this guide, we'll take a look at the best uses for each to have you growing mushrooms like a pro!

