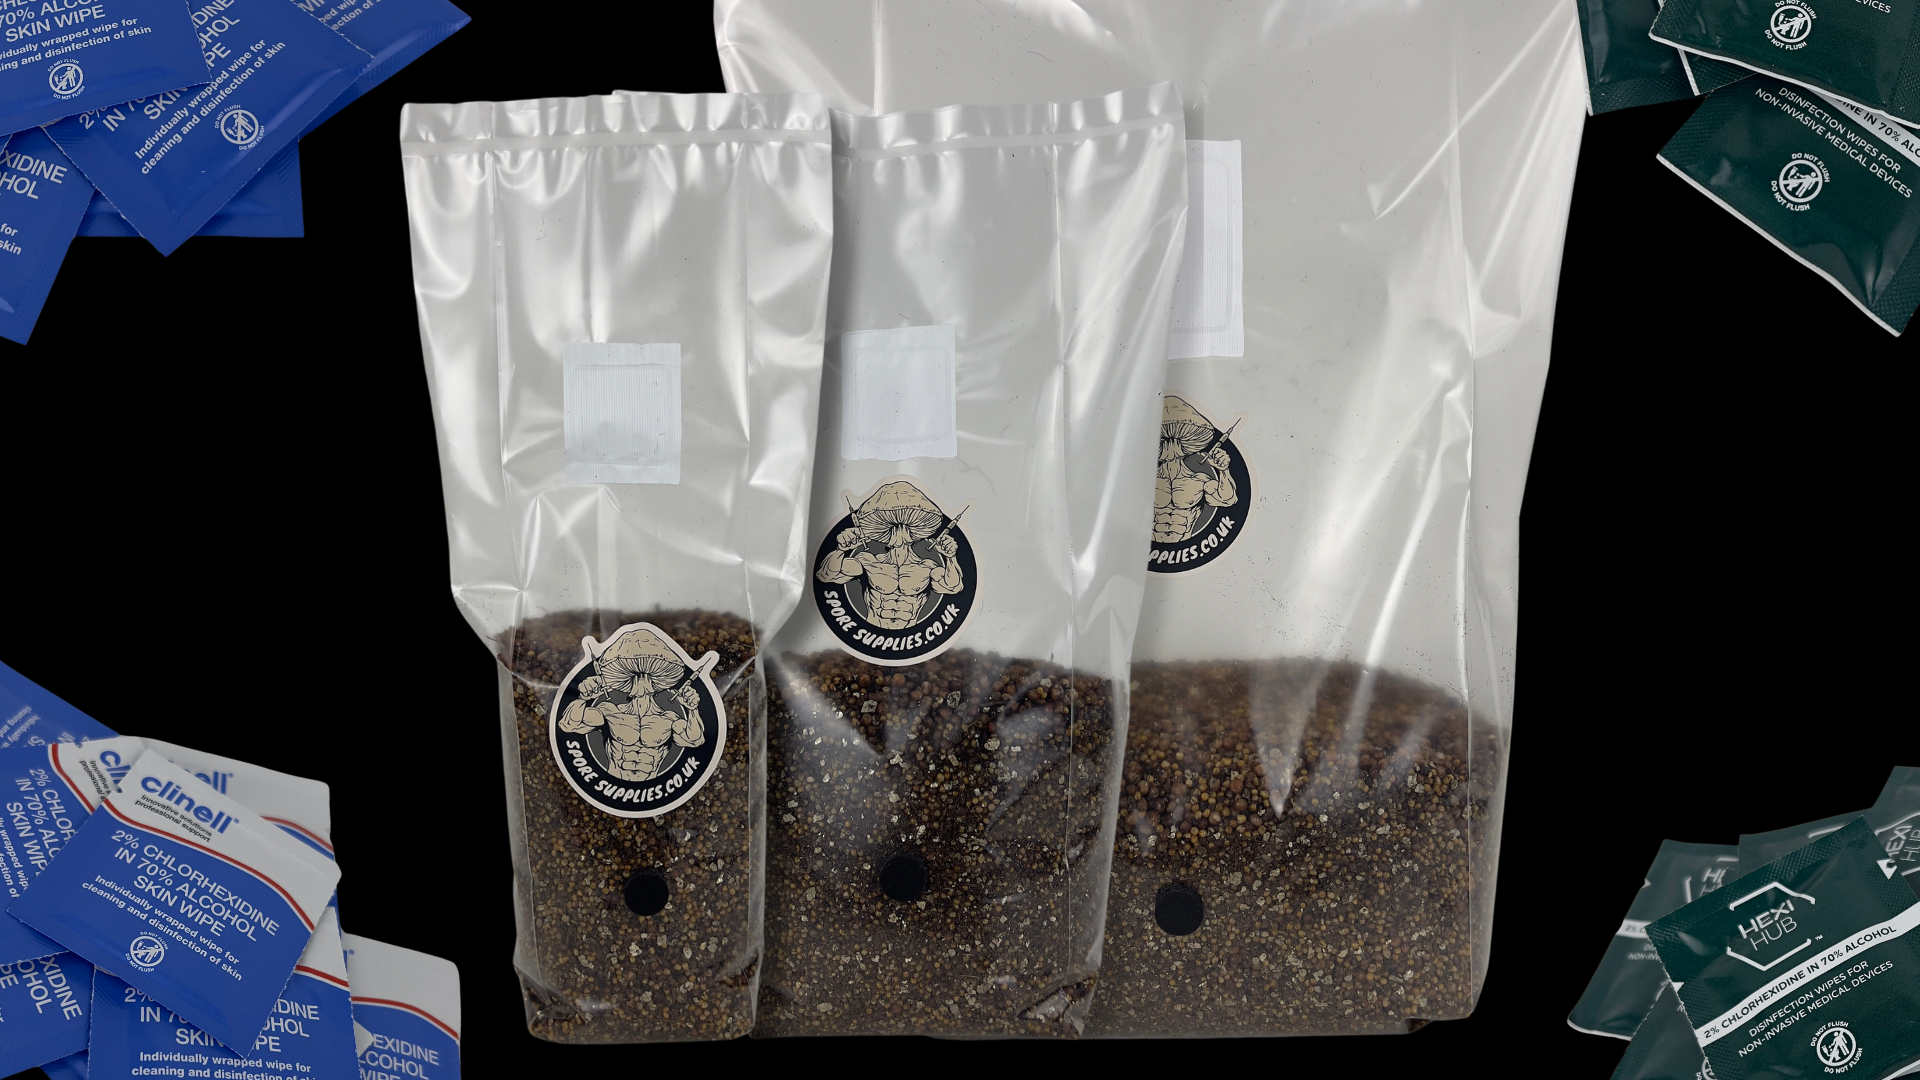
How To Use Your Mushroom Growing Kit: The All-In-One Grow Bag Guide
Just ordered your first all-in-one mushroom grow bag? Let’s get it inoculated! This guide will cover everything you need to know about using your first AIO (All-In-One) grow bag, so keep reading to get started!
Choosing Your Strain:
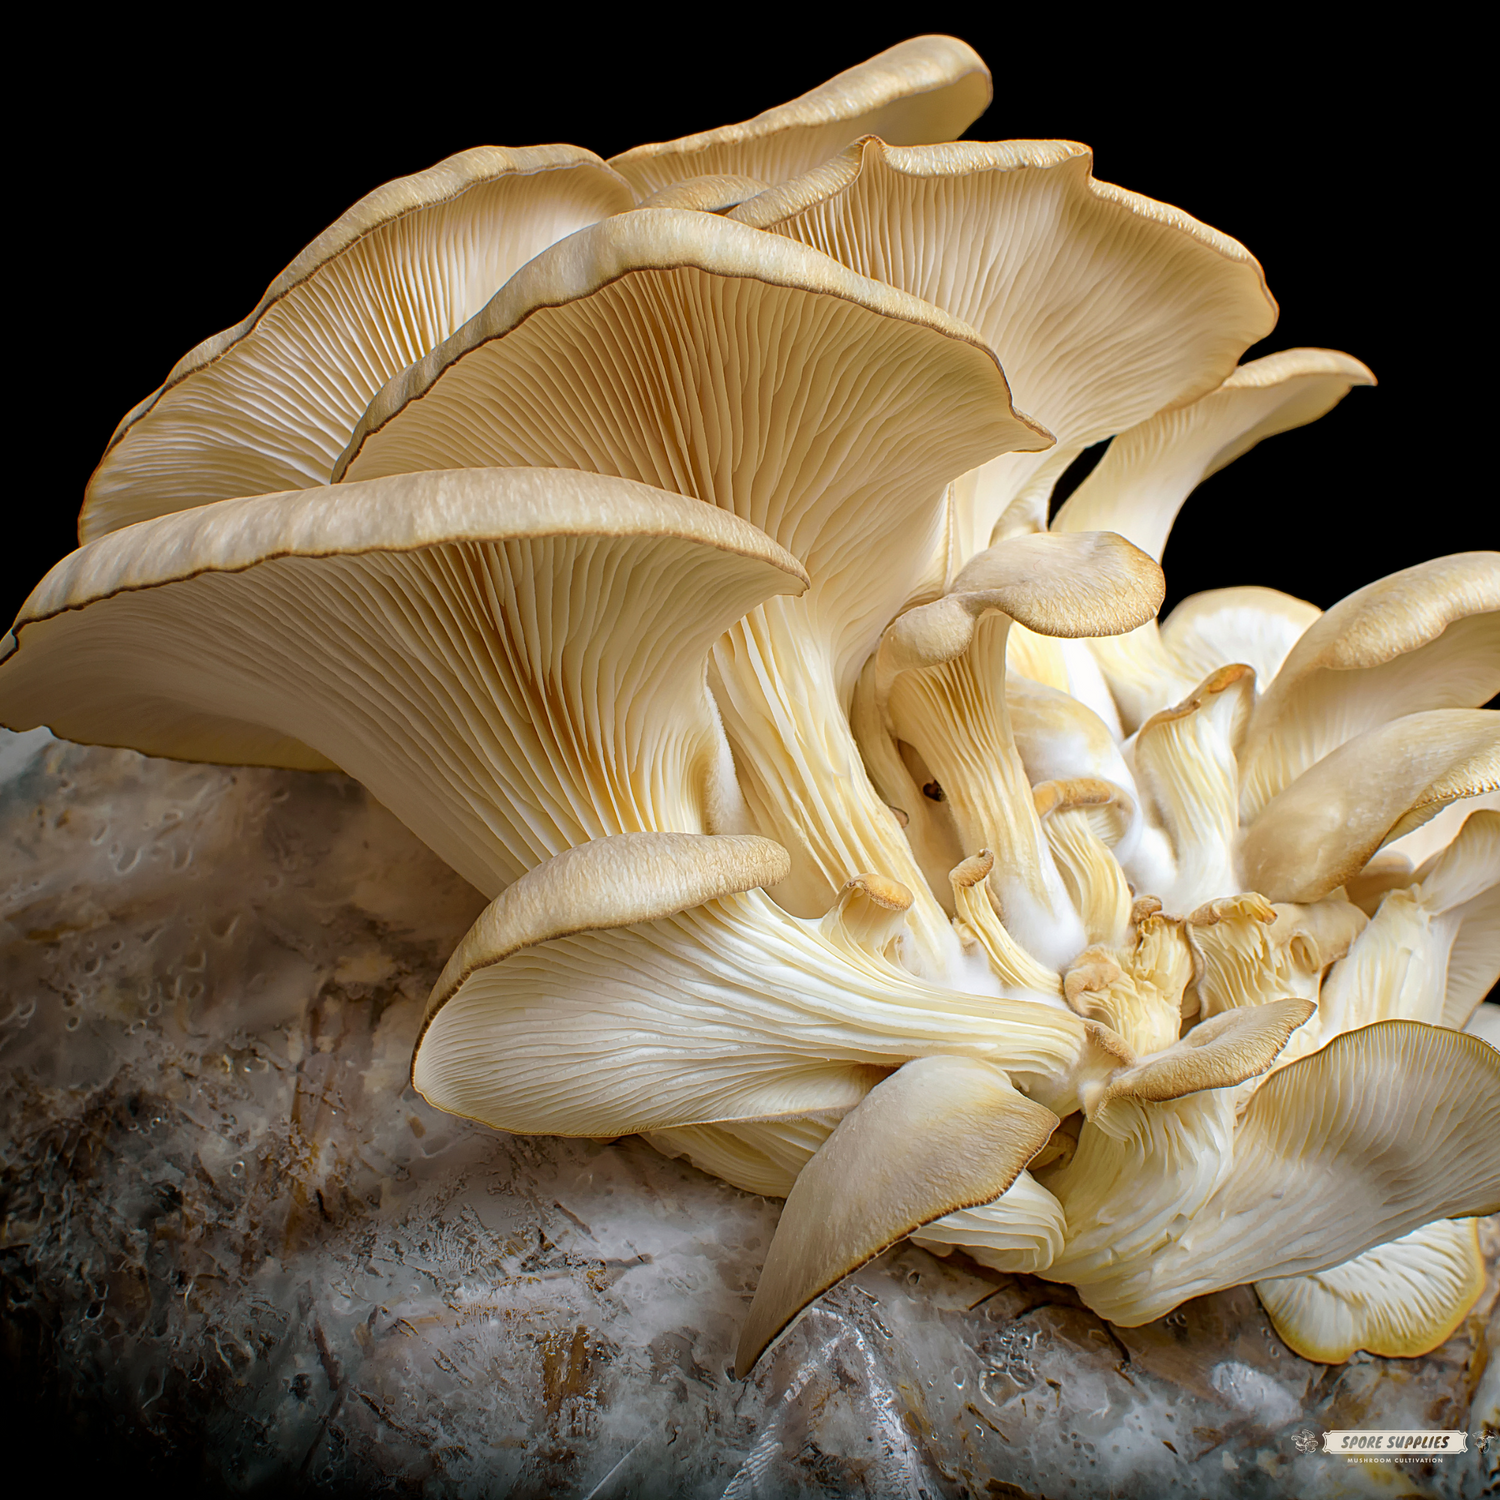
We’re as keen as you are to grow mushrooms, but unless you've ordered one of our mushroom grow kits (which include an AIO bag and LC syringe), you'll need to purchase genetics separately for your AIO bag.
If you haven’t decided on a strain yet, it’s worth checking out our liquid cultures. We offer plenty of UK-native gourmet and functional mushroom species to get you started.
Already sorted your genetics? Keep reading to use your mushroom grow bag!
Before we can start growing mushrooms, let's brush up on our aseptic technique. What is aseptic technique? It’s the practice of minimising contamination from microorganisms during your workflow.
Since all our bags are sterilised, you won’t need to worry about pesky mould spores inside your bag – but that’s no reason to introduce them during the inoculation process! So to minimise this risk, ensure good aseptic technique!
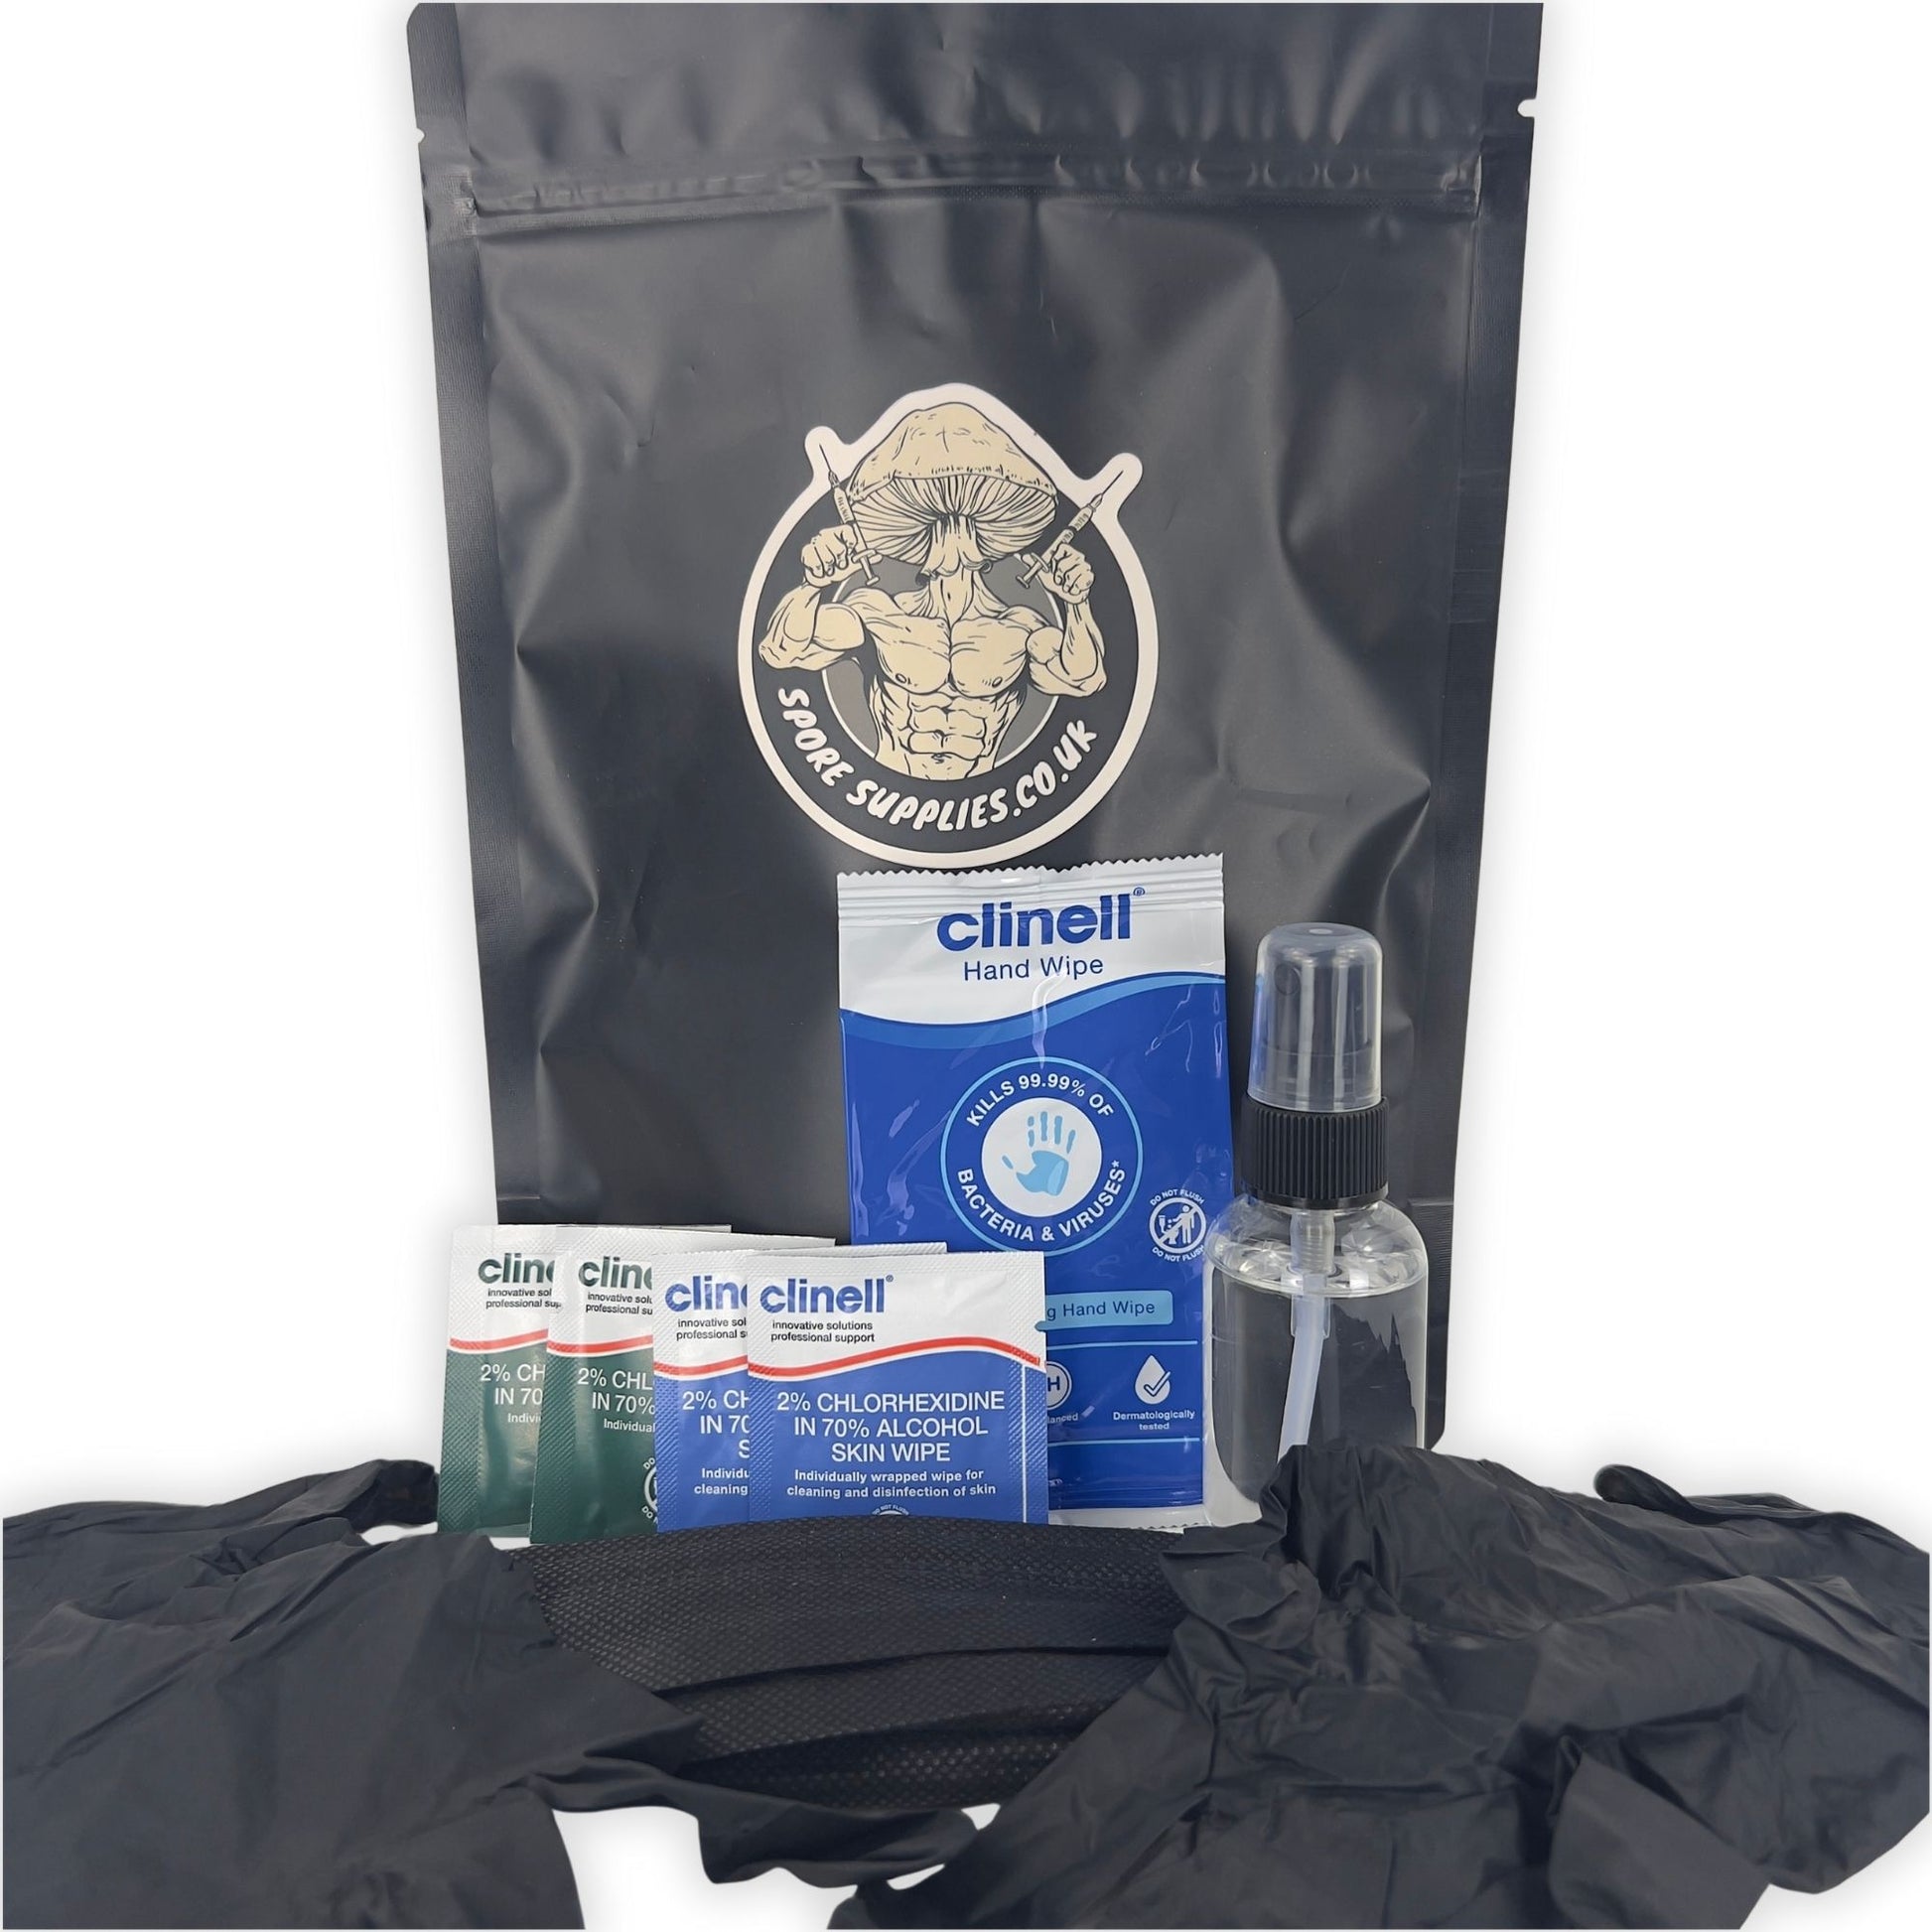
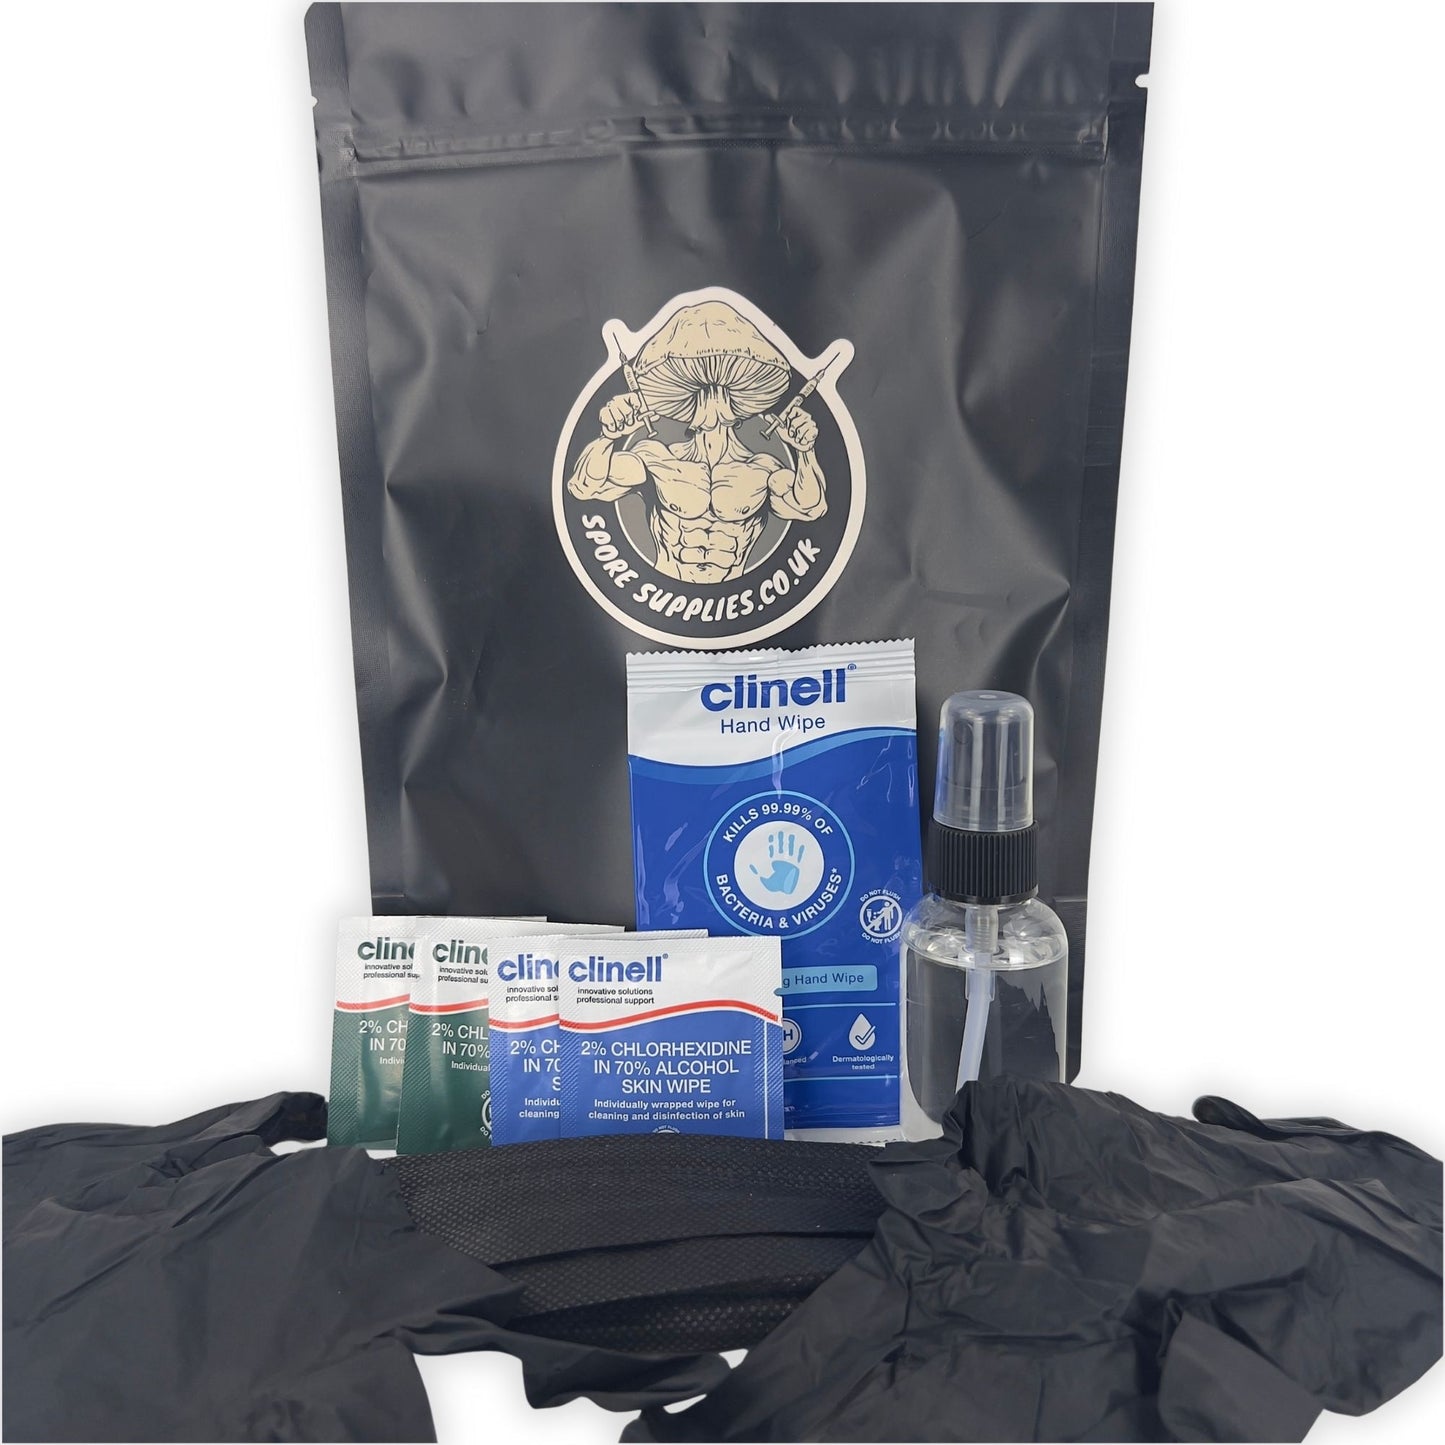
To make sure you don’t introduce any contamination whilst using your all-in-one mushroom grow kit, you’ll want to follow the key points below. If you haven’t already grabbed one, it’s worth taking a look at our aseptic technique starter kits.
Aseptic Technique Starter Kit
Share
The Key Things To Follow Are:
-
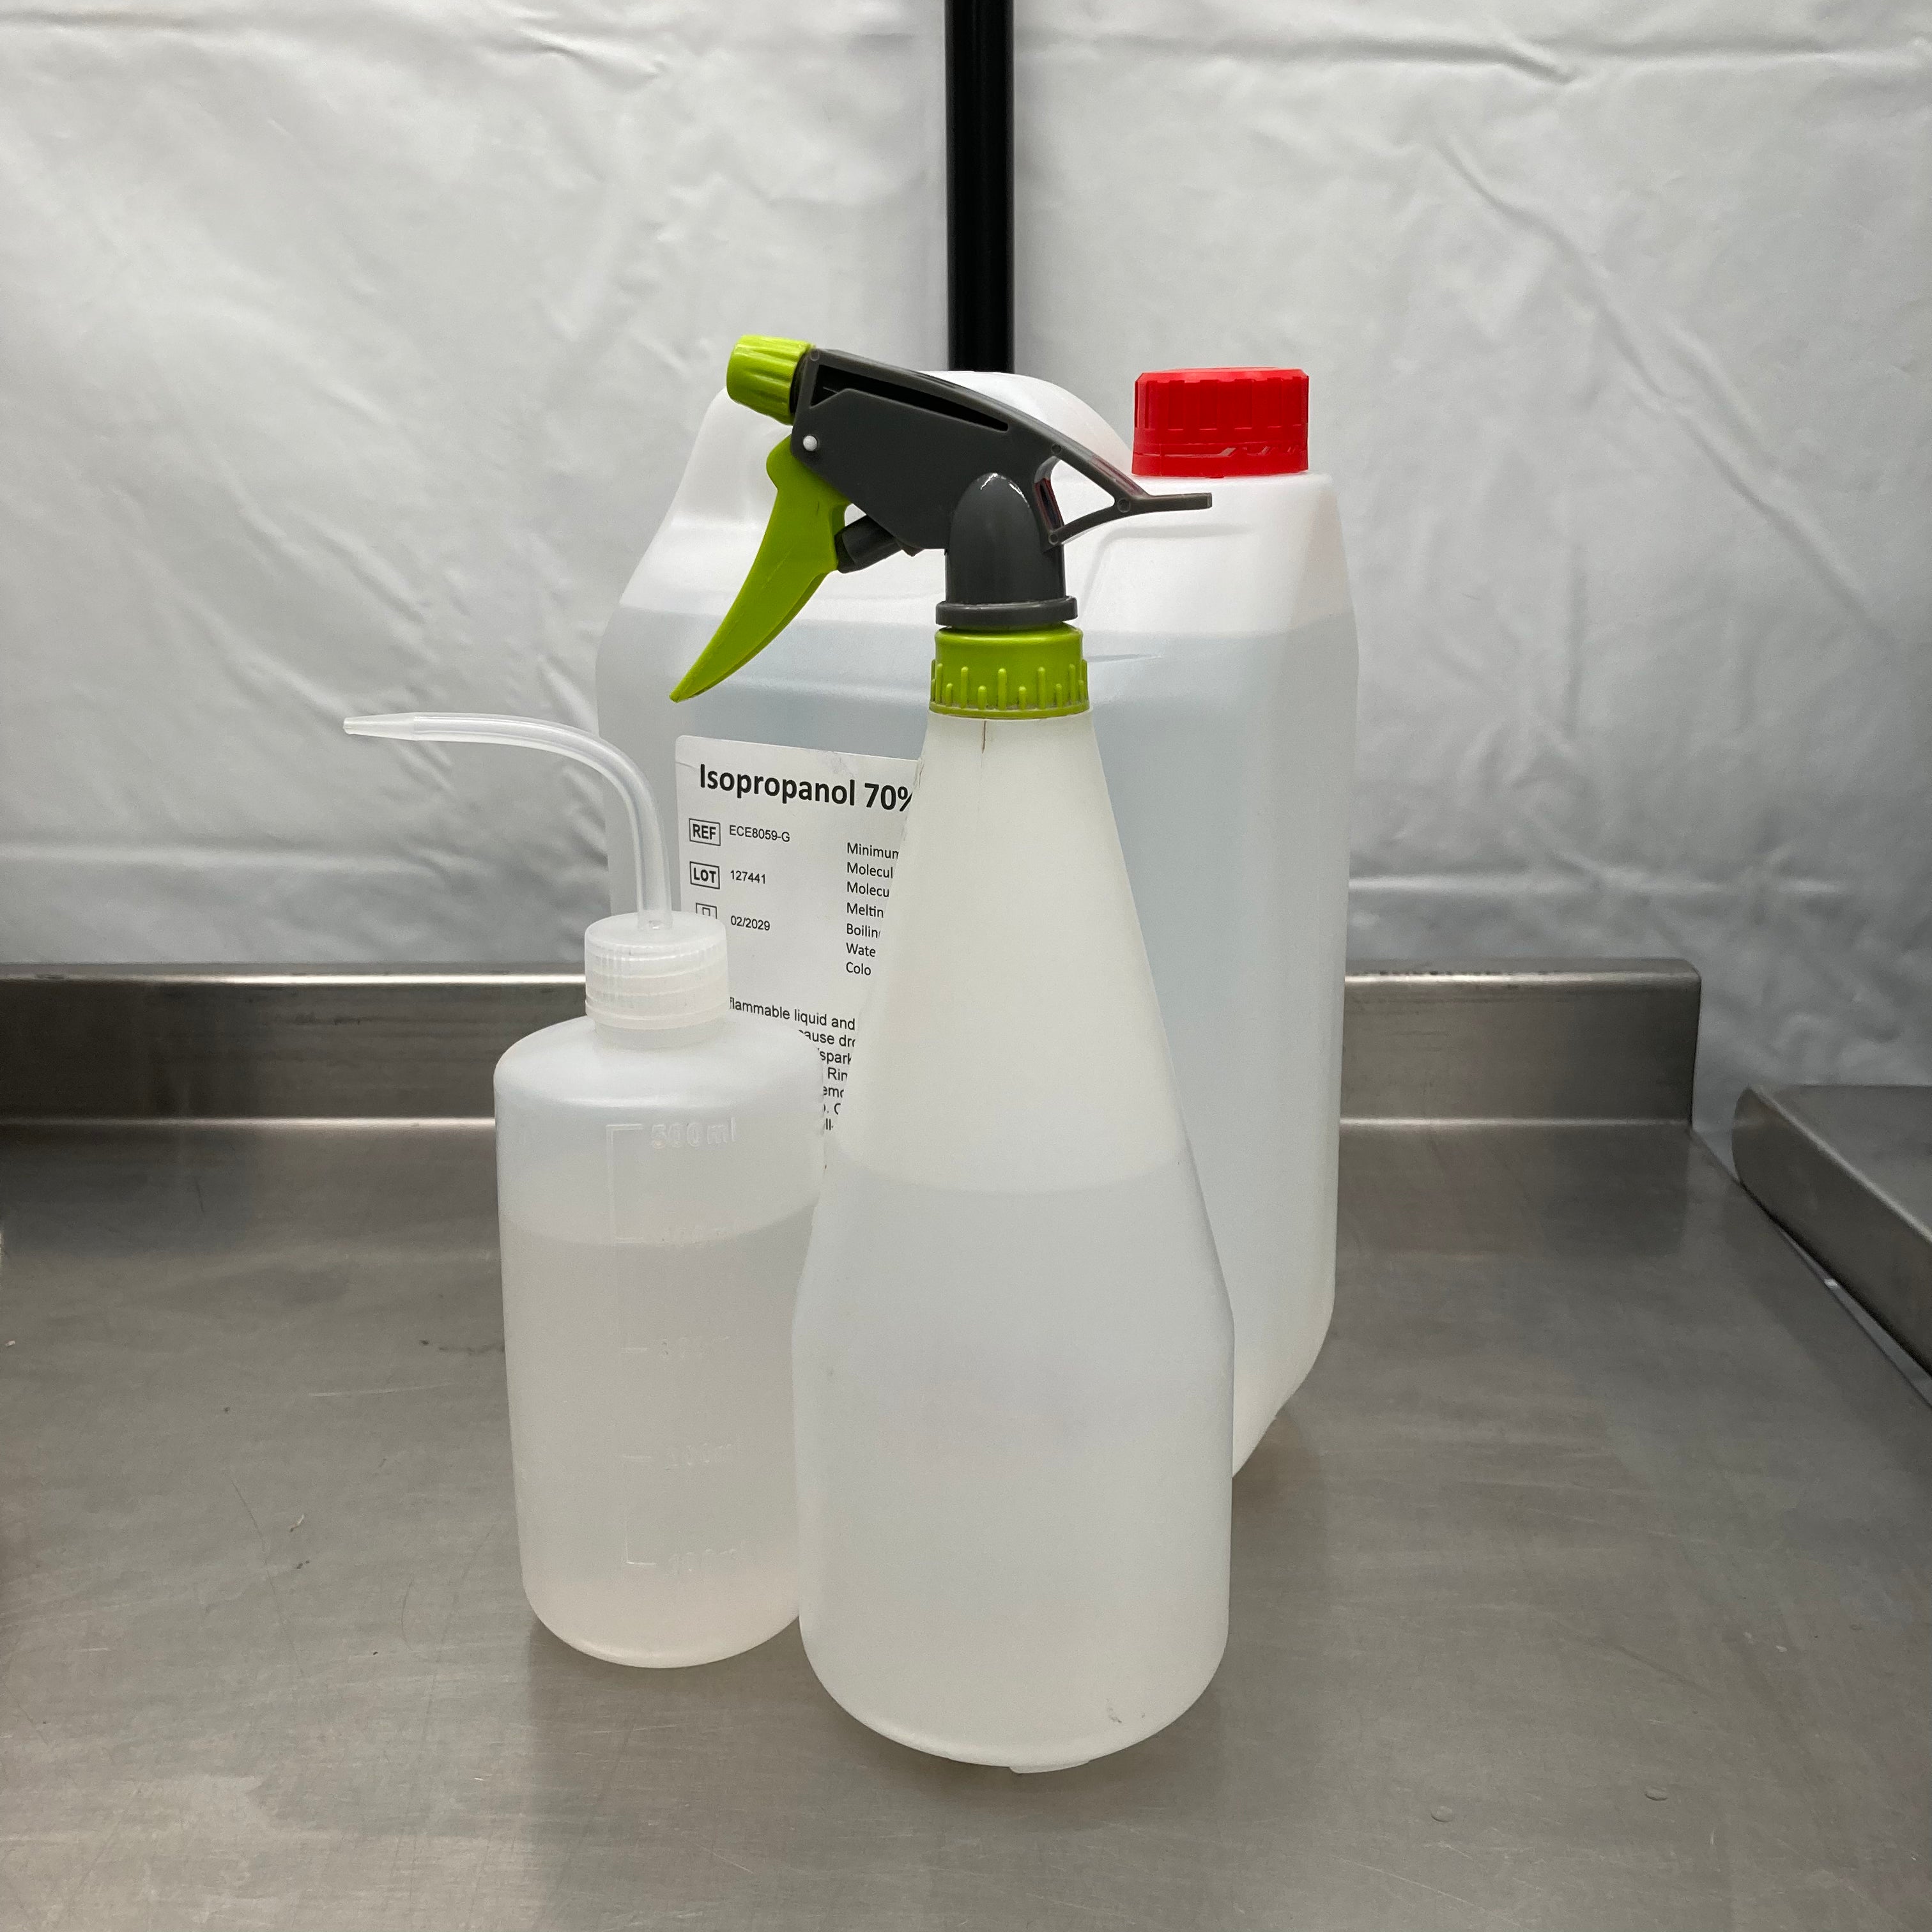
Use Isopropyl
Isopropyl is like kryptonite to mould spores, so spray or wipe it wherever you think contamination could be lurking. We recommend using a 70% Isopropyl blend for best results. You can also find it inside our handy aseptic technique kit!
-
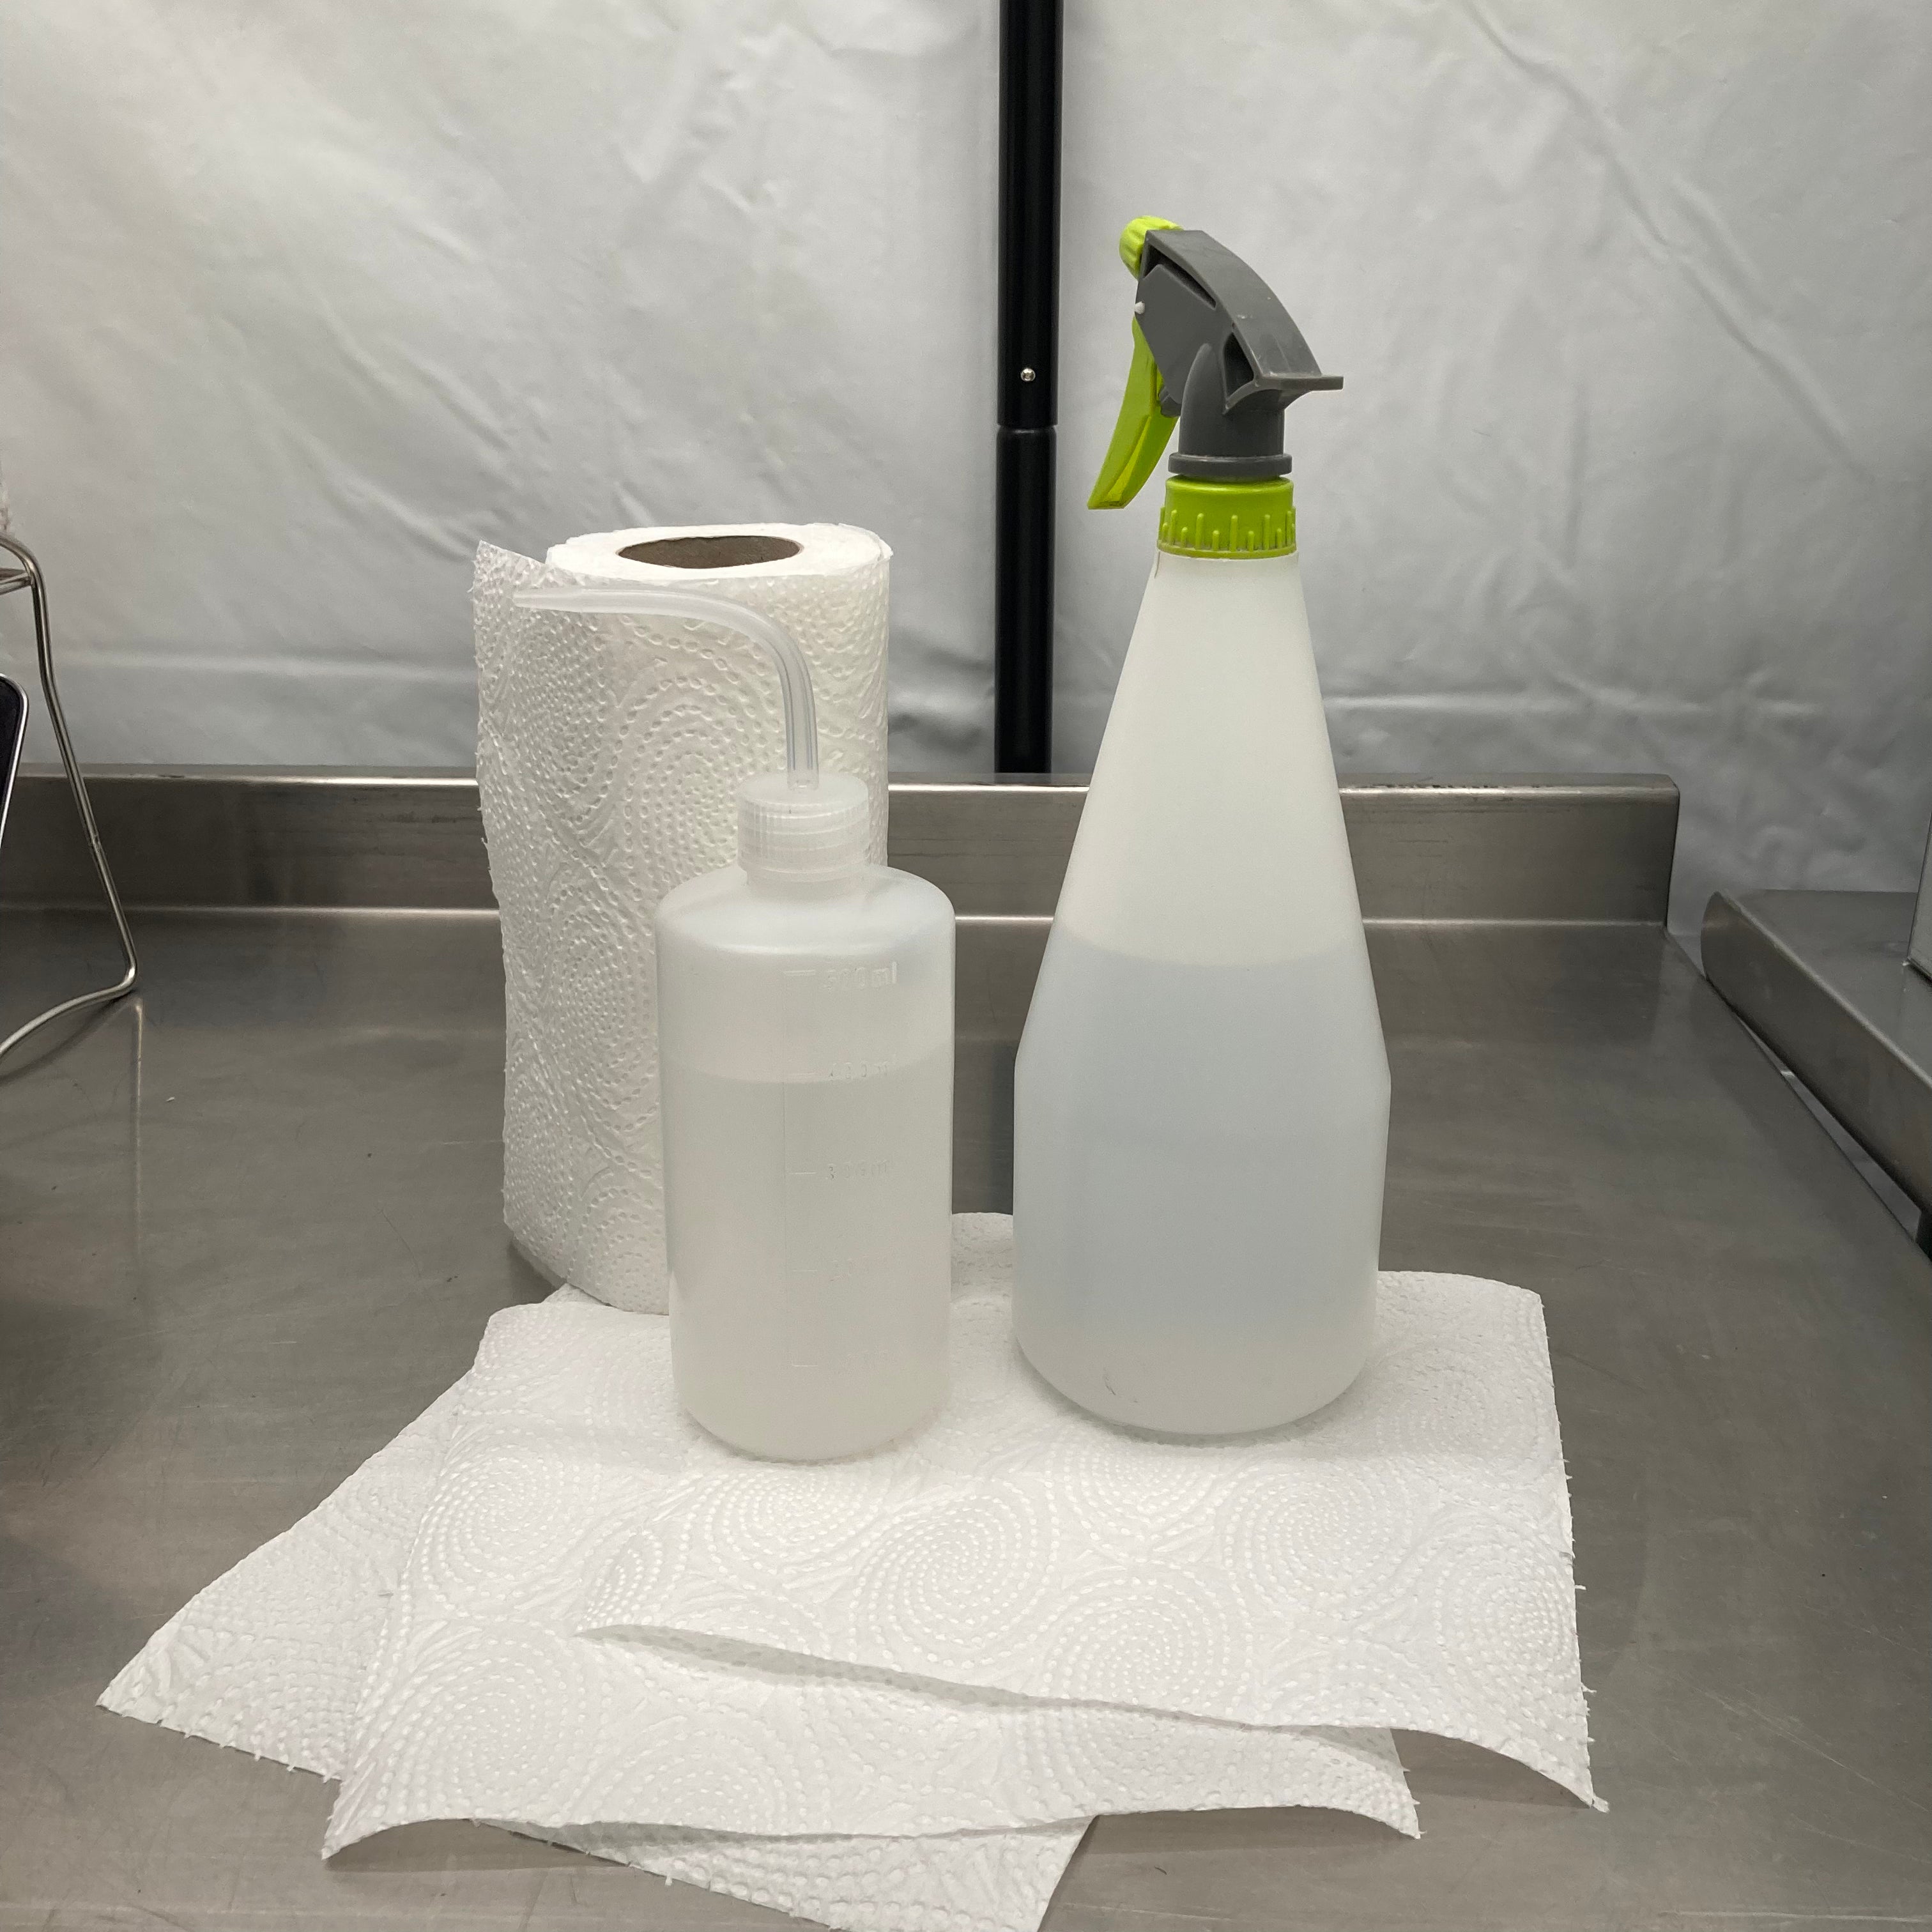
Clean Everything
Whether you’ve grabbed an aseptic technique kit or not, spray some isopropyl on everything you’ll be using – including surfaces, equipment and materials. Cleaning doesn’t just go for your tools! Treat yourself to a shower and a fresh set of clothes before embarking on any mycology tasks.
-
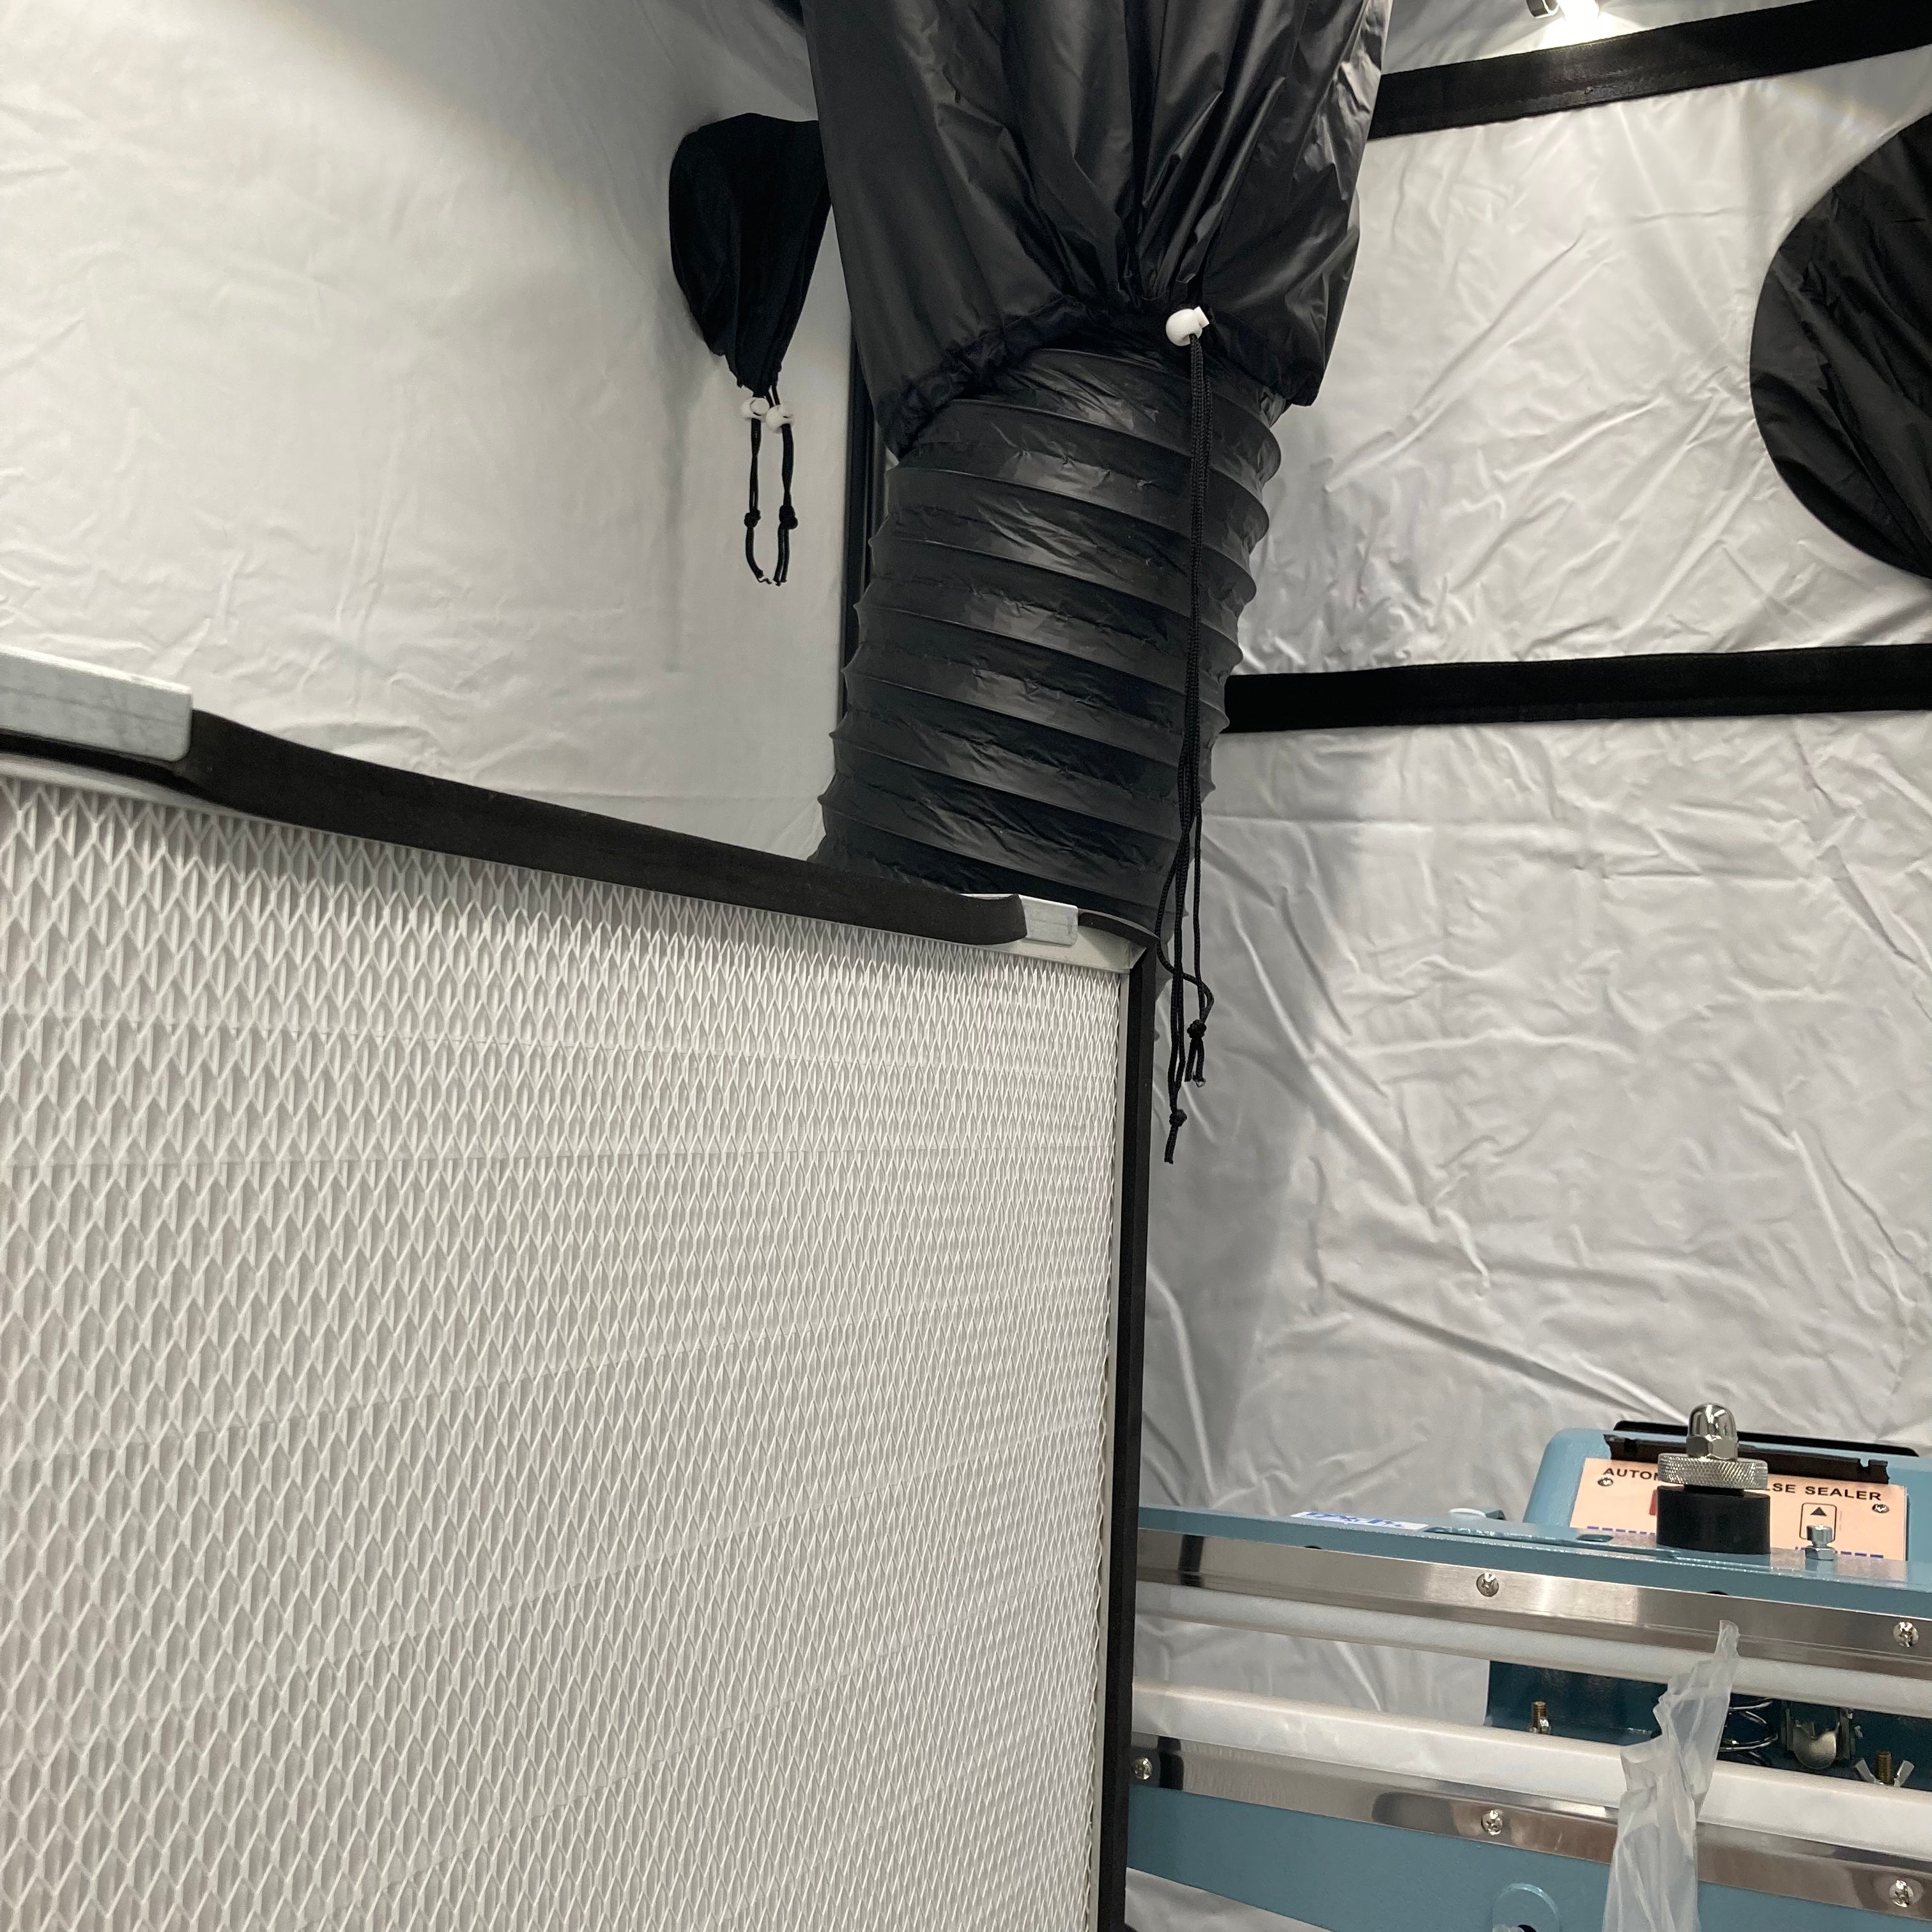
Minimise Airflow
There wouldn’t be any point in cleaning everything in sight if dust and mould spores could enter your environment! To increase the chances of success with growing mushrooms, minimise all sources of airborne contamination by reducing airflow – unless from a sterile source such as a HEPA filter. To minimise airflow, close windows, close doors and work in a draft-free space.
The All-In-One Mushroom Grow Bag Inoculation:
Now that you have your genetics, grow bag and a little know-how on aseptic technique, it’s time to get started. But what should you do? Follow the steps below and you’ll be harvesting fresh mushrooms in no time!
Now You're Ready, Here's The Process:
-

Spray Hands
Give your hands a wash and then if you have them, pop some gloves on. From there, spray your hands or gloves with isopropyl and rub them together to get a good coating of isopropyl around them – this will kill most contaminants.
-

Spray Bag
Lift up your bag and give it a good spray with isopropyl to clean the outside. You can follow this up by wiping the isopropyl around the bag to cover the full surface (avoiding the filter patch) with one of the wipes that are included with your aseptic technique kit. Otherwise, use a fresh kitchen roll sheet.
-

Spray Syringe
Apply the above process to your unopened genetics syringe by spraying and wiping the outside of the included bag and syringe to ensure that all contamination is killed off. Give the included needle packaging a spray too – you’ll need it shortly.
-

Open Needle Packaging
With your syringe in one hand and your needle in the other, grab the two edges on the packaging of the needle and peel them apart until you can comfortably hold them away from the base of the needle without touching the inside!
-

Remove Cap From Syringe
Now that the needle is ready, swiftly twist the cap of your syringe off with your needle in hand, then just discard the cap. The risky part is nearly over!
-

Connect Needle
Now just connect the base of the needle with the end of the syringe and twist them into place. The luer lock connection on both sides will ensure that everything stays secure. You can now remove the rest of the packaging from your needle – just keep the cover on until you’re ready!
-

Inoculate
Pop your syringe aside for a second and give everything a quick spray down for good measure. Then, use the surface wipe that came with your kit to wipe the injection port on your bag. Remove the needle cover and insert it into the injection port before squeezing around 2ml-5ml of genetics into the bag. Repeat the above steps depending on how many bags you have!
-

Break & shake
Now that you’ve inoculated your bag, place it in room temperature environment out of direct sunlight. Leave it for a couple of weeks until the mycelium starts colonising the mix of grain and substrate.
Then, once 20% is colonised, carefully break the mycelium up using your fingers on the outside of the bag. Give it a shake and mix the mycelium-covered AIO mix evenly into the remaining blend. This will speed up colonisation by giving your mycelium more points of inoculation!
-

Harvest!
Once your bag finishes colonising and is covered in healthy mycelium, let the mushrooms start growing straight out of the bag. For larger yields, you can cut the bag open and spray the inside walls with water to keep the humidity up! Harvest your fresh mushrooms once your chosen strain has reached its ideal maturity, around 10-14 days for most species.
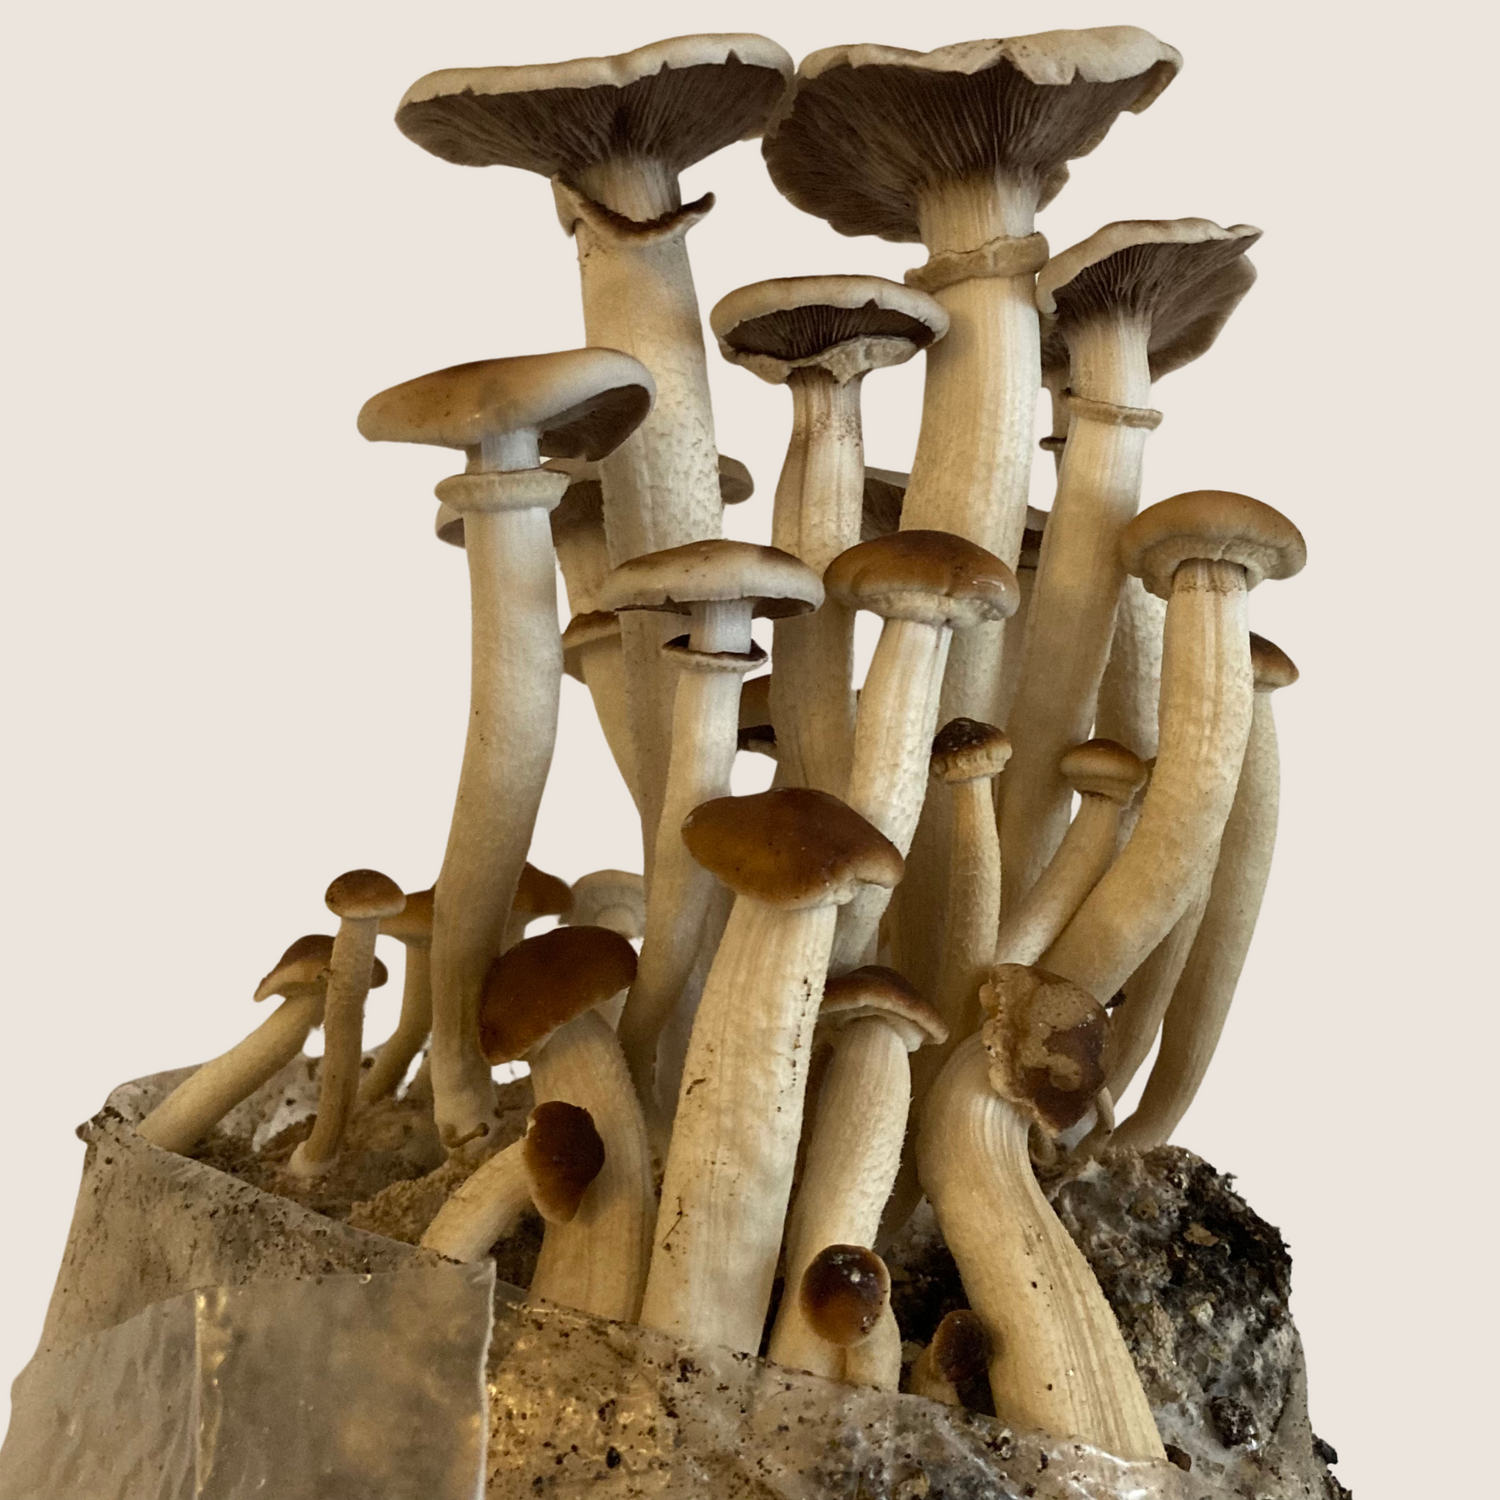
That’s all there is to it! If using your mushroom grow kit has interested you in the world of mycology, it might be worth taking a look at some of our more advanced guides. If you have any other questions – just give us a shout!
Other Guides:
View all-

Magic Mushroom Laws in the UK (2026): What’s Le...
Learn about UK magic mushroom laws, psilocyb*n classification, and the legal status of spores, grow kits, and mycology supplies in 2025.
Magic Mushroom Laws in the UK (2026): What’s Le...
Learn about UK magic mushroom laws, psilocyb*n classification, and the legal status of spores, grow kits, and mycology supplies in 2025.
-

How To Use Your Liquid Culture Jar: The LC Inoc...
Here's a full list of instructions for using your sterile jar kit! Follow these steps and you'll be growing liquid mycelium in no time.
How To Use Your Liquid Culture Jar: The LC Inoc...
Here's a full list of instructions for using your sterile jar kit! Follow these steps and you'll be growing liquid mycelium in no time.
-

Liquid Cultures VS Spore Solutions – Which Is B...
Should you use liquid cultures or spore syringes? In this guide, we'll take a look at the best uses for each to have you growing mushrooms like a pro!
Liquid Cultures VS Spore Solutions – Which Is B...
Should you use liquid cultures or spore syringes? In this guide, we'll take a look at the best uses for each to have you growing mushrooms like a pro!
Supplies: Grow bag, Aseptic technique kit, Liquid culture/spore syringe
Tools: Gloves, Isopropyl spray, Syringe needle
Total Time: 10 minutes
Steps: 1–9 injected with images

